Cardamom Pear Crisp
Snixy Kitchen recipe - Gluten-free
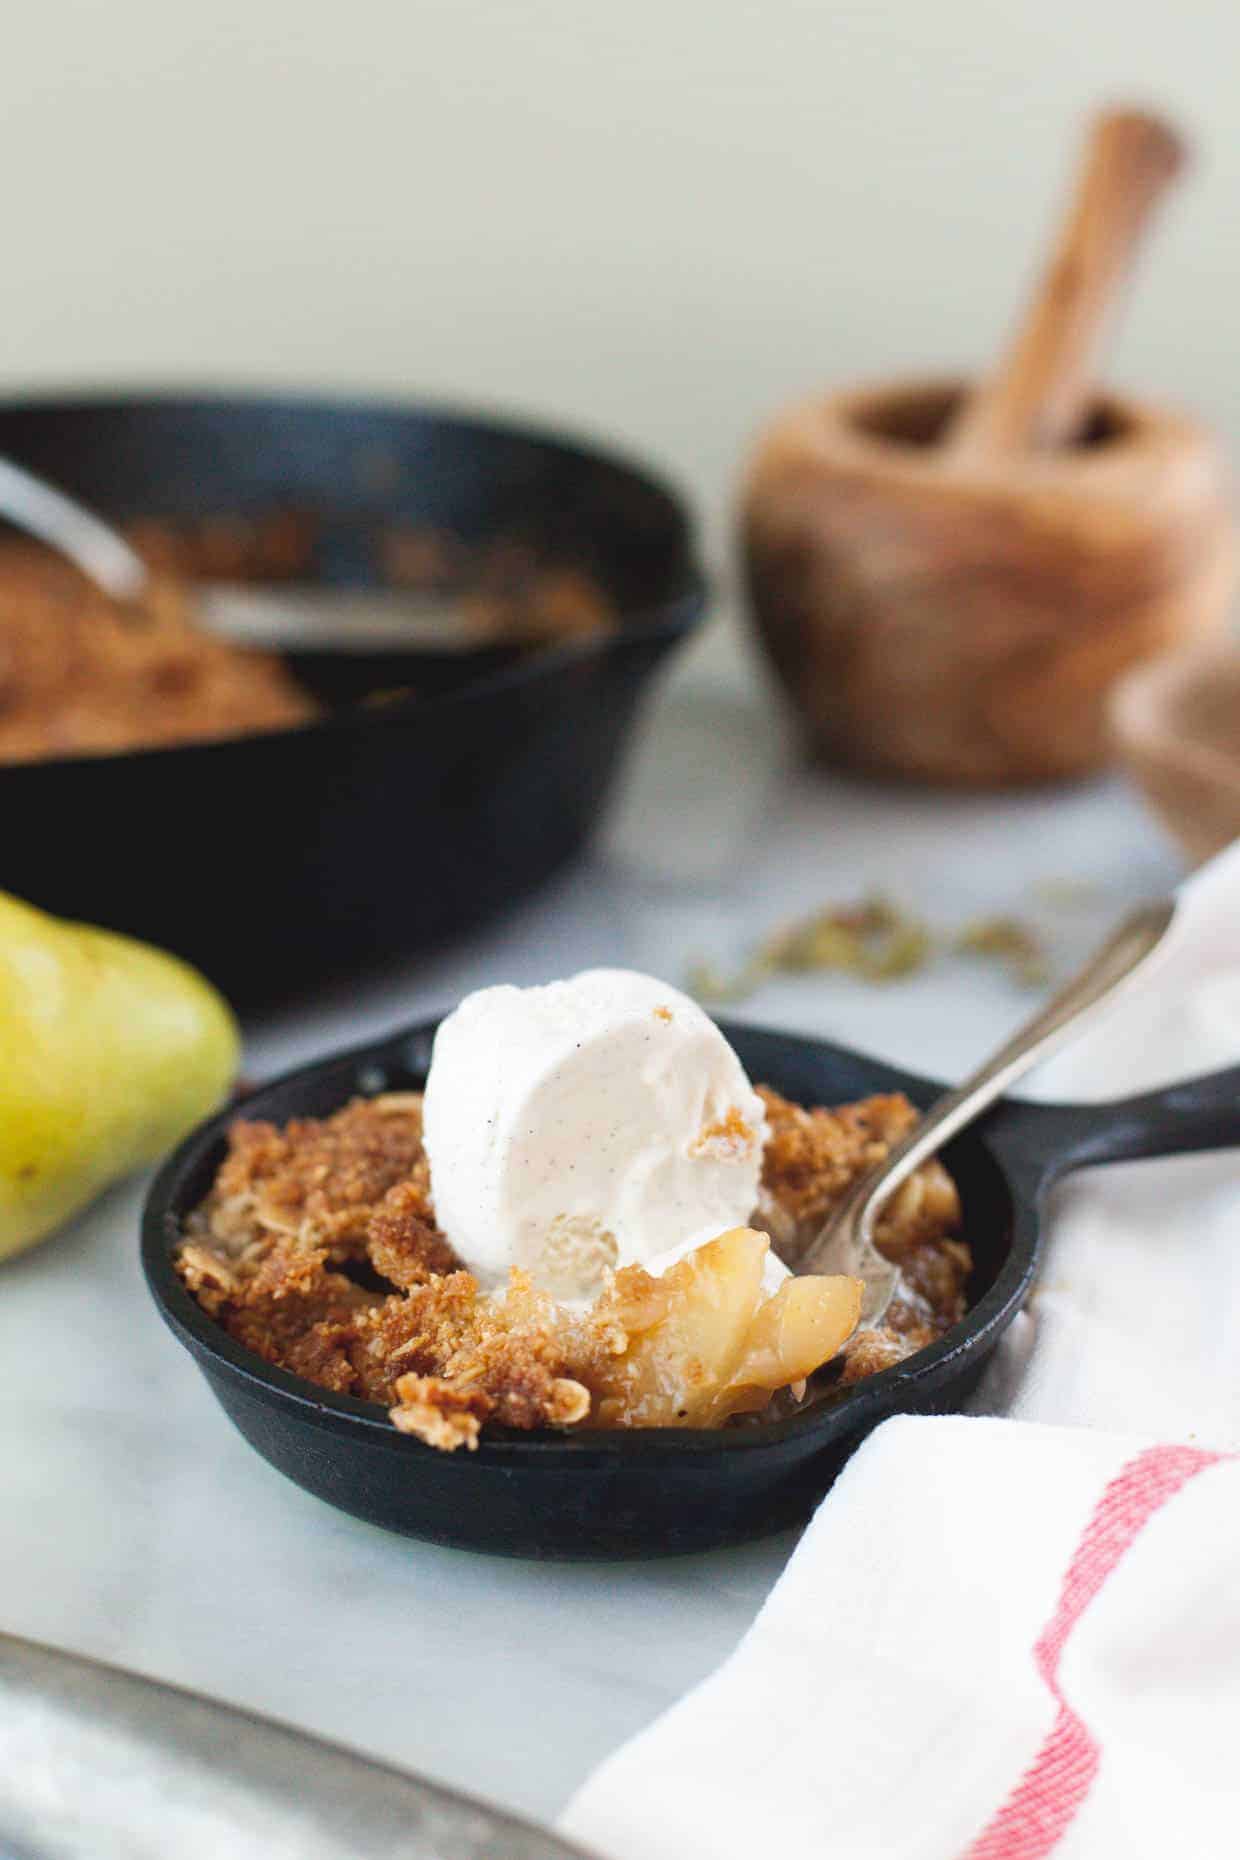
- Prep time
- 14 min
- Cook time
- 31 min
- Yield
- 6 servings
- Difficulty
- HARD
Ingredients
Quantities are shown as originally provided.
- ¼ cup gluten-free old-fashioned rolled oats
- ½ cup gluten-free oat flour (I create my own by grinding rolled oats in my food processor or blender)
- ¼ cup super-fine blanched almond flour
- 4 tablespoons dark brown sugar
- 4 tablespoons granulated sugar
- 1/8 teaspoon freshly ground cardamom (from about 2-3 pods - I grind mine in a coffee maker)
- 4 tablespoons cold unsalted butter (cubed)
- 1 tablespoon unsalted butter
- 5 pears
- 2 tablespoons dark brown sugar
- 1/4 teaspoon freshly ground cardamom from 4-6 pods)
- 2 teaspoons cornstarch
- ¼ teaspoon pure vanilla extract
- Juice of 1 lemon
- Pinch of salt
Instructions
- 1
Preheat the oven to 375°F.
- 2
For the crisp topping: Combine the rolled oats, oat flour, almond meal, dark brown sugar, sugar, and ground cardamom in a medium mixing bowl.
- 3
Add the cubed butter and use your hands to combine until the butter is no bigger than the size of a pea and parts of the crumble clump together when pinched. Set aside.
- 4
Melt the butter in a large cast-iron skillet over medium heat.
- 5
Add the sliced pears, dark brown sugar, ground cardamom, corn starch, vanilla extract, lemon juice, and salt to the melted butter in the cast-iron skillet, tossing to evenly combine.
- 6
Cook over medium heat, stirring, until the pears begin to soften, about 5-7 minutes.
- 7
Evenly sprinkle the clumpy crumble over the top of the pears and put the skillet in the pre-heated oven for 25-30 minutes, or until the pears are soft and the topping is golden brown. Don't worry if the topping looks moist when it first comes out of the oven, as it cools, it will crisp up!
- 8
Remove from the oven and let cool for 5 minutes before serving. Top with ice cream!