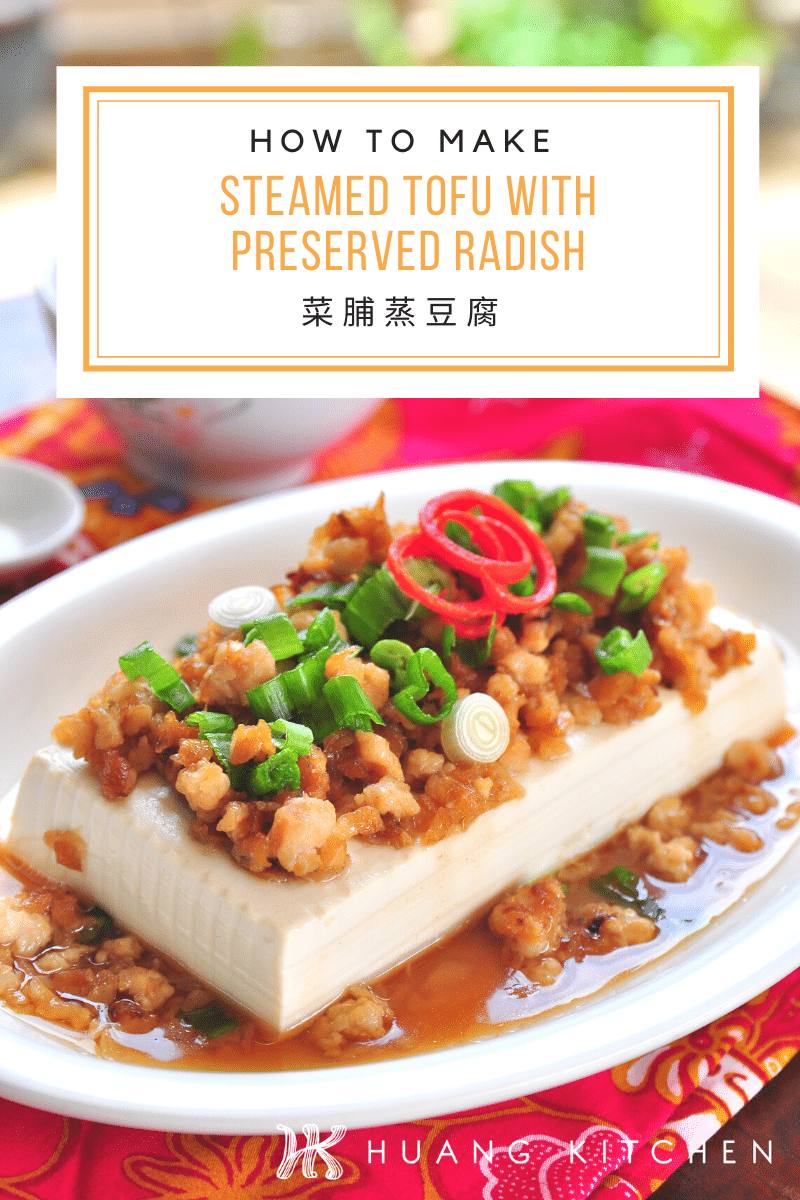
Steamed Beancurd With Preserved Radish 菜脯蒸豆腐
Soft, custard-like and smooth beancurd, topped with generous toppings of minced meat and preserved radish.. This Steamed Beancurd with Preserved Radish simply tastes light, refreshing yet bursting with flavours. So easy and quick to make too.
- Prep time
- 15 min
- Cook time
- 10 min
- Yield
- 4 servings
- Difficulty
- MEDIUM
Ingredients
Quantities are shown as originally provided.
- 1 block beancurd (white beancurd)
- 1 tbsp cooking oil
- 2 shallot (chopped)
- 35 grams preserved radish (soaked, chopped)
- 100 grams minced meat
- 1 tsp salt
- 1/2 tsp sesame oil
- 1 tsp cornflour
- 1 tbsp oyster sauce
- 1/2 tsp sugar
- 1/4 tsp ground white pepper
- 1 stalk spring onion (diced)
- 1 chilli (sliced)
Instructions
- 1
Preparing Ingredients:
- 2
Have ready ingredients needed to cook the dish.
- 3
Place the block of white beancurd on a deep steaming plate.
- 4
Soaked chopped preserved radish, drained and set aside.
- 5
Mince the meat and marinade with salt, sesame oil and cornflour for at least 30 minutes.
- 6
Chop two shallots and set aside.
- 7
Dice spring onion and slice red chilli for garnishing.
- 8
Have ready seasonings for the dish. And we are ready to cook the dish.
- 9
Cooking BeanCurd Dish:
- 10
Heat up 1 tbsp cooking oil. Add in chopped shallot and saute till fragrant.
- 11
Then add in soaked chopped radish and stir fry till aromatic.
- 12
Next add in minced meat, fry till the meat is separated and turned white. Add in the seasoning and continue to stir fry till well mixed.
- 13
Remove and place over beancurd.
- 14
Prepare steamer by bringing water to a boil. Place the beancurd into steamer and steam on high heat for 10 minutes. Then remove from wok.
- 15
Top with chopped spring onion and red chilli. Serve hot with steam rice and Enjoy!