Easy Gluten Free Banana Pudding
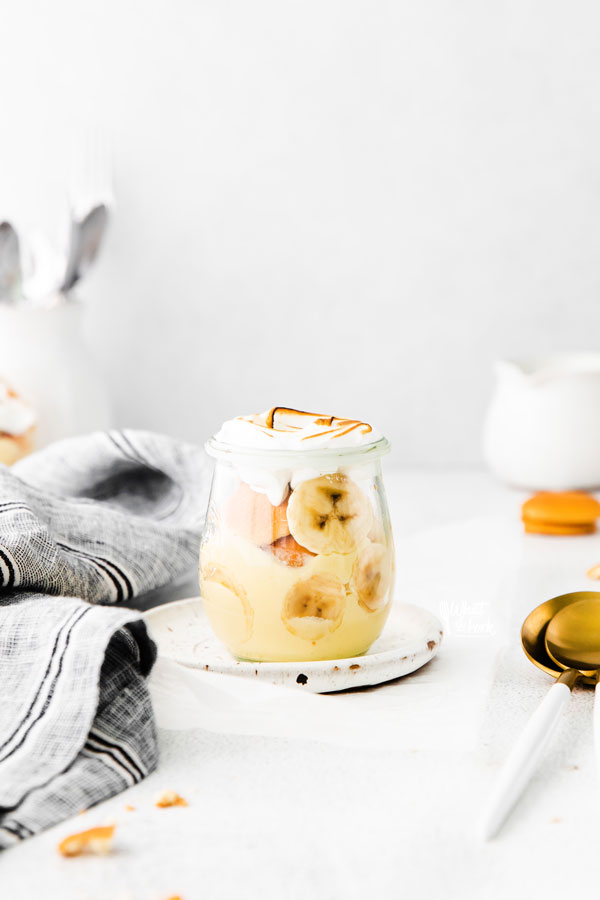
This simple homemade Banana Pudding recipe is easy to make and it’s gluten free! Hands down, it’s the best banana pudding recipe!
- Prep time
- 30 min
- Cook time
- 20 min
- Yield
- 4 servings
- Difficulty
- HARD
Ingredients
Quantities are shown as originally provided.
- 1 ½ cup whole milk
- ½ cup heavy cream
- 2 large egg yolks (save the whites for the meringue below)
- ½ cup granulated sugar
- 2 tablespoons cornstarch
- 1/4 teaspoon fine sea salt
- 2 teaspoons vanilla extract
- 2 large egg whites
- ½ cup granulated sugar
- 1 teaspoon vanilla extract
- 2 cups gluten free vanilla wafers (see notes)
- 3 ripe bananas (sliced)
Instructions
- 1
Make the Vanilla Pudding
- 2
Add the milk, heavy cream, egg yolks, sugar, cornstarch, and salt to a large saucepan set over medium-high heat.
- 3
Cook, whisking constantly until the mixture thickens enough to coat the back of a spoon-- about 5-7 minutes.
- 4
Stir in the vanilla extract and whisk the pudding through a fine-mesh strainer as you transfer the pudding to a heat-proof bowl. This step is optional but it will remove any lumps in the pudding.
- 5
Cover the pudding with plastic wrap by pressing the plastic wrap directly to the surface of the pudding. Transfer it to the fridge until chilled-- about 1 hour.
- 6
Make the Meringue
- 7
Place a heatproof bowl over a pot of simmering water.
- 8
Place the egg whites and granulated sugar in the bowl and whisk constantly until all of the sugar has dissolved-- about 2 minutes.
- 9
Transfer the mixture to the bowl of a hand or stand mixer fitted with the whisk attachment and mix on high speed until stiff peaks form-- about 8 minutes.
- 10
Add the vanilla extract and mix just until combined. Set aside until ready to use.
- 11
Assemble
- 12
Cover the bottom of your serving dish with Nilla Wafers (you can either do one big serving dish or individual cups-- up to you).
- 13
Cover with a layer of pudding followed by a layer of sliced bananas. Repeat until all components are completely used, making sure the last layer is pudding.
- 14
Spread or pipe the meringue evenly over the custard layer. Toast the top of the meringue with a kitchen torch until golden brown-- about 10 seconds.
- 15
Serve immediately or store the pudding in the fridge until ready to enjoy-- up to four hours in advance.
- 16
You can assemble the pudding up to 24 hours in advance-- assemble through step 2 and then make and toast the meringue right before you plan to serve it! The meringue tends to become runny when stored in the fridge overnight so it’s best to make it right before you serve it.