Perfect Sweet Dinner Rolls (Better Than Bakery!)
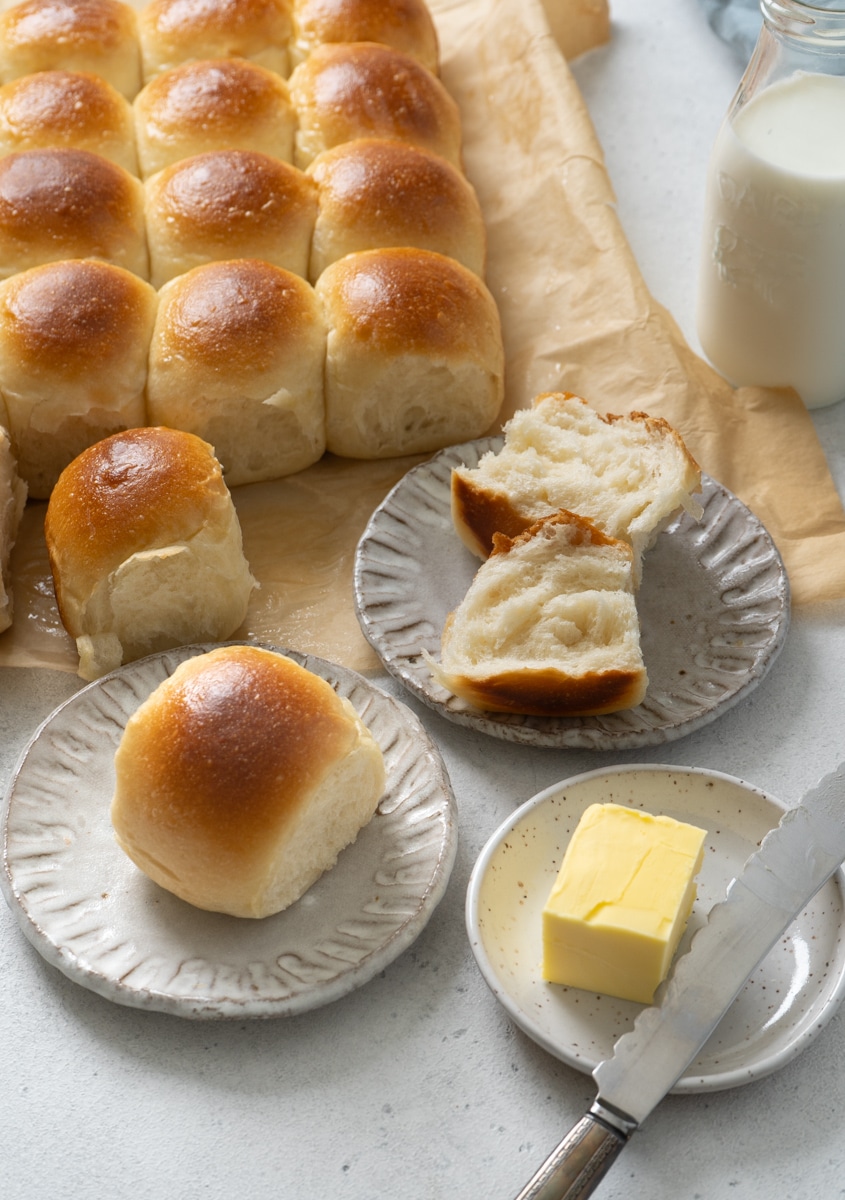
These tender, fluffy sweet dinner rolls are the result of years of testing and perfecting. Follow my step-by-step instructions, you can also make these soft, pillowy rolls for your next family dinners, holidays, or anytime you want homemade bread that everyone will love.
- Prep time
- 1 hr
- Cook time
- 18 hr
- Yield
- 20 servings
- Difficulty
- HARD
Ingredients
Quantities are shown as originally provided.
- 25 g bread flour
- 125 g water
- 375 g bread flour
- 100 g cake flour
- 40 g sugar
- 20 g dry milk powder
- 180 g cold milk
- 20 g honey (or condensed milk)
- 1 large egg
- 1 teaspoon sea salt
- 50 g unsalted butter(soften) (cut into 6-8 pieces)
- 1 teaspoon instant yeast (ideally saf instant yeast)
- 2 tablespoons melted butter
Instructions
- 1
In a small saucepan, whisk together the flour and water until smooth. Cook over medium-low heat, stirring constantly, until the mixture just begins to thicken. As soon as it starts to thicken, remove the pan from the heat and continue whisking for another 20–30 seconds. The tangzhong should be loose and pourable, more like a slurry than a thick paste.
- 2
Pour the tangzhong into a small bowl or container, cover it, and place it in the freezer for 20–30 minutes. It should be completely cooled, ideally with a thin layer of ice having just formed near the edge. You can also let it cool in the refrigerator for 1–2 hours, or overnight if you’re preparing ahead.
- 3
In a stand mixer, mix all the dough ingredients except yeast, sea salt and unsalted butter until a rough dough is formed. Cover and let it rest for 30 minutes (in the fridge, if possible).
- 4
After resting, Add salt and knead for 2 minutes.
- 5
Add unsalted butter, one piece at a time, and knead for another 6-8 minutes until the butter is well incorporated with the dough and the dough starts to look smoother.
- 6
Mix instant yeast with 1 tablespoon of water and stir until well combined.Add yeast mixture and knead on medium high speed for 6-8 minutes until the dough is smooth and able to pass the windowpane test.
- 7
Form the dough into a ball, place it in a greased airtight container or gallon sized ziploc bag and store in the fridge for around 12-18 hours
- 8
Take the dough out from the fridge, transfer it to a lightly floured surface and divide the dough into 20 equal portions with a dough cutter (don't tear it!)
- 9
For each piece of dough, flatten with your palm before folding the edges in to the center, pinch them together to form a ball and flip it over so that the seam side is down. When finished, cover the dough balls with a damp tea towel and let it rest for 15 minutes.
- 10
After resting, tighten the dough balls again. To do so, form your hand into a C shape, roll the dough with your hand (against the working surface) by pushing the ball up with the side of your palm that's close to your thumb and pulling it back with the other four fingers in a circular motion. Do this for two to three times and let the tension between the dough and working surface tighten up the dough ball. See video for a demonstration.
- 11
Place them in a 9 by 13 cake pan lined with parchment paper. Cover the cake pan with a damp towel or greased plastic wrap and let them proof in a warm place (82°F / 28°C~ 95°F / 35°C) for an hour to an hour and a half, until the rolls look noticeably larger and puffier, filling in more of the gaps between them.
- 12
Preheat the oven to 375°F (190°C) in the last 20 minutes of the second proof.
- 13
Bake for 18–20 minutes, or until golden brown. Once it's done baking, take the cake pan out from the oven, and If you like, brush the tops with melted butter.
- 14
Carefully lift the rolls out of the pan by holding the edges of the parchment paper, then set the whole batch on a cooling rack. Allow them to cool for 10 minutes before enjoying.