Chicken Macaroni
Chicken macaroni combines tender chicken pieces with pasta in a creamy, flavourful sauce. This comforting dish is perfect for family meals or gatherings, offering a satisfying blend of textures and tastes.
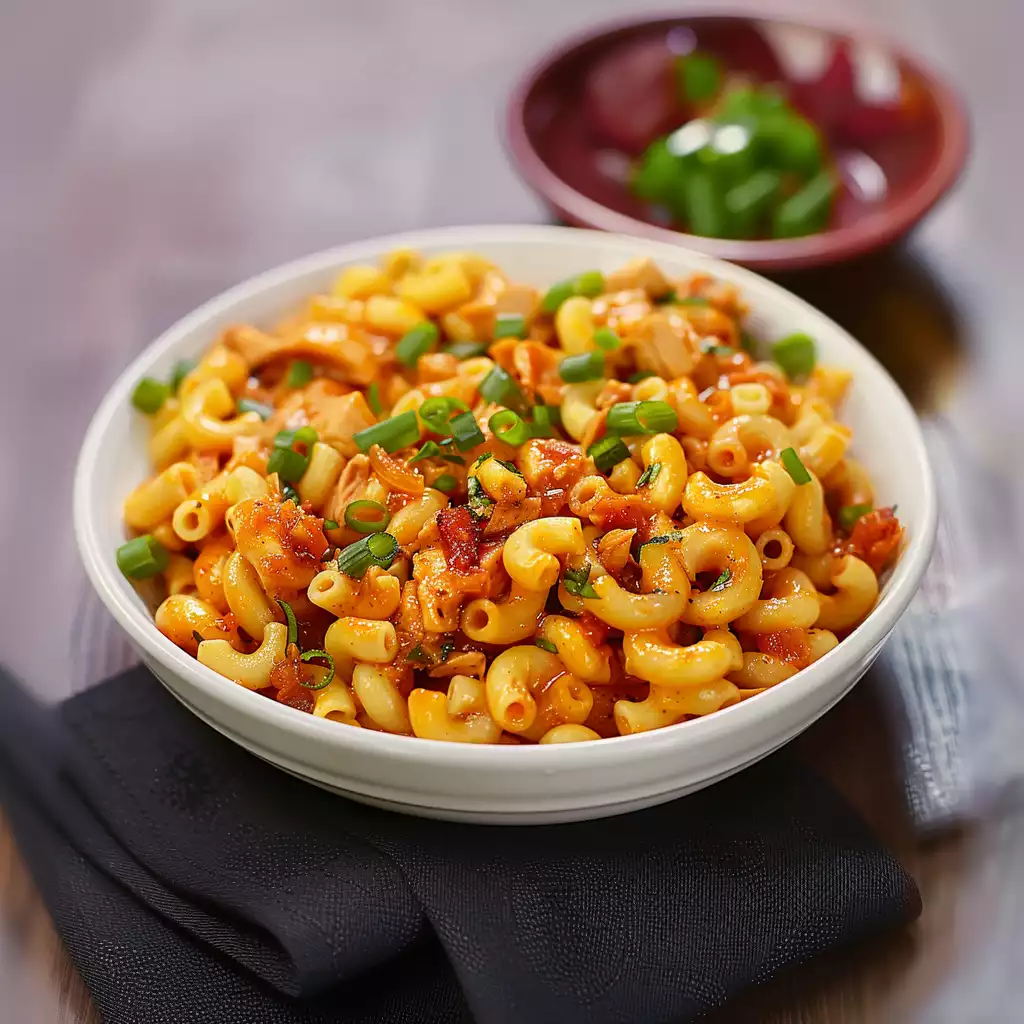
- Prep time
- 10 min
- Cook time
- 25 min
- Yield
- 4 servings
- Difficulty
- HARD
Ingredients
- 300 g Pasta (Macaroni )
- 50 ml Oil
- 3 clove Garlic
- 600 g Chicken (boneless)
- 1 Onion
- 2 Tomatoes
- 1 Bell Pepper (green)
- 1 tsp Chilli Powder
- 1 tsp Salt
- 1 tsp Black Pepper
- 1 tsp Oregano
- 1 tbsp Soy Sauce
- 1 tbsp Vinegar
- 2 tbsp Ketchup
- 1 tbsp Chilli Sauce
Instructions
- 1
In a large pan or skillet, pour the oil and heat it over medium heat until it’s hot.
- 2
Add the chopped onion to the heated oil and sauté for 4-5 minutes, or until the onion becomes soft and translucent.
- 3
Add the chopped garlic to the pan and sauté for 1-2 minutes, until it becomes fragrant but not browned.
- 4
Add the chopped tomatoes and cook them until they soften and start breaking down, stirring occasionally.
- 5
Add the boneless chicken pieces to the pan, and cook for 5-6 minutes, stirring frequently, until the chicken changes color and is no longer pink on the outside.
- 6
Sprinkle in the chilli powder, salt, black pepper, and oregano. Stir everything together and cook for an additional 1-2 minutes to let the spices blend with the chicken.
- 7
Toss in the chopped green bell pepper and cook until it softens, about 3-4 minutes.
- 8
Pour in the vinegar, soy sauce, ketchup, and chilli sauce. Stir everything together, making sure the chicken and vegetables are well coated with the sauce.
- 9
Add the boiled macaroni pasta to the pan, mixing well to ensure the pasta is evenly coated with the sauce and ingredients. Cover the pan with a lid, lower the heat, and let it cook for 5 minutes on low to allow the flavours to meld.
- 10
Remove from heat and serve your dish hot. Enjoy!