Gluten Free Buttermilk Waffles
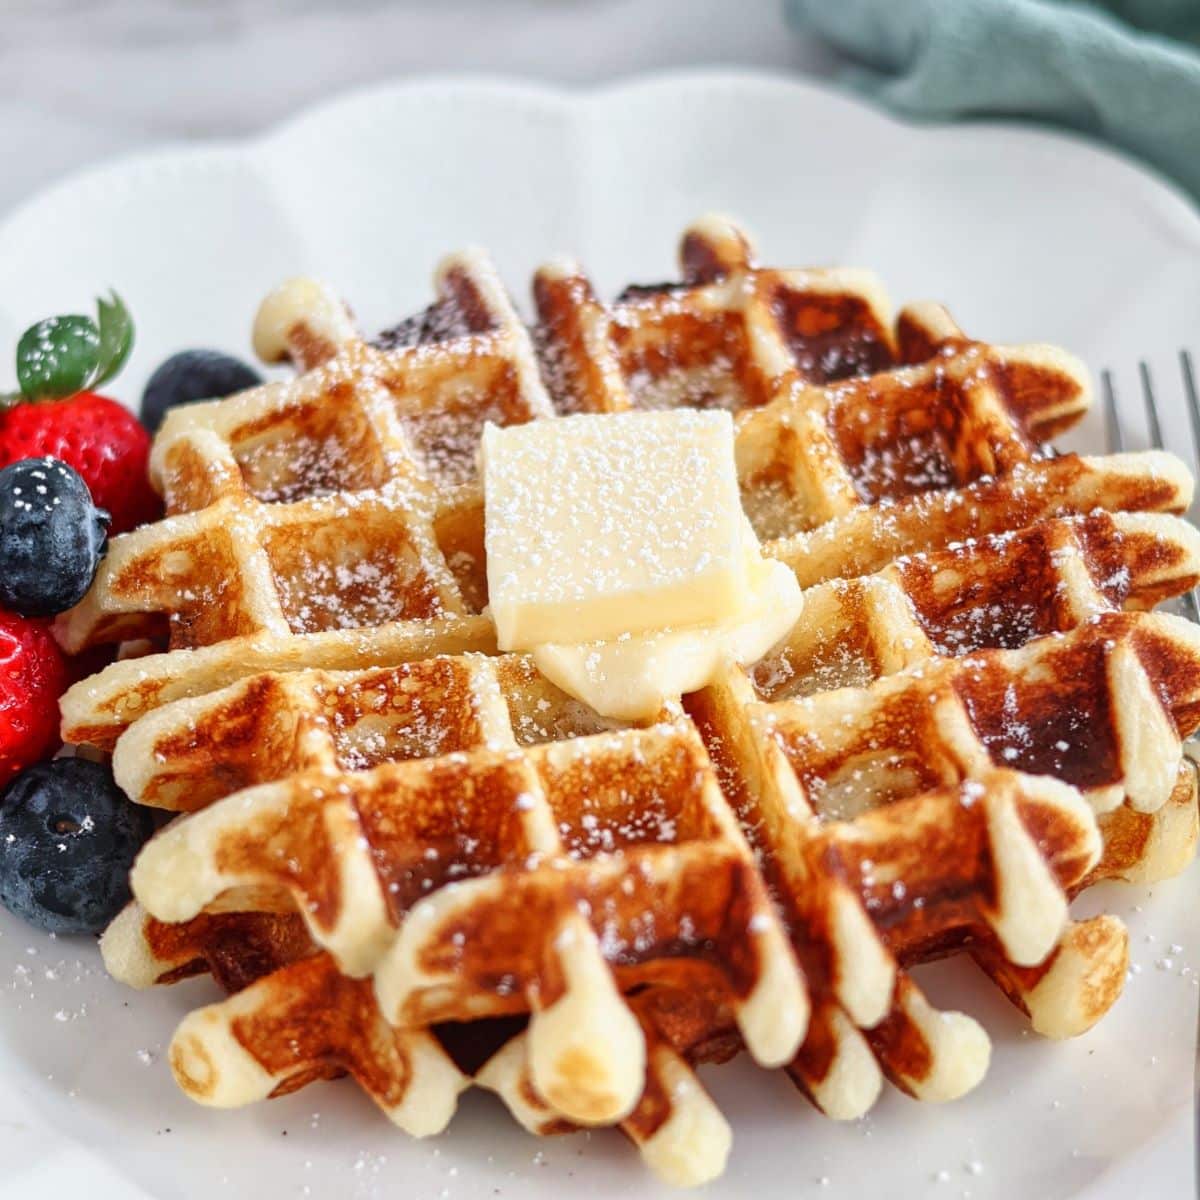
These gluten free buttermilk waffles are crisp on the outside, light and fluffy on the inside, and perfect for breakfast or brunch!
- Prep time
- 15 min
- Cook time
- 3 min
- Yield
- 4 servings
- Difficulty
- MEDIUM
Ingredients
Quantities are shown as originally provided.
- 1¾ cups (245g) Kim's gluten free flour blend ((a store bought blend may be substituted, but hasn't been tested))
- 2¼ tsp baking powder
- ¼ tsp baking soda
- 2 tbsp (20g) cornstarch
- 4 tbsp (50g) granulated sugar
- ½ tsp salt
- 3 large eggs, at room temperature
- 1 cup (240g) buttermilk ((dairy-free homemade buttermilk can be substituted))
- 1 cup (240g) heavy cream ((a dairy-free cream may be substituted, but hasn't been tested))
- ½ cup (113g) butter, melted and cooled slightly ((a dairy-free butter may be substituted))
Instructions
- 1
In a large mixing bowl, whisk together the flour, baking powder, baking soda, cornstarch, sugar, and salt. In a medium bowl, whisk together the eggs, buttermilk, and heavy cream until combined.
- 2
Pour the wet ingredients into the dry and whisk until a thick batter forms. Gently whisk in the melted butter just until combined.
- 3
Let batter rest for 20 minutes. Heat waffle iron.
- 4
When ready, dollop large spoonfuls into waffle impressions and close the lid. Bake for recommended time per waffle iron instructions.
- 5
Remove waffles carefully from iron and place on a wire rack over a baking sheet. To keep warm and crisp, set waffles in a 200° F oven in one single layer while baking the rest of the waffles.
- 6
To freeze, lay in a single layer on a parchment-lined baking sheet and freeze until solid. Place frozen waffles in a galllon ziptop bag and remove as much air as possible. To reheat, place in a toaster or toaster oven and heat until warmed through and crisp.