Snow Skin Mooncake
Shiokman Recipes recipe - Chinese
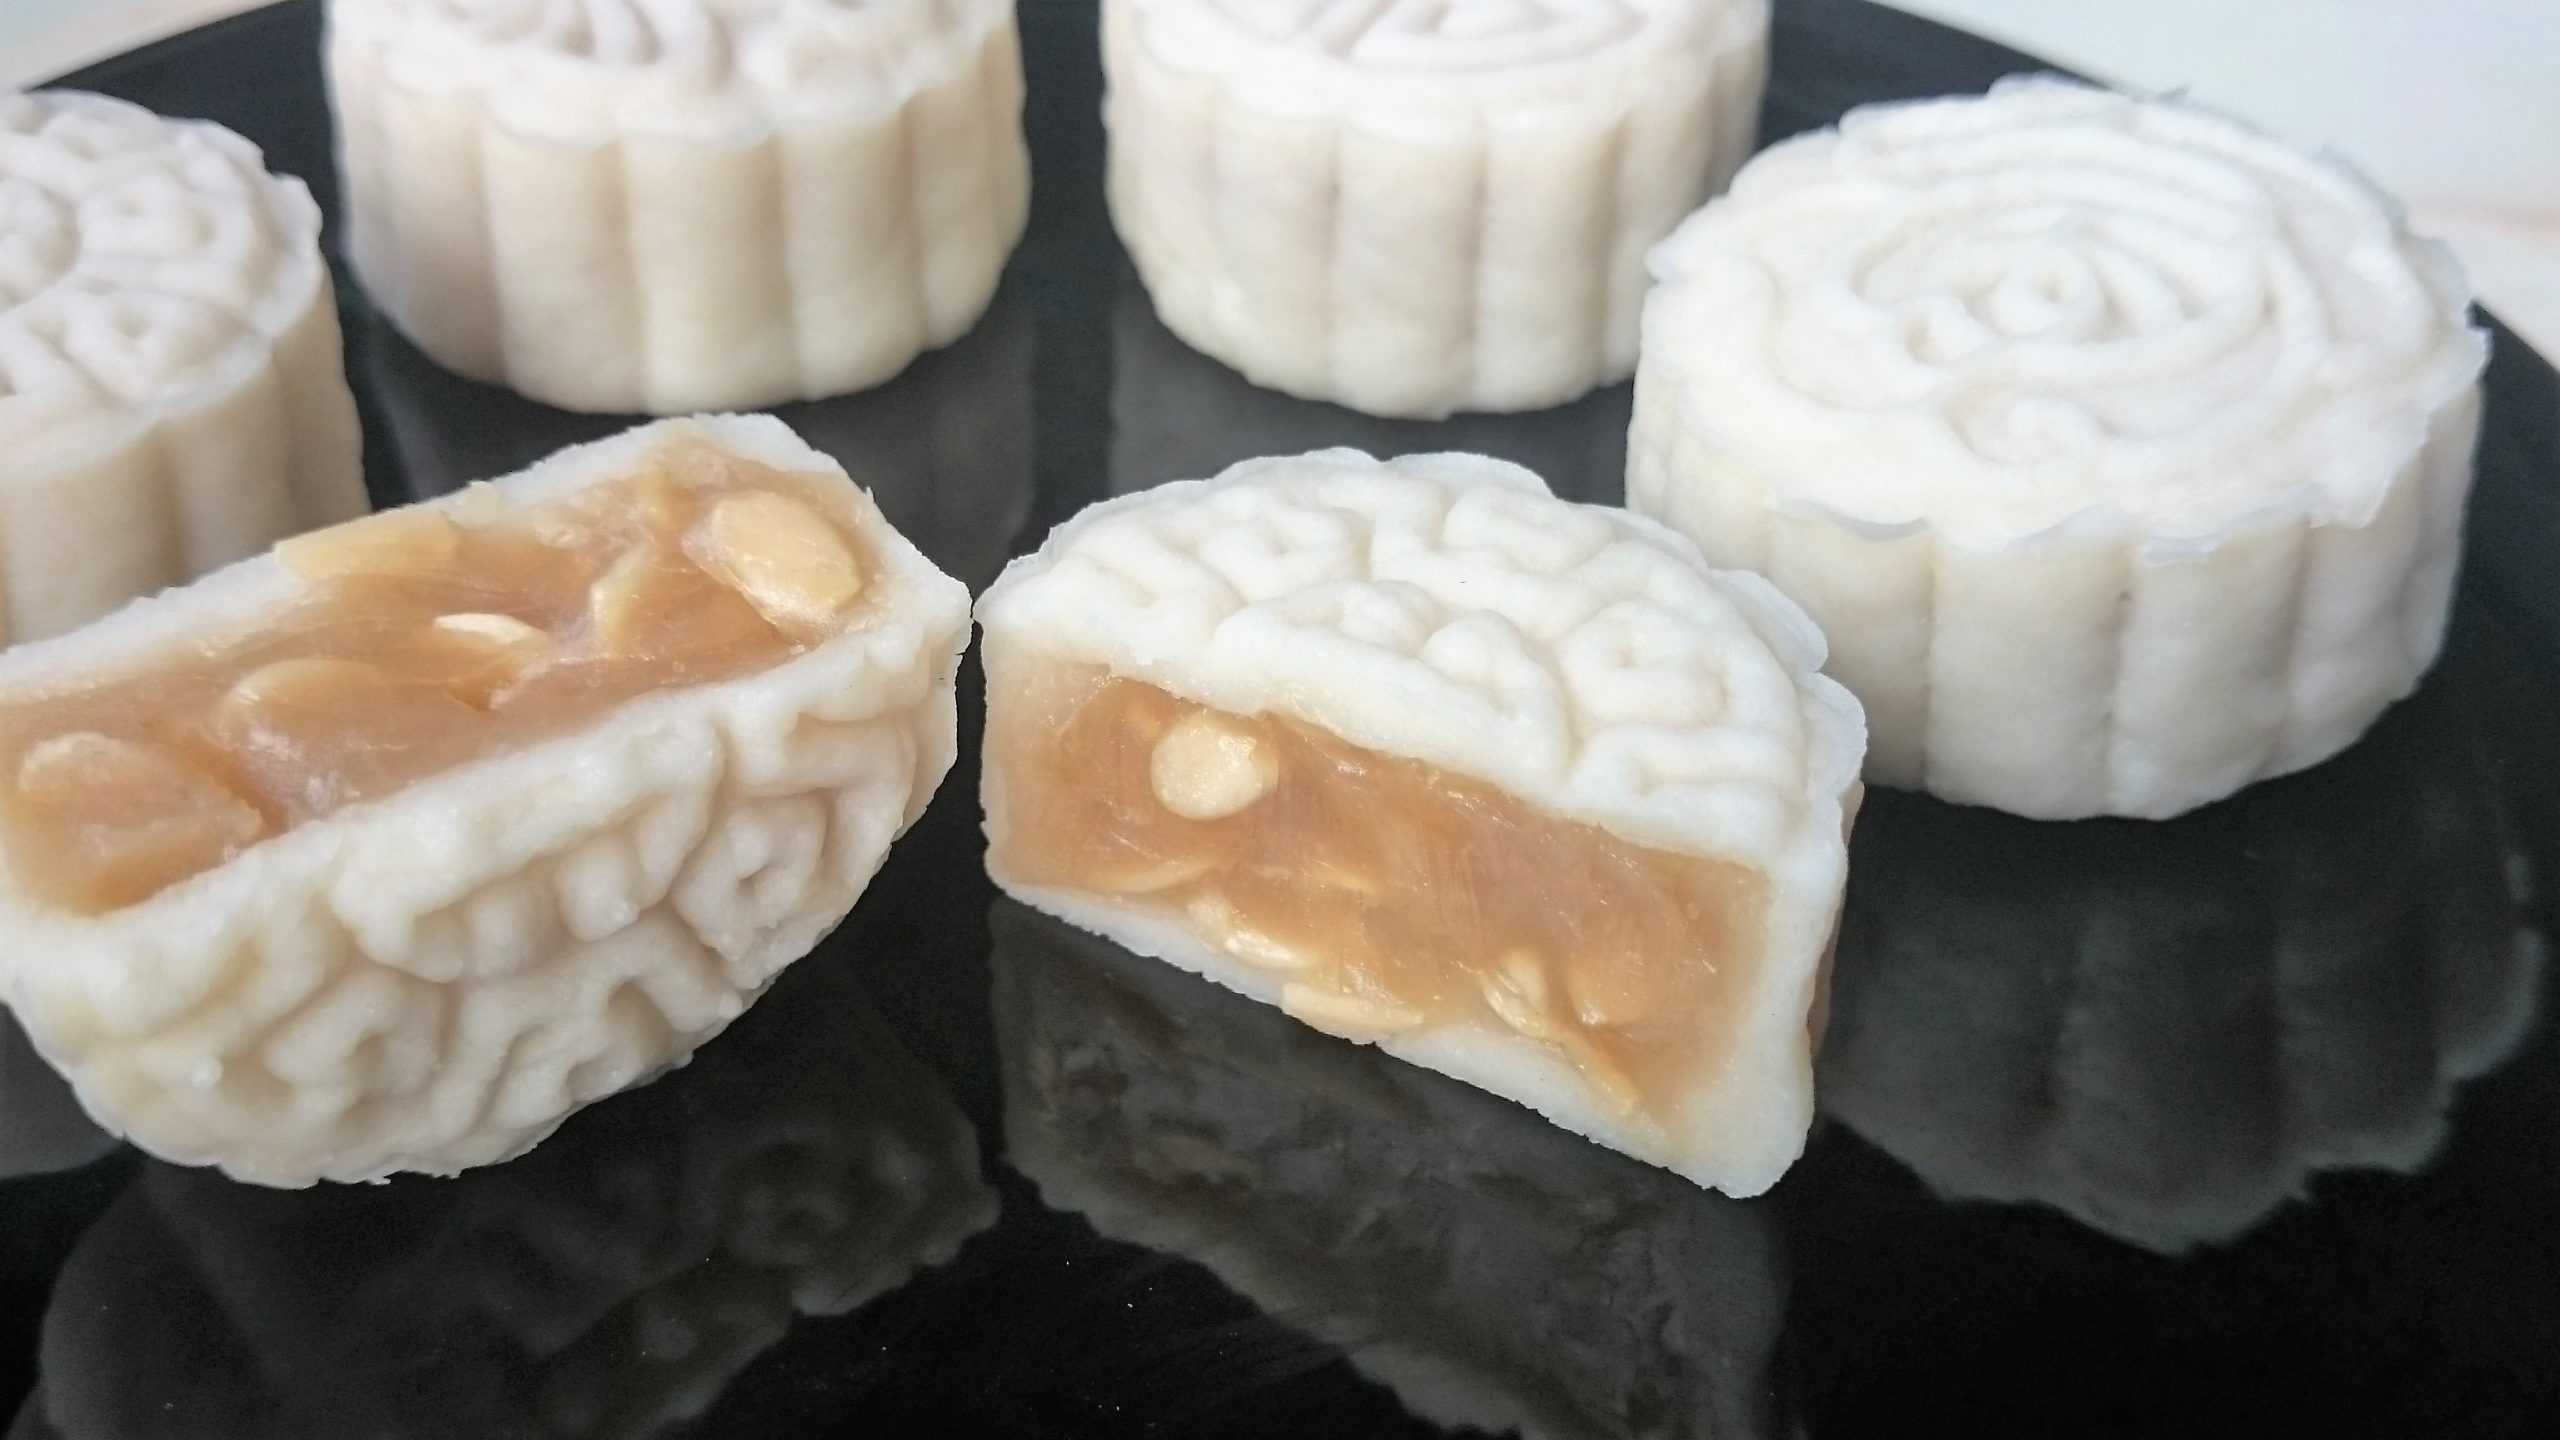
- Prep time
- 14 min
- Cook time
- 31 min
- Yield
- 4 servings
- Difficulty
- MEDIUM
Ingredients
Quantities are shown as originally provided.
- 4 pandan leaves
- 320 ml water (boiled with pandan leaves and extract 260 ml water)
- 110 g icing sugar (sifted)
- 260 g kao fen (cooked glutinous rice flour)
- 70 g shortening
- 5-9 salted egg yolks
- 1 tsp sesame oil
- 500 g lotus paste
- 500 g yam paste
- 120 g melon seeds
Instructions
- 1
Boil pandan leaves in a pot of water for about 20 minutes and measure out 260 ml water. Cool and store in fridge. This can be done the night before or a few hours before.
- 2
Sift icing sugar and kao fen in a bowl and mix well.
- 3
Add and rub shortening to flour and sugar mixture.
- 4
Slowly pour cooled pandan water a little at a time and knead until it forms a dough.
- 5
Transfer dough to a rolling board and stretch it a few times. Cover and and set aside to rest.
- 6
Wash salted egg yolks and place on a tray.
- 7
Drizzle sesame oil over the egg yolks and bake for 8 minutes at 175 C.
- 8
Cut baked egg yolks into quarters.
- 9
Mix lotus paste with melon seeds and set aside.
- 10
Weigh yam and lotus paste fillings of 20g each (for mooncakes with eggs) and 25g each (for mooncakes without eggs) and dough portions of 20g each and roll into balls.
- 11
Roll a piece of dough flat, make a hole in the lotus paste ball, insert ¼ salted egg yolk, wrap and roll into a ball.
- 12
Place paste ball in the centre of the rolled dough, overturn it and wrap the filling completely and gently roll into a ball.
- 13
Press the ball into a lightly floured mooncake mould.
- 14
Press the mould plunger firmly (holding the base) and gently push to release the mooncake.
- 15
Store mooncakes in airtight containers and keep in fridge.