Mung Bean Cake (No-Bake)
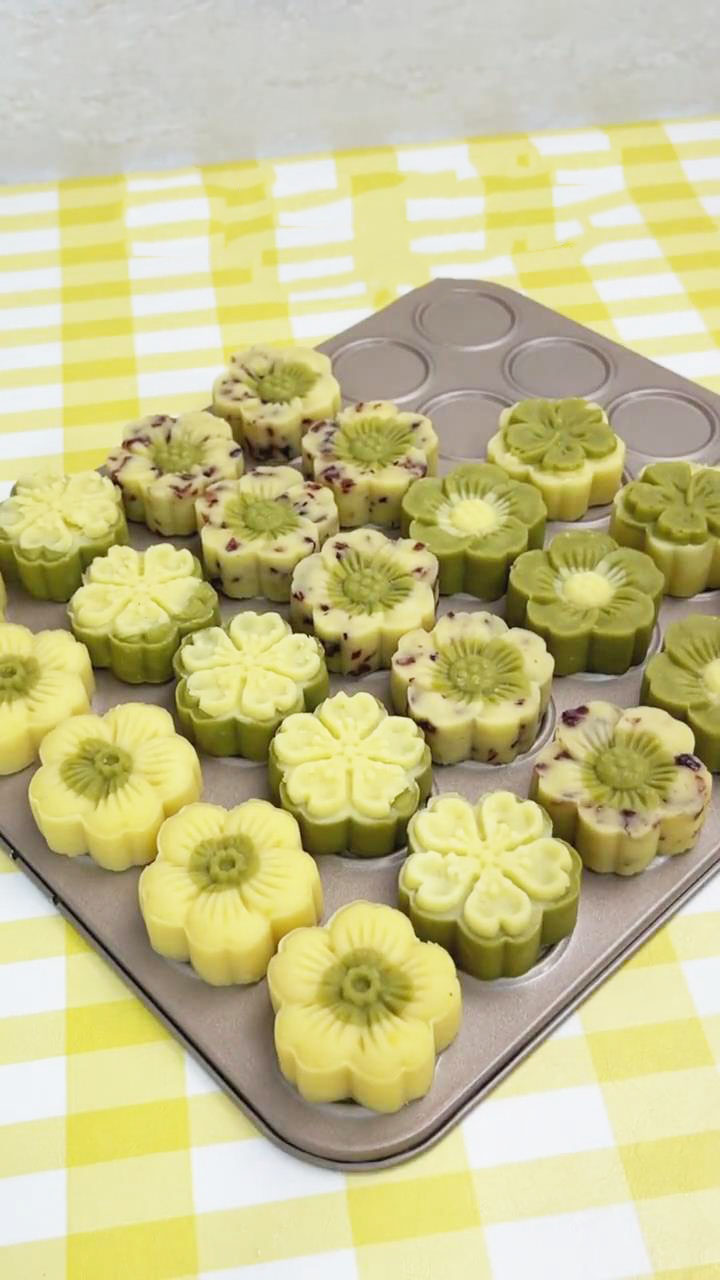
Thinking of a delightful Chinese dessert for summer? Mung bean cake (綠豆糕) is the best choice as it is recognized as a cooling ingredient in traditional Chinese medicine (TCM). You only need the main ingredients, including peeled mung beans, white sugar, and butter, as well as a few enhancing ingredients.
- Prep time
- 10 min
- Cook time
- 1 hr 20 min
- Yield
- 8 servings
- Difficulty
- MEDIUM
Ingredients
Quantities are shown as originally provided.
- 250 g of peeled mung beans
- 250 g of milk
- 50 g of butter
- 40 g of white sugar
- 10 g of condensed milk
- 25 g of milk powder
- A sprinkle of dried cranberries
- 2 g matcha powder
Instructions
- 1
Soak the peeled mung beans overnight in a bowl of water. Make sure the beans are submerged with enough water to allow them to expand.
- 2
Drain the soaked mung beans with a strainer.
- 3
Steam the soaked mung beans over high heat for about 40 minutes.
- 4
In a blender, add the steamed mung beans with milk and blend until smooth. It should become paste-like.
- 5
Transfer the blended mung bean paste to a non-stick pan.
- 6
Then, add the butter, white sugar, condensed milk, and milk powder.
- 7
Mix and heat the mixture over low heat until well combined. This should take approximately 30 minutes.
- 8
Continue mixing until the paste is foldable and does not stick to the spatula or your hands.
- 9
Next, divide the paste into three equal parts.
- 10
Take one portion and add chopped dried cranberries. Knead until the dried cranberries are evenly distributed.
- 11
For the second portion, add about 2g of matcha powder and knead until evenly mixed.
- 12
Lastly, fill the cake mold with the mixture and lightly press it against the surface to take its shape. In my recipe video, I placed a small green paste in the center and filled it with yellow paste to create a flower cake design. Get creative and make your own cake designs!
- 13
Release the cake from the mold by gently pressing the stamp.