Rice Krispie Treats
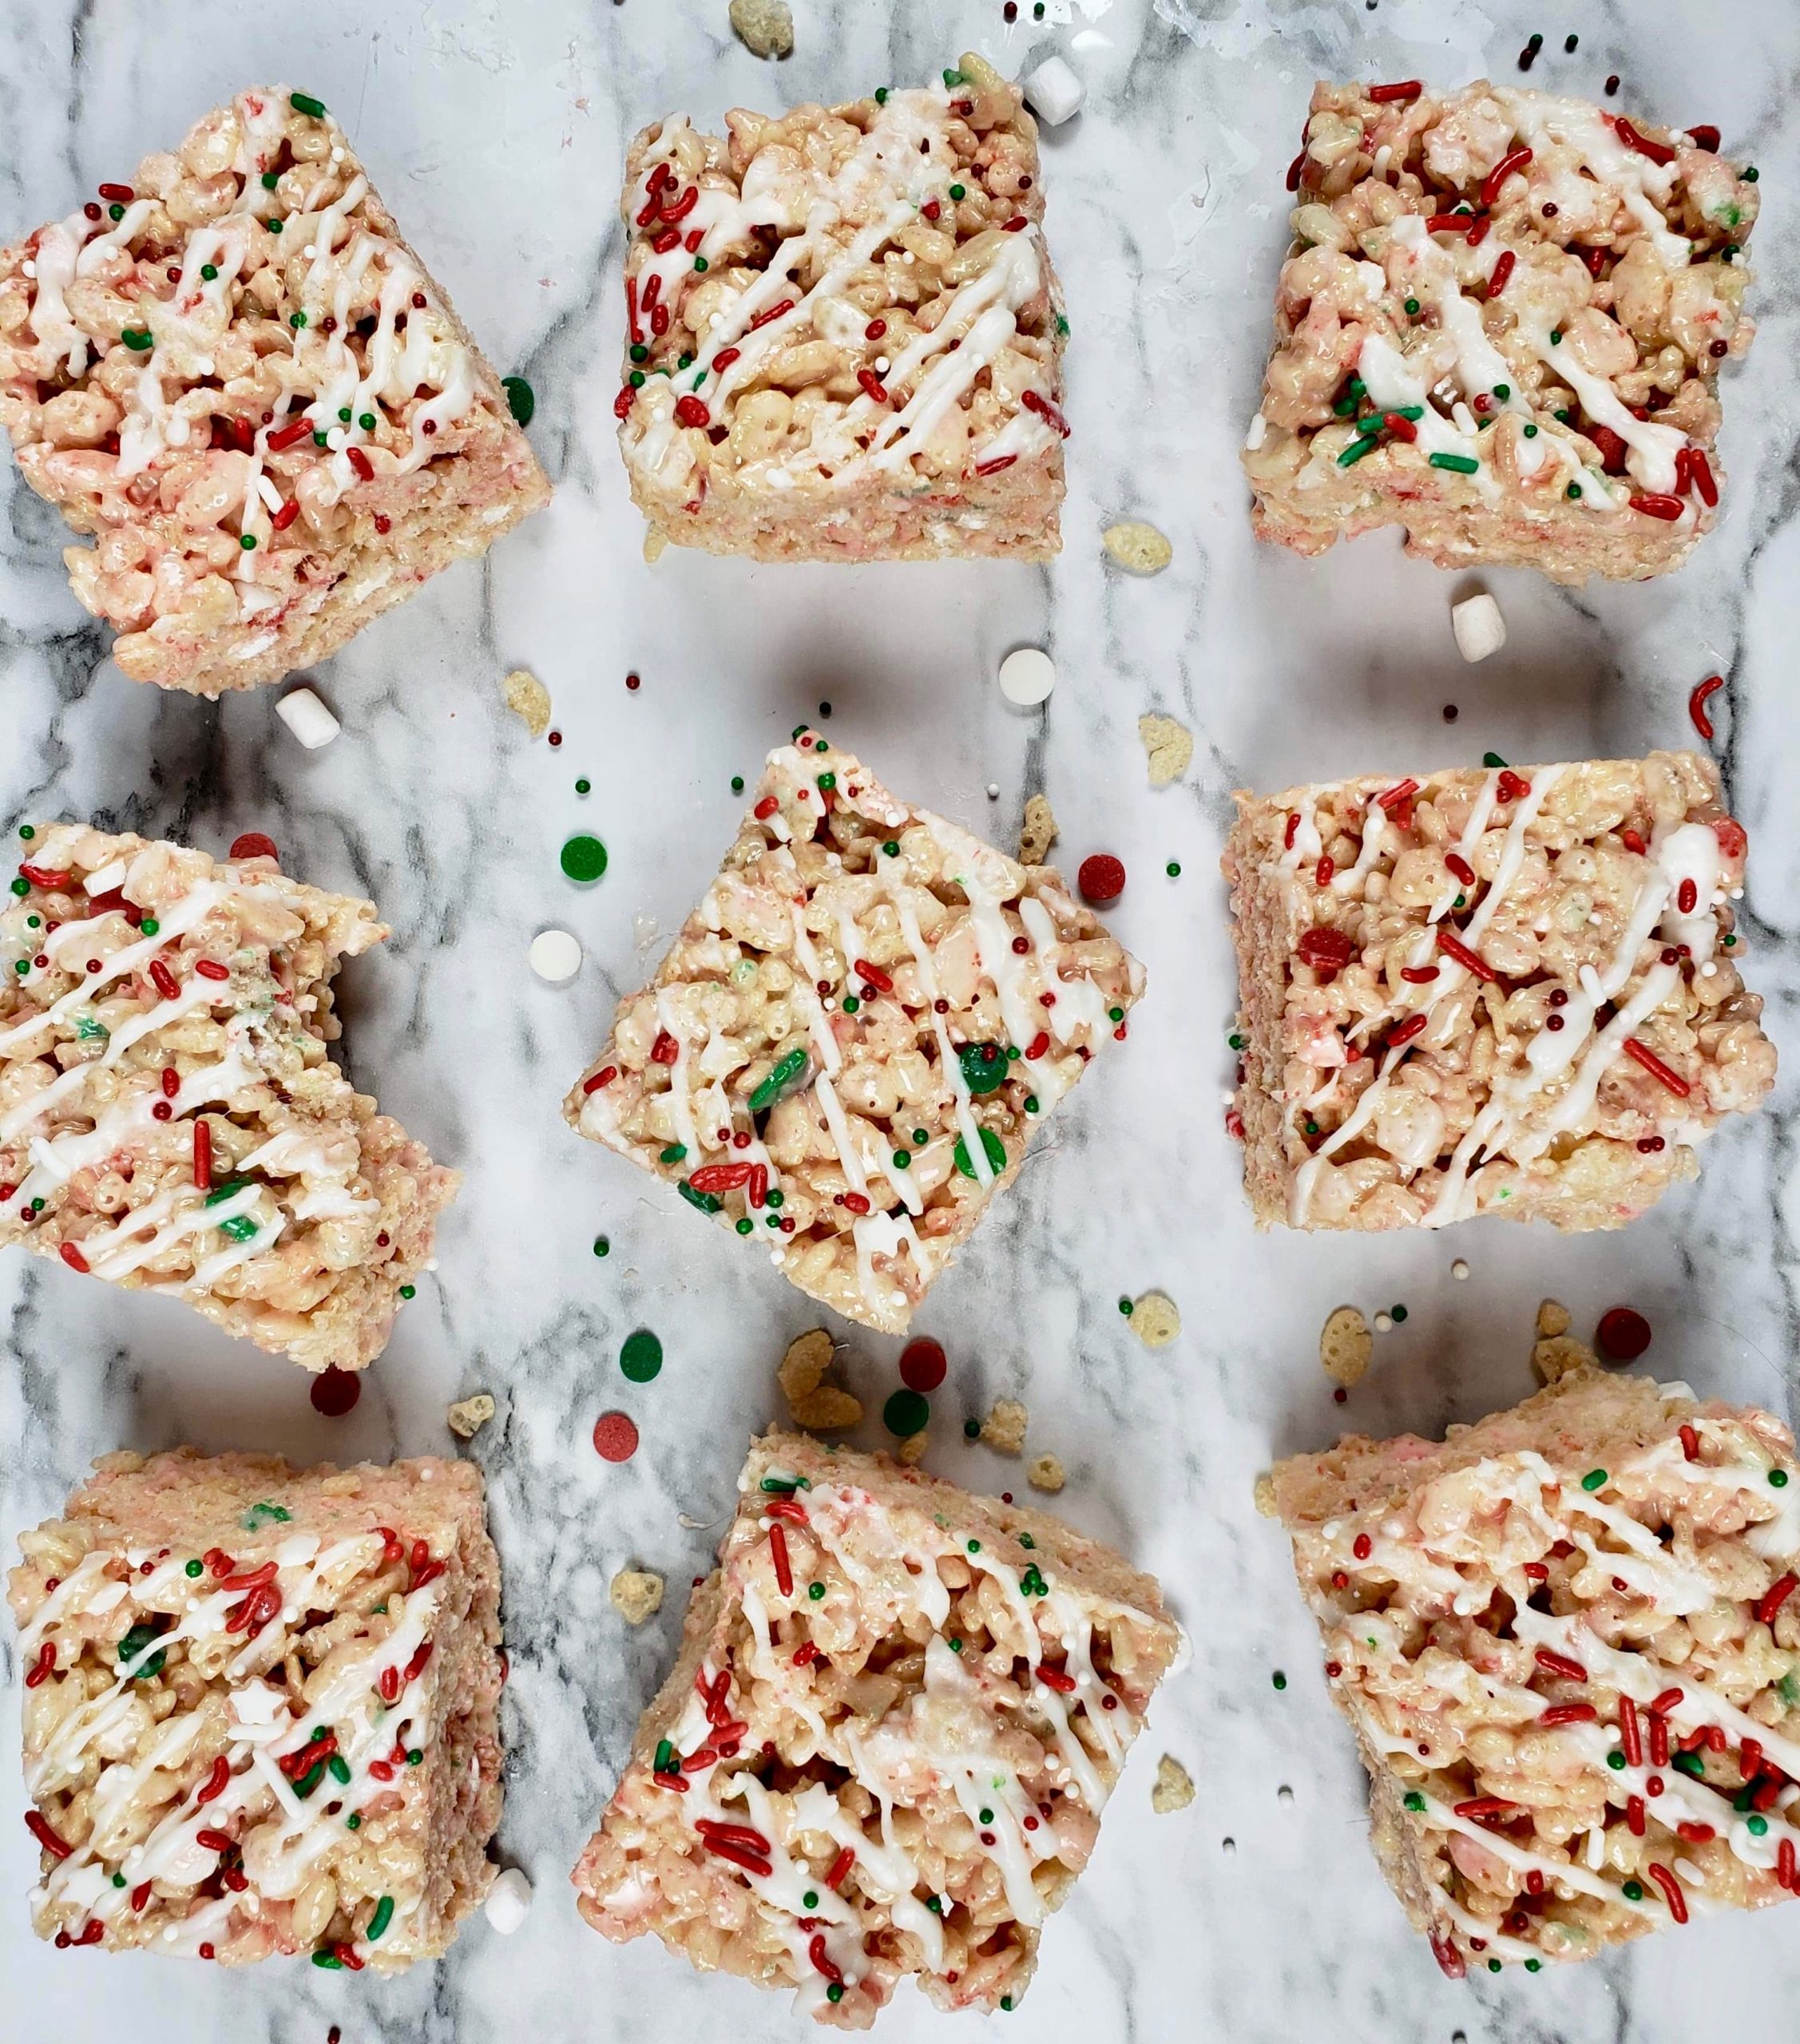
This Rice Krispie recipe is sooo much better than what you get in a package! It's chewy and marshmallowy, everything you wish the blue package have.
- Prep time
- --
- Cook time
- 5 min
- Yield
- 9 servings
- Difficulty
- MEDIUM
Ingredients
Quantities are shown as originally provided.
- 8 Tablespoon unsalted butter ((or 1 stick))
- 14 ounce mini marshmallows ((or marshmallow spread))
- Dash of vanilla extract
- Pinch of salt
- 6½ cups Rice Krispie cereal
- ¼ cup mini marshmallows
- 3 Tablespoon your favorite Christmas sprinkles
- 3 Tablespoon powdered sugar
- 2-3 teaspoon milk or heavy cream
Instructions
- 1
Melt marshmallows with butter. In a large pot, over med-high heat, add butter, marshmallows, salt, and vanilla. Stir constantly. Once everything is nicely melted and mixed, turn the heat to low.
- 2
Add Rice Krispie cereal. Add the Rice Krispie cereal and mix thoroughly. Optional: Add more mini marshmallows for additional chew, or add your favorite Christmas sprinkles for some holiday spirit! ***Be warned: smaller sprinkles will melt and turn your Rice Krispies to the sprinkle colors you used. The larger sprinkles will add some sprinkle crunch.
- 3
Transfer to 9x9 square pan. Line a 9x9 square pan with greased parchment. Transfer the Rice Krispie mixture to the square pan and loosely spread it evenly. Don't pack tightly! You will end up with crunchy, hard Rice Krispies. ***Grease your hands or spatula to avoid sticking.
- 4
Let cool. Let the Rice Krispies cool for 30 minutes to 1 hour before cutting.Optional: Once the Rice Krispies feel cool, you can drizzle it with a simple powdered sugar icing and sprinkles for decor.Powdered sugar icing: Mix 2-3 teaspoons of milk or heavy cream with 3 tablespoon of powdered sugar. Keep stirring until the mixture is smooth. Use immediately. Icing will dry in 15-30 minutes.
- 5
Cut and serve. Cut Rice Krispies into 9 equal pieces. Enjoy!