Milk Bread Recipe for Bread Machine
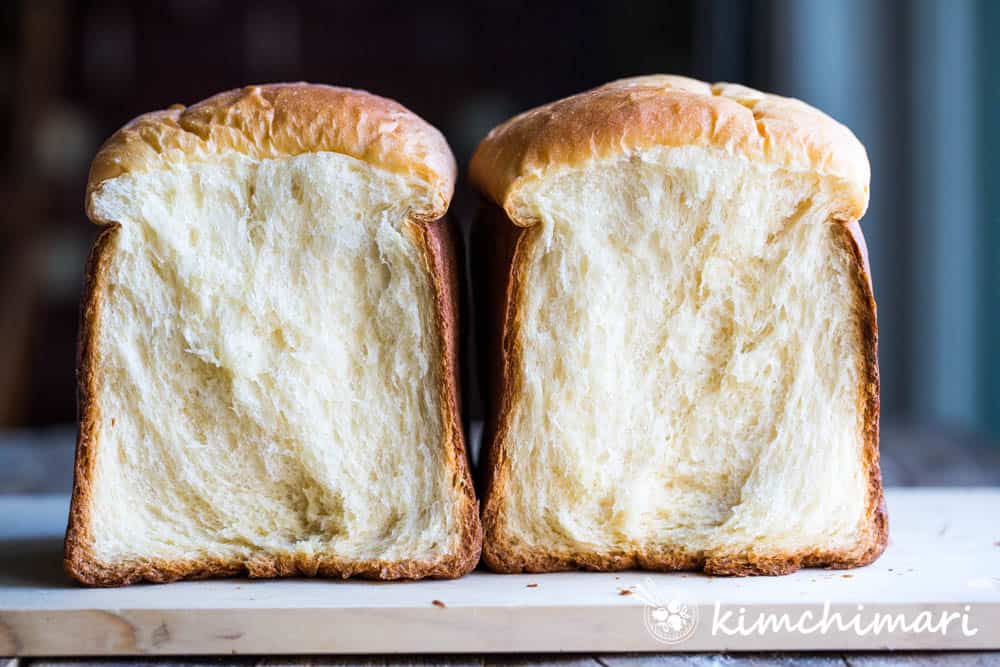
Milk Bread recipe that you can make in the bread machine! Fluffy, feathery and pillowy bread that's buttery and just so slightly sweet - you will for sure fall in love with this bread.
- Prep time
- 10 min
- Cook time
- 50 min
- Yield
- 14 servings
- Difficulty
- MEDIUM
Ingredients
Quantities are shown as originally provided.
- 3/4 cup 2% low fat milk ((use preheat function or warm up milk))
- 1/4 cup water (room temp)
- 60 g unsalted butter (60g = 1/4 cup, melted)
- 1 egg
- 1 tsp sea salt
- 365 g unbleached bread flour (365g = 2 3/4 cups)
- 50 g sugar (50g = 3.5 Tbsp)
- 2 Tbsp milk powder
- 7 g instant yeast (7g = 1 packet = 2 tsp)
- 1 Tbsp unsalted butter
Instructions
- 1
Melt 60 g unsalted butter in the microwave until it's fully melted (50% power 20-25 sec in microwave).
- 2
Warm up your 3/4 cup 2% low fat milk (to bath water temperature) and use room temp 1/4 cup water and 1 egg - especially if you don't have a preheat function within your dough cycle.
- 3
Add all the wet ingredients (milk, water, melted butter, egg) + 1 tsp sea salt into the bread pan. You can add salt with your dry ingredients but I like to add the salt in this step to ensure it doesn't inhibit the yeast in anyway.
- 4
Mix DRY ingredients - mix 365 g unbleached bread flour and 50 g sugar first in a bowl and then add to pan on top of the wet ingrdients.
- 5
Make a little well (or a divot) in the middle of the dry ingredients and add 7 g instant yeast inside the well and also add 2 Tbsp milk powder (I usually add it in the corner of the pan).
- 6
Put the bread pan in the machine with all the ingredients in and start a full Basic Dough cycle. See above for details of my machine's dough cycle - it basically takes 1 hr 50 min total of preheating and proving twice. If you don't have a dough cycle, you can use a stand mixer by following steps in my regular milk bread recipe. After the dough cycle is complete and finished proving, your dough should look something like the bottom pic in the picture. Top pic is how the dough looks like at the start of the kneading process. So just be patient!
- 7
When the dough is done (1), punch it down (2) and then take the dough out of the pan onto a granite or wood cutting board (4) and divide into 2 equal size dough (5). Sprinkle some flour on the surface and knead each dough a few times then shaping it tightly into a ball (7). IF you have custom rise function THEN nestle each dough ball back in the bread pan next to each other (8) and let the dough balls rise in the machine for 30 min. IF there's NO custom rise function in your machine, you can put each dough ball into separate bowls, cover with plastic wrap or towel and let it rise in warm location or 100℉ oven for 20 min.
- 8
Once the dough has risen, transfer the dough one at a time on a smooth surface (granite or marble works well), sprinkle surface very lightly with flour and also coat the rolling pin lightlly with flour. Roll out one dough ball into a thick rectangle about 12 inches long and 4-5 inches wide. Roll the top of the dough (3 inches) down and then fold the bottom up about the same amount, resulting in a square-like dough shape. Roll it into a log, starting from one end of the square until you have a roll all rolled up.
- 9
Lightly use 1 Tbsp unsalted butter on the sides of the bread pan and nestle the 2 logs down in the bread machine pan like above.
- 10
Put pan back in the bread machine and set it to rise for 1 hr or until the top of the dough is up about 70% height of the pan. Again, if you don't have custom rise function, let dough rise in the pan at room temp or in 100℉ oven for 40 min.
- 11
We are ready to start baking! Bake for 50 min. Select the crust to your preference. I usually set crust to medium. Optionally, for some shine, brush the top with some milk or egg whites before baking. Note that bread baked in the bread machine won't have the same golden brown top like you get in the oven. BUT, believe me, the taste and texture is just as good as my original milk bread recipe!