Easy Sourdough Bread
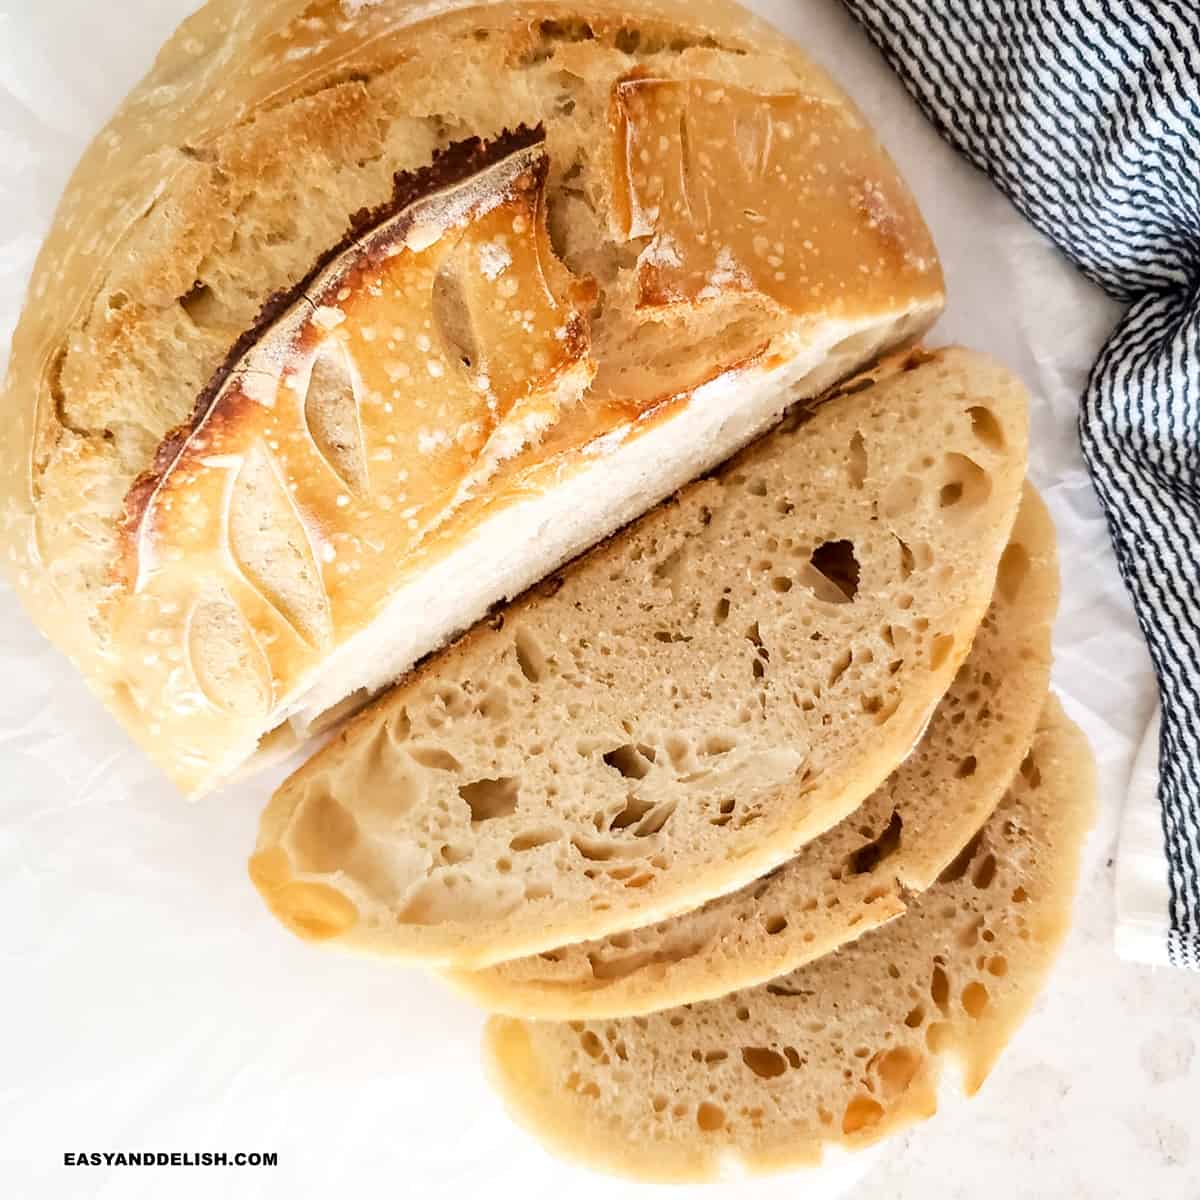
Find out how to make this homemade, easy sourdough bread recipe step-by-step and how to save time by not having to make your own sourdough bread starter. No commercial yeast is needed and has a low-glycemic index! Yield: 1 large loaf
- Prep time
- 23 hr
- Cook time
- 2 hr 25 min
- Yield
- 8 servings
- Difficulty
- EASY
Ingredients
Quantities are shown as originally provided.
- 1/2 cup active and bubbly sourdough starter
- 1 ½ cups + 1 tablespoon warm water
- 4 cups + 2 tablespoons bread flour
- 2.5 teaspoons fine sea salt (or 12 grams)
Instructions
- 1
TIP: Preferably, make the sourdough bread dough in the evening (2.5 hours) before heading to bed. This will help the bulk fermentation (8-10 hours) happen overnight and will save you time.
- 2
Make the dough: In a large bowl, mix together the sourdough starter and warm water with a rubber spatula until fully incorporated. Then add in the bread flour and salt, mixing until thoroughly combined. Cover with a thin, damp towel (e.g. a tea towel or flour sack towel ) and let it rest for 30 minutes.
- 3
Stretch and fold: After 30 minutes, grab the side of the dough and fold it up and inwards toward the center (as if folding paper into an envelope.) Continue to fold all around the dough – about 4-5 times.
- 4
Then, let it rest for extra 30 minutes. Make sure to repeat this fold every 30 minutes for a total of 4 times – which will take about 2 hours. But If you don’t have 2 hours to spend, just do it the first time and proceed to the next step!
- 5
Bulk fermentation (first rise): Cover the bowl with a dry thin towel, and allow it to rest at room temperature around (70°F or 20°C) for 8-10 hours, or until the dough has just doubled in size or just under. If your home is in a warm, humid environment, it may go quicker than 8 hours, while a colder environment may take longer to proof.
- 6
You may find a container with straight sides to be easiest to use to watch for when it has doubled in size. A general rule of thumb is to go by visual cues rather than the actual clock. TIP: You can find a warmer spot in your kitchen such as atop a fridge or inside the microwave or oven (with the light on).
- 7
Shape: Gently turn out the dough onto a lightly floured surface. Use your hands to cup the sides of the dough to form it into a round shape or a ball of dough. TIP: You can gently pull the edges out and tuck them under to help shape the dough. Use a dough scraper to help you with this process. Let the dough rest for extra 30 minutes.
- 8
Proof (second rise): Prepare an 8”(20cm) bowl or banneton (proofing basket) by placing a towel on the bottom, and lightly sprinkling with flour. Carefully transfer your bread to the proofing basket, seam up. Allow it to proof in the basket for an additional 1 to 2 hours at room temp.
- 9
Cut a piece of parchment paper to fit inside a dutch oven. You want it to extend up the sides, but not get in the way when you secure the lid. The parchment paper will help you to transfer the bread dough to the hot dutch oven without burning yourself. Preheat the oven to 550°F (290°C) and place the dutch oven inside to heat up.
- 10
Score: Once the oven is preheated, place the parchment paper over the top of the proofing basket and flip the basket upside down to remove the dough carefully. Use a small razor blade to cut into the dough so the steam escapes while baking. A simple “C” or “X” on the top works fine! Use the parchment paper to transfer the dough to the dutch oven.
- 11
Bake: Lower the oven temperature to 450°F (230°C). Cover the top of the dutch oven and bake your loaf of bread for 30 minutes. After 30 minutes, remove the lid and bake for extra 10-15 minutes, or until golden brown.
- 12
Allow your sourdough bread to cool on a wire rack for at least an hour before slicing.