Hatch Green Chile Cornbread
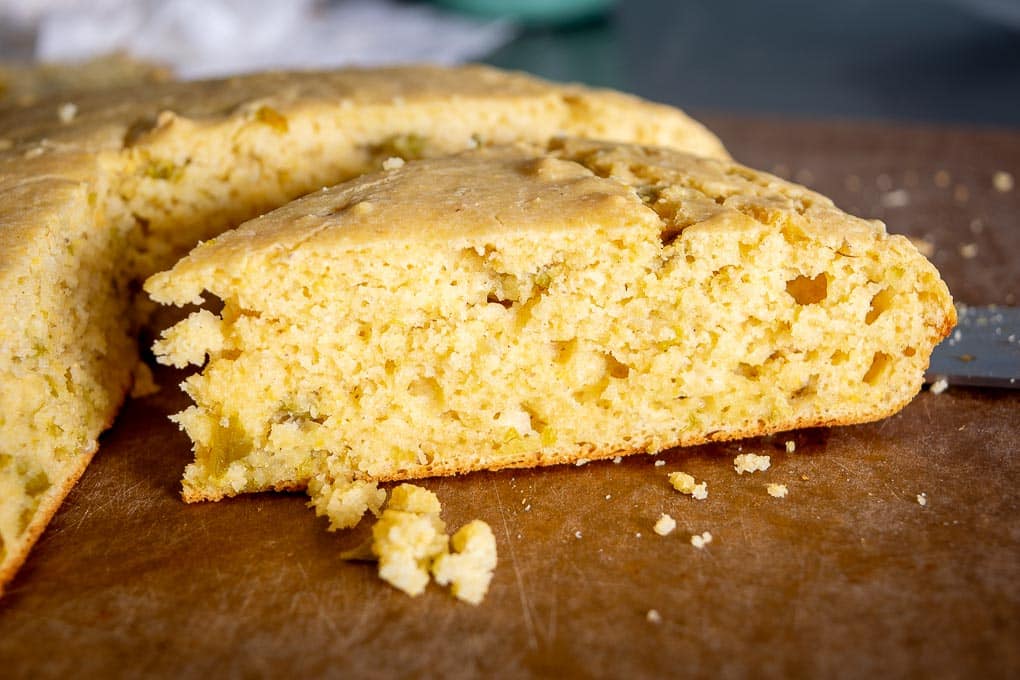
Adding roasted Hatch chiles to your cornbread is a real treat! I also use Masa Harina in this batch and that gives you a nice bump in corn flavor.
- Prep time
- 30 min
- Cook time
- 30 min
- Yield
- 8 servings
- Difficulty
- MEDIUM
Ingredients
Quantities are shown as originally provided.
- 2 Hatch chiles (or 1/2 cup chopped green chiles)
- 1.25 cups Masa Harina
- 1 cup all-purpose flour
- 2 teaspoons baking powder
- 3 tablespoons sugar (I used brown sugar)
- 1 teaspoon salt
- 2 eggs
- 3 tablespoons butter
- 1.5 cups milk
Instructions
- 1
Start by giving the Hatch chiles a good rinse. Then roast them in the oven (400F) for 30 minutes or so. Feel free to roast them with your preferred method.
- 2
When the Hatch chiles are done roasting you can remove them from the oven and let cool for a couple minutes. Then de-stem and de-seed them. You can also peel off and discard any puffy bits of skin. Finely chop the Hatch chile pieces -- you'll end up with 1/2 cup worth.
- 3
Preheat a 10" cast iron skillet or similar sized baking dish in the oven at 425F.
- 4
Add the dry ingredients to a mixing bowl and combine well: 1.25 cups Masa Harina, 1 cup flour, 2 teaspoons baking powder, 1 teaspoon salt, and 3 tablespoons sugar.
- 5
Melt 3 tablespoons of butter: I used a separate, small skillet on the stovetop over medium-low heat. You'll use 2 tablespoons of this for the wet ingredients, with the final tablespoon reserved for the baking dish.
- 6
In a separate bowl combine the wet ingredients: 2 whisked eggs, 1.5 cups milk (I used whole milk), and 2 tablespoons of the melted butter.
- 7
Add the wet ingredients to the dry ingredients and combine well using a spatula or spoon. Add the diced Hatch chile pieces. Combine well. If it seems thick feel free to add another splash of milk. Ideally it has a consistency that allows it to settle into an even layer on its own.
- 8
Add the final tablespoon of melted butter to the pre-heated baking dish and swish it around to coat. Be sure to use a hotpad when pulling the pre-heated baking dish from the oven as sometimes the empty dish will trick your brain into thinking it's at room temp!!
- 9
Add the batter to the baking dish, forming an even layer. Bake for around 20-25 minutes (425F), but I usually start taking peeks at 20 minutes. When the sides are turning darker brown you are mostly there. You can also test it by sticking a knife or fork in the center -- if it pulls out clean then the insides are done.
- 10
Let the cornbread rest in the baking dish on the stovetop for a couple minutes. Then serve it up with an optional slice of butter.
- 11
Store leftovers in a Ziploc in the fridge where it will keep for a few days. Here's my awesome re-heating method: add a slice of butter to a skillet over medium heat. Dredge all sides of a cornbread slice in the melted butter and then cook each side until it is just starting to brown -- it will take a few minutes and this is usually enough to heat it through, plus you get some crispy edges :)