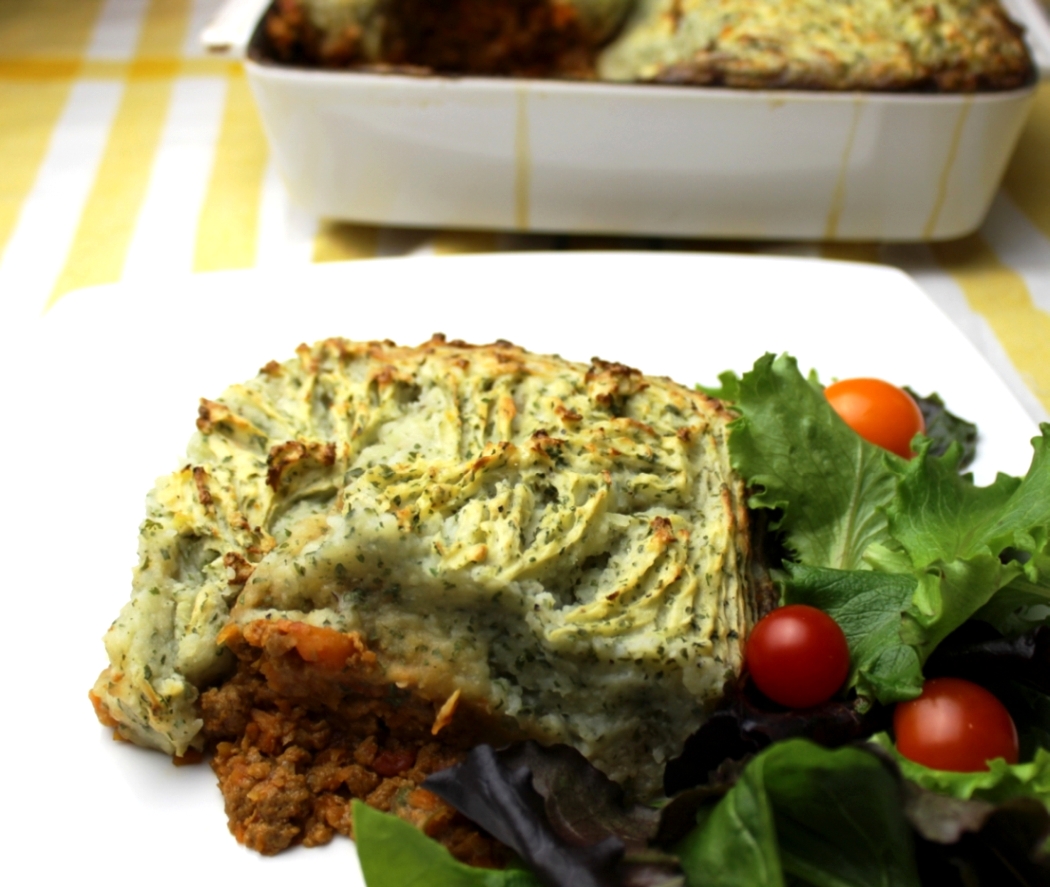
Cottage pie with Quorn mince
Cottage pie with Quorn mince requires approximately 45 minutes from start to finish. For $3.45 per serving, this recipe covers 33% of your daily requirements of vitamins and minerals. One portion of this dish contains approximately 32g of protein, 28g of fat, and a total of 629 calories. This recipe
- Prep time
- 13 min
- Cook time
- 31 min
- Yield
- 3 servings
- Difficulty
- HARD
Ingredients
- 750 g potatoes
- 25 g butter
- 3 tbsp milk
- 1 tbsp parsley
- 400 g quorn mince
- 1 medium onion
- 1 bay leaf
- 2 carrots
- 4 garlic cloves
- 2 chillies
- 2 tsp cumin powder
- 1 tbsp rosemary
- 400 g canned tomatoes
- 200 ml water
- 1 veg stock cube
- 1 egg
- 3 servings salt and pepper
- 3 servings oil
Instructions
- 1
Add the stock cube to 200 ml of boiling water and keep aside to dissolve.
- 2
Bring a saucepan of water to a boil.
- 3
Add the potatoes and cook until tender - around 15 to 20 minutes.
- 4
Drain the potatoes, remove in the saucepan and mash till smooth.
- 5
Add the butter, parsley and milk, mixing thoroughly. (
- 6
Add more milk if required)
- 7
Preheat the oven to 200 C. In a large frying pan, heat a tablespoon of oil.
- 8
Add the onion, carrots, garlic, green chillies and the bay leaf and fry for 4-5 minutes on medium heat.
- 9
Add the frozen Quorn mince and the cumin powder and cook for further 5 minutes. Then add in the tomatoes, chopped rosemary and stock. Bring to a boil and turn off the heat.
- 10
Remove the bay leaf and transfer the Quorn mince to an oven proof dish in a single layer.
- 11
Add the mashed potatoes on the top, covering the quorn mince and fluff the mash layer with a fork. Lightly brush the surface with a beaten egg. Cook in the oven for 20-25 minutes.
- 12
* You can also add a layer of grated cheese on top of the potatoes. Skip the egg if using cheese.