Homemade Master Larabar
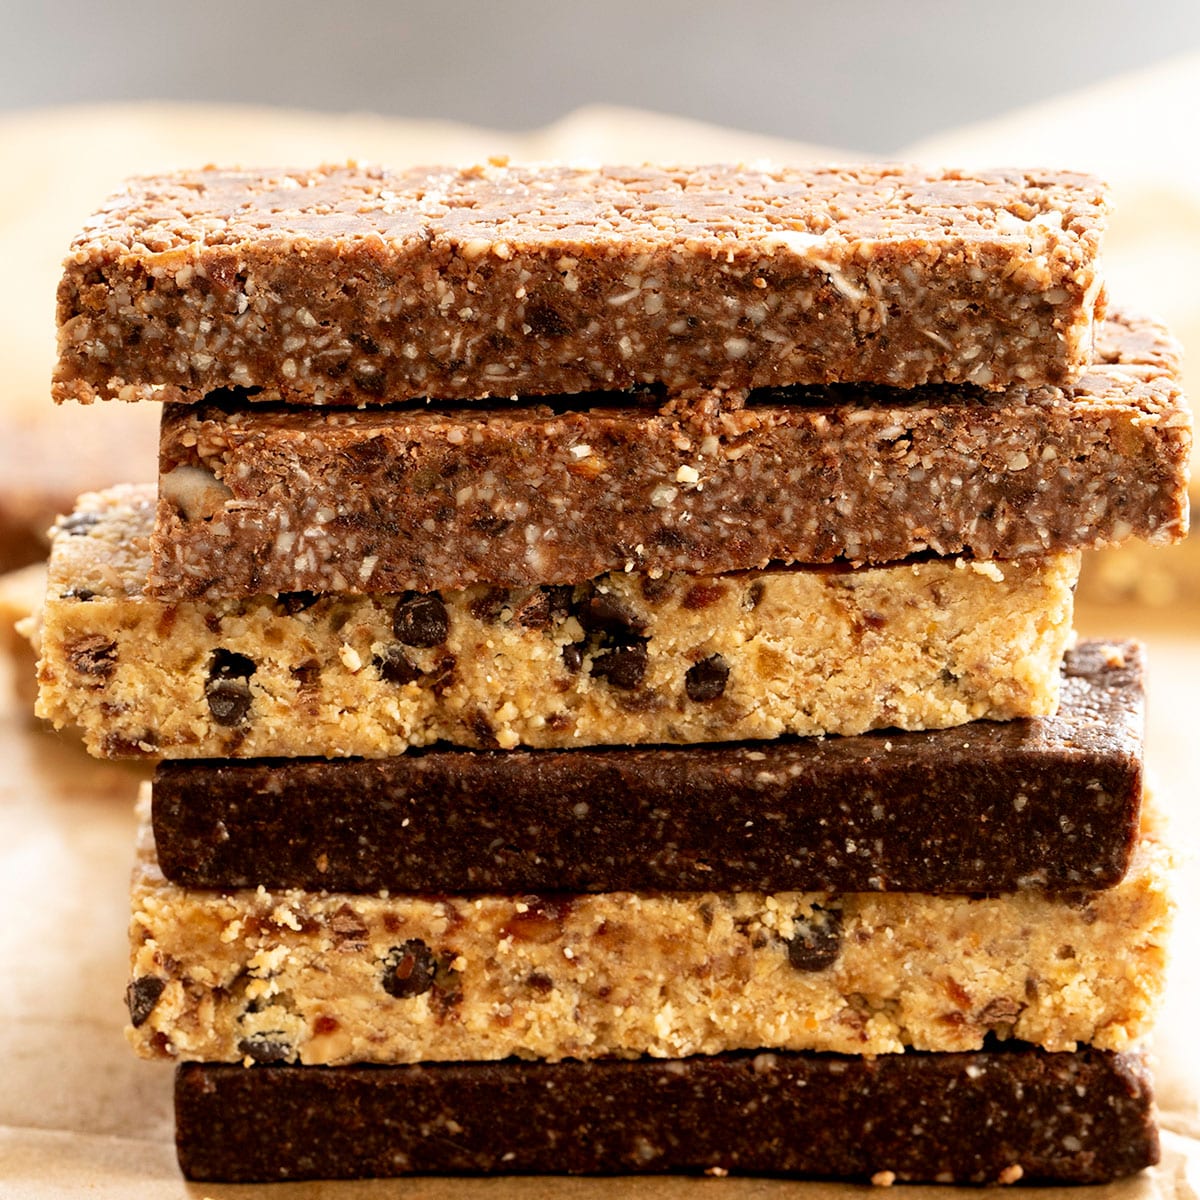
This master Larabar recipe is the secret to making your favorite energy bars with whatever flavors you like. The perfect gf snacks!
- Prep time
- 15 min
- Cook time
- 31 min
- Yield
- 12 servings
- Difficulty
- HARD
Ingredients
Quantities are shown as originally provided.
- 3 cups roasted unsalted peanuts
- 1/2 pound Medjool (or Deglet Noor) dates (pitted)
- 4 tablespoons virgin coconut oil (melted)
- 1/4 teaspoon kosher salt
- 3 ounces miniature chocolate chips
- 2 cups raw almonds
- 1/2 pound Medjool (or Deglet Noor) dates (pitted)
- 4 tablespoons virgin coconut oil (melted)
- 3 ounces unsweetened chocolate (melted)
- 1/4 teaspoon kosher salt
- 1 1/2 cups raw coconut flakes
- 2 cups raw almonds
- 3/4 cup raw walnuts
- 4 tablespoons virgin coconut oil (melted)
- 3 tablespoons unsweetened cocoa powder ((Dutch-processed preferred but natural works, too))
- 1/2 pound Medjool (or Deglet Noor) dates (pitted)
- 1/4 teaspoon kosher salt
- 3 ounces unsweetened chocolate (melted)
- 2 ounces chocolate chips (any kind)
Instructions
- 1
Line an 8-inch square baking pan with unbleached parchment paper, making sure the paper overhangs the pan on all sides. Set the pan aside.
- 2
In a food processor fitted with a steel blade, process the peanuts until small crumbs form (about 20 seconds).
- 3
Add the dates, melted coconut oil, and salt, and pulse about 4 times or until the mixture forms wet clumps and holds together well when pressed in your palm.
- 4
Add the miniature chocolate chips to the mixture and mix with a spoon until the chips are evenly distributed throughout.
- 5
Transfer the entire mixture to the prepared baking pan and spread it into an even layer.
- 6
Cover the top with another sheet of parchment and press the mixture firmly into one even, compressed layer.
- 7
Place the baking pan in the refrigerator to chill for at least 30 minutes or until firm.
- 8
In a food processor fitted with a steel blade, process the almonds until small crumbs form (about 20 seconds).
- 9
Add the dates, melted coconut oil, melted chocolate, and salt, and pulse about 4 times or until the mixture forms wet clumps and holds together well when pressed in your palm.
- 10
Add the coconut flakes to the mixture and pulse quickly and briefly (about twice) until the flakes are about 1/4 of their original size.
- 11
Transfer the entire mixture to the prepared baking pan and spread it into an even layer.
- 12
Cover the top with another sheet of parchment and press the mixture firmly into one even, compressed layer.
- 13
Place the baking pan in the refrigerator to chill for at least 30 minutes or until firm.
- 14
In a food processor fitted with a steel blade, process the almonds and walnuts until small crumbs form (about 20 seconds).
- 15
In a small bowl with the melted coconut oil, add the cocoa powder and mix until well-combined.
- 16
To the bowl of the food processor with the nut crumbs, add the oil and cocoa powder mixture, the dates, salt, and melted chocolate, and pulse about 4 times or until the mixture forms wet clumps and holds together well when pressed in your palm.
- 17
Add the chocolate chips to the mixture and pulse 2 to 3 times to break up the chips a bit and evenly distribute them throughout.
- 18
Transfer the entire mixture to the prepared baking pan and spread it into an even layer.
- 19
Cover the top with another sheet of parchment and press the mixture firmly into one even, compressed layer.
- 20
Place the baking pan in the refrigerator to chill for at least 30 minutes or until firm.
- 21
Once firm, remove the bars from the pan by the overhung parchment paper and place on a cutting board.
- 22
Slice into 12 equal rectangles with a large, sharp knife.
- 23
Store the bars, individually wrapped in plastic or just piled into a sealed container, in the refrigerator until ready to serve.