Gluten Free Ice Cream Cones
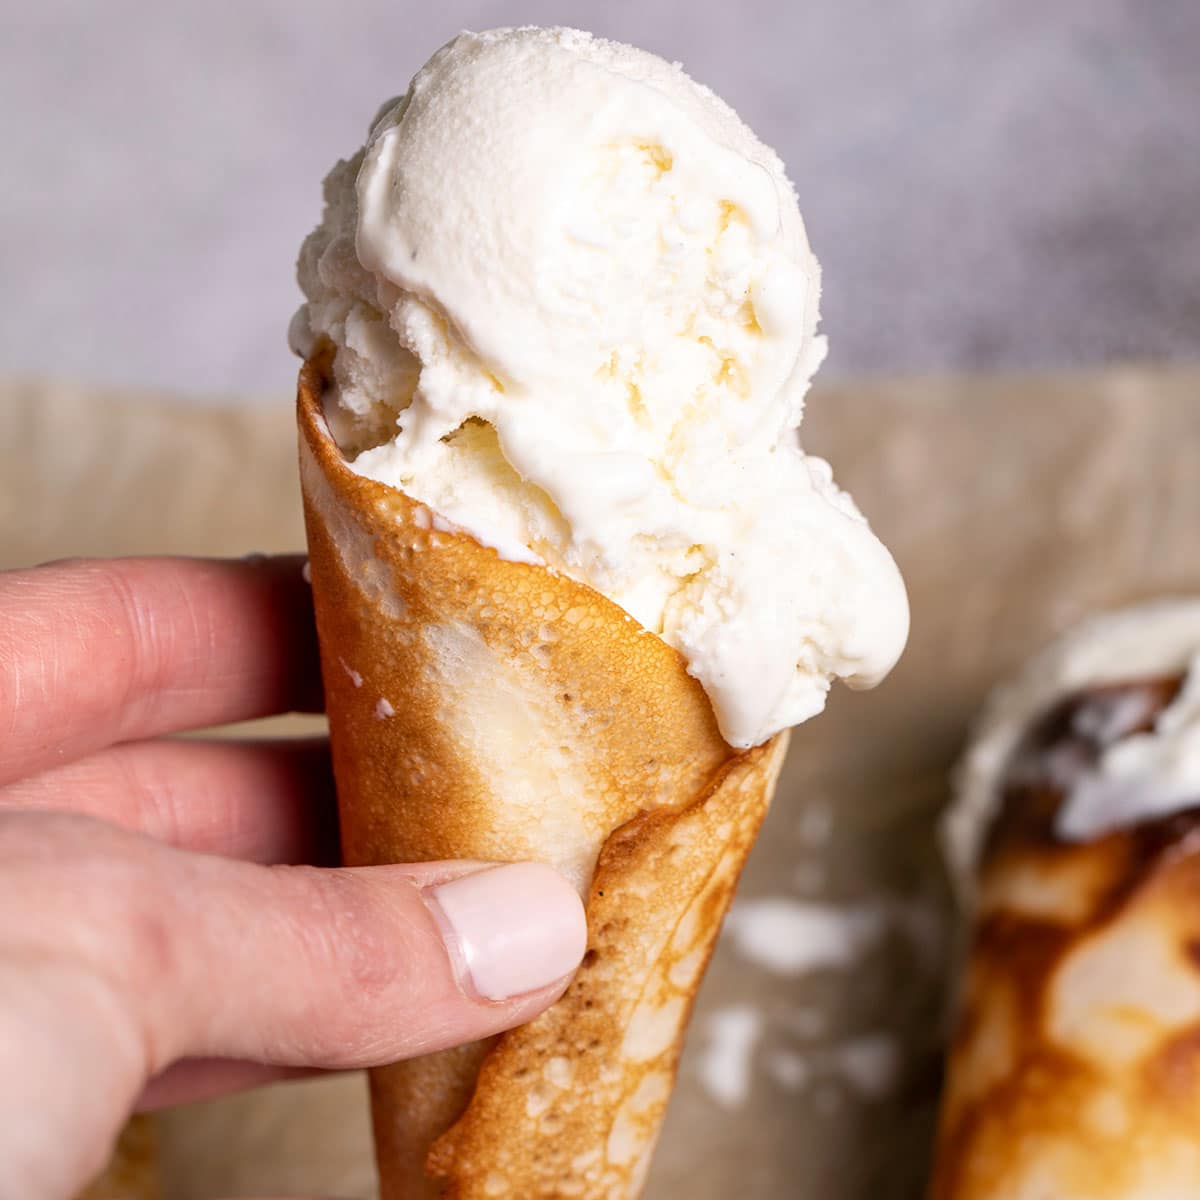
Bring back the classic taste of sugar cones with these gluten free ice cream cones. You only need a few basic gluten free ingredients, in just the right amounts, plus a hot skillet!
- Prep time
- 5 min
- Cook time
- 10 min
- Yield
- 5 servings
- Difficulty
- MEDIUM
Ingredients
Quantities are shown as originally provided.
- 1/2 cup gum free gluten free flour (See Recipe Notes)
- 1/8 teaspoon xanthan gum (optional (See Recipe Notes))
- 1/8 teaspoon kosher salt
- 3/8 cup granulated sugar
- 2 tablespoons unsalted butter (melted and cooled)
- 1 egg white (at room temperature)
- 1 teaspoon vanilla extract (or 1/2 teaspoon almond extract)
- 2 to 4 tablespoons milk ((plus more by the drop, as necessary))
- Coconut oil or butter for greasing the pan
Instructions
- 1
In a large measuring cup or bowl with a pour spout, place the flour blend, xanthan gum, salt and granulated sugar. Whisk to combine well.
- 2
Add the melted butter, vanilla extract, egg white, and 2 tablespoons of milk. Whisk until very smooth. Add more milk by the teaspoonful, whisking well in between additions, until the batter is pourable but not too thin.
- 3
It should be about the consistency of a classic pancake batter. If you’ve used an all purpose gluten free flour with xanthan gum already in it as your flour blend, you’ll need to add a few more milk drops before each cone.
- 4
Brush a 10-inch nonstick pan lightly with coconut oil or butter, and place over medium-low heat. Once the pan is hot and the oil is shimmering, pour or ladle in about 3 tablespoons of batter.
- 5
Gently shake the pan so that the batter is evenly distributed in a circle, about 5 inches in diameter. I also like to use a small offset spatula to create a round with uniform thickness. Be careful not to spread the batter so thin that the edges will instantly crisp.
- 6
Cook on one side until just set and beginning to brown, about 2 minutes. Flip the pancake and press evenly on the cooked side with a flat spatula so that the underside browns evenly.
- 7
Cook, while pressing, for another minute, and flip. Repeat the procedure on the other side, pressing to brown evenly.
- 8
Once the pancake is a deep golden brown on at least one side, remove it from the pan, and roll it into a cone shape immediately. If you’re doing it free form, simply roll the round pancake with one hand around the fingers of the other, concentrating on the tip.
- 9
Cinch together the bottom of the cone while it is still warm, and gently hold it closed until the seams stick together. Place on a wire rack to cool.
- 10
Repeat with the remaining batter and cones.
- 11
Place a mini marshmallow or two in the bottom of each cone to help catch drips as the ice cream melts. In a non humid environment, they will stay crisp at room temperature for a couple of days, or in 3 days in a sealed glass jar at room temperature.