Onigiri (Japanese Rice Ball)
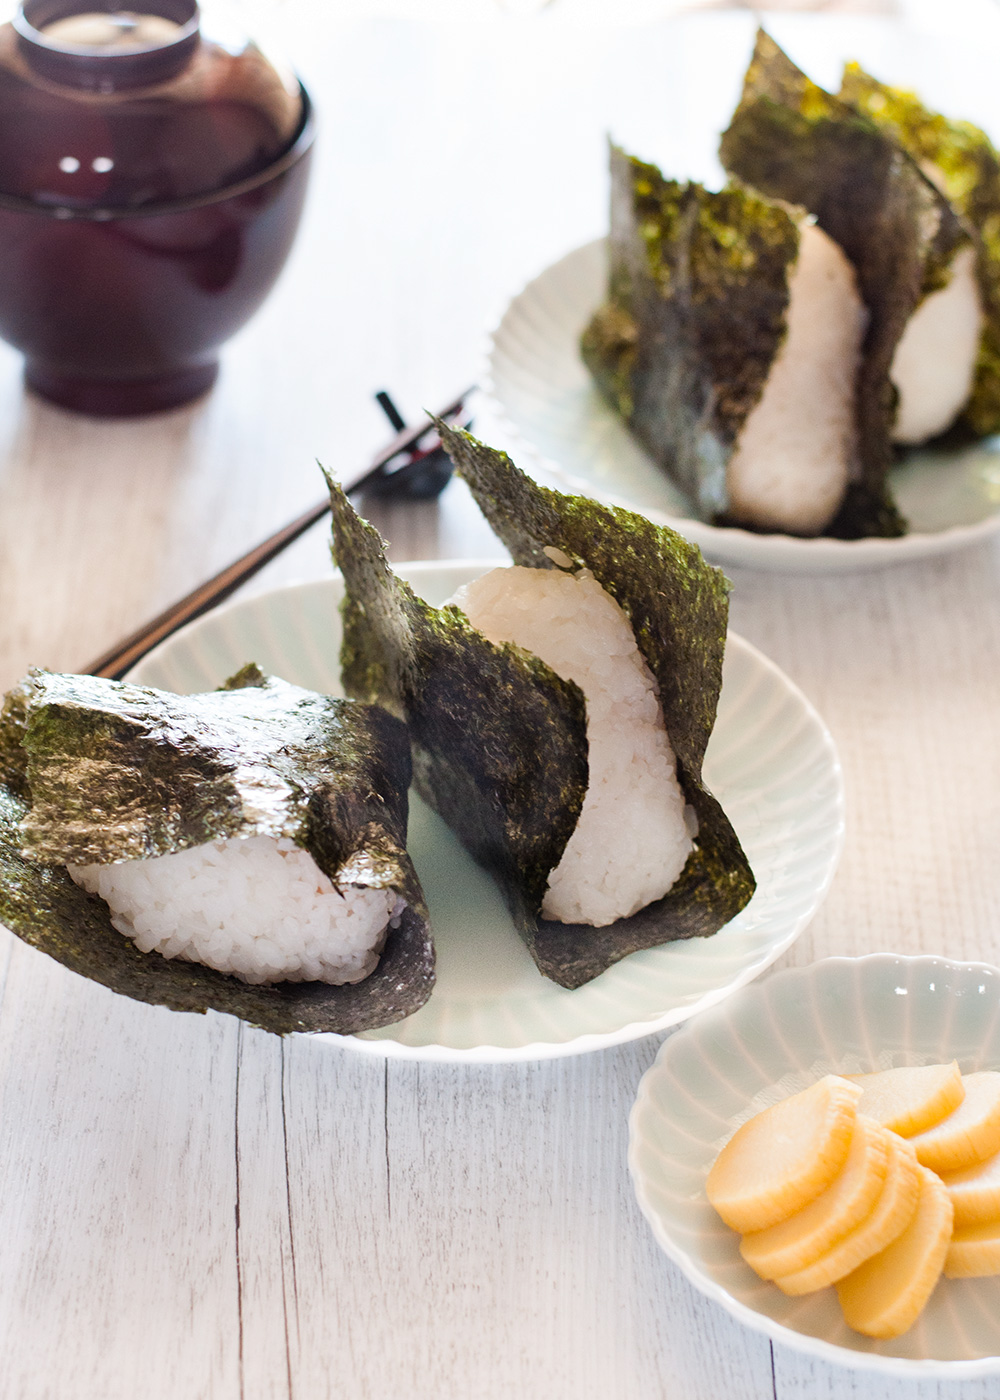
Onigiri (おにぎり, Japanese rice ball) is like a sandwich in Western culture. Why don’t you take rice balls wrapped in yaki nori (roasted seaweed sheet) with grilled salted salmon for lunch? It’s such a simple food but it is so comforting and tasty that you can’t stop eating. Instead of salmon or other popular protein, you can add pickled vegetables or pickled salty plum to make it 100% vegetarian. The shape can be flat and round instead of triangle.
- Prep time
- 20 min
- Cook time
- 20 min
- Yield
- 4 servings
- Difficulty
- MEDIUM
Ingredients
- 120 g (4.2oz) grilled salmon with salty flavour (, broken into small chunks (note 1))
- 21/2 cup cooked rice ((hot or warm, note 2))
- a bowl of water ((about 1 cup))
- 1 tsp salt in a little shallow bowl/plate ((note 3))
- 4 x 1/2 size yaki nori sheet ((note 4))
Instructions
- 1
Place a cutting board in front of you and arrange salmon and the onigiri ingredients around it.
- 2
Add ¼ of the cooked rice to a tea cup or a small rice bowl of 150-180ml (5-6 oz), then turn it over and place the rice on the cutting board.
- 3
Wet your finger with water and make a well in the centre of the rice using your finger.
- 4
Add ¼ of the salmon pieces to the well.
- 5
Wet both palms of your hands with water, then take about ¼ of the salt and rub both palms together to spread the salt over them.
- 6
Pick up the rice from both sides by making a cup with your hands so that the rice will sit in your palms.
- 7
Using your thumbs, press down the salmon and then gather the rice around to cover the salmon and bury it in the centre (note 5) and make a rice ball.
- 8
Place the rice ball on the palm of the left hand, then place your right hand over the rice ball perpendicular to your left hand.
- 9
Then using mainly three fingers (index finger, middle finger and ring finger), squeeze the rice ball with both hands to shape it into a triangle. The left hand should control the thickness of the onigiri to make it about 4cm (1 ½”) thick and the right hand should shape the triangle. Press firmly but not too tight (note 6).
- 10
While pressing firmly, occasionally roll the triangle and press to make the onigiri more like an equilateral triangle.
- 11
Place the onigiri in the centre of a yaki nori sheet and cover both sides of the triangular surface with yaki nori.
- 12
Repeat for the remaining 3 onigiri (note 7).