Home-made Kiriboshi Daikon (Dried Shredded Daikon)
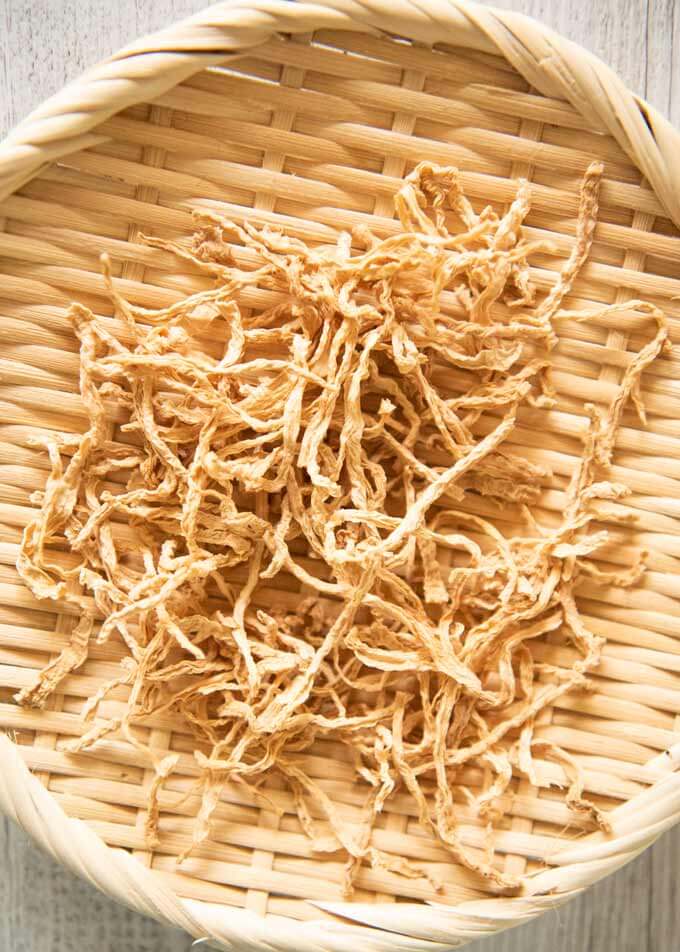
It is easiest if you can get a packet of Kiriboshi Daikon from stores, but you can make Kiriboshi Daikon at home quite easily too. All you need to make Home-made Kiriboshi Daikon (Dried Shredded Daikon) is a fresh daikon and several days of sunny weather!Why don't you make Simmered Kiriboshi Daikon (Dried Shredded Daikon) from scratch?
- Prep time
- 5 min
- Cook time
- 84 hr 4 min
- Yield
- 4 servings
- Difficulty
- HARD
Ingredients
Quantities are shown as originally provided.
- 300g/0.7lb daikon (, peeled (note 1))
- A drying net, a flat bamboo basket, or a cane tray (note 2)
Instructions
- 1
Cut daikon into about 5cm long discs (note 3). Place the daikon disc with the round surface on the cutting board and cut it into 5mm/3/16" thick rectangular slices.
- 2
Pile the rectangle slices on top of each other a few slices at a time, and cut them into 5mm/3/16" matchsticks in the same directions as the slices are cut.
- 3
Spread the daikon matchsticks over the drying surface of the net/basket, separating each piece as much as possible (note 4). A couple of daikon pieces can be stuck but there should not be many sticks piled up.
- 4
Place the daikon in the sun until sunset (note 5). You will notice that some daikon pieces are already semi-dried and shrunk. If they are not semi-dried, it is likely that two or more daikon pieces are stuck together. Separate them into individual pieces.
- 5
Bring the daikon net/basket inside the house, then take it out into the sun the next morning.
- 6
Repeat steps 4 and 5 for 5-7 days until the daikon pieces become yellowish (see the photo in post) and crispy (note 6). The Kiriboshi Daikon is now ready.
- 7
Place the dried daikon pieces in a zip lock bag and store in a dry place or fridge until required. It keeps 6-12 months.