Soft & Puffy Yeasted Gluten-Free Donuts
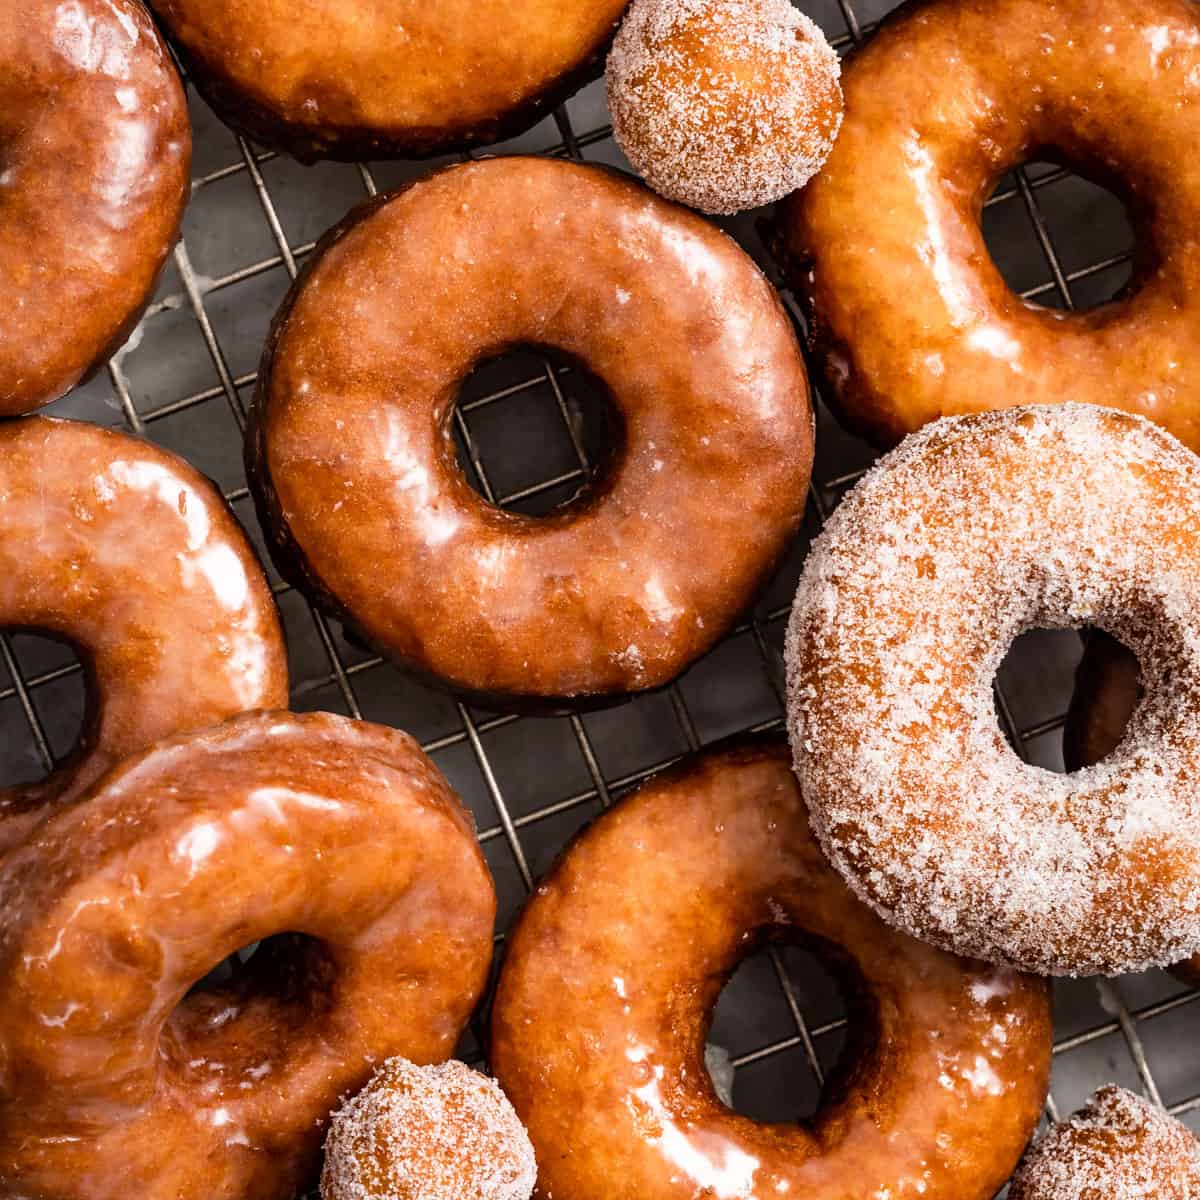
Yeasted gluten-free donuts that fried to crisp golden perfection, with a soft and fluffy center. You can make a gluten-free version of that signature donut shop glazed donut easily at home! Roll them in sugar for a fluffy sugar donut or drizzle with thicker icing and sprinkles. This recipe works as a weekend project or a quick make-ahead dough that rises overnight in the fridge.
- Prep time
- 30 min
- Cook time
- 20 min
- Yield
- 16 servings
- Difficulty
- HARD
Ingredients
Quantities are shown as originally provided.
- 1¼ cups whole milk (warmed to 110°F – 115°F (see note for dairy-free))
- 4 teaspoons active dry yeast (see note for instant yeast option)
- ¼ cup granulated sugar
- 2 large eggs (room temperature)
- 7 tablespoons unsalted butter, (melted and slightly cooled)
- 1 teaspoon pure vanilla extract
- 189 g Bob’s Red Mill gluten-free oat flour
- 93 g Bob’s Red Mill millet flour
- 100 g Bob’s Red Mill sweet rice flour (different from white rice flour or brown rice flour)
- 84 g Bob’s Red Mill tapioca flour
- 2 teaspoons Bob’s Red Mill xanthan gum
- 1 teaspoon kosher salt
- 1 teaspoon baking powder
- 3-4 cups vegetable oil for frying
- 1 cup + 2 tablespoons heavy cream or whole milk (warmed to 110°F – 115°F (see note for dairy-free))
- 4 teaspoons active dry yeast (see note for instant yeast option)
- ¼ cup granulated sugar
- 2 large eggs (room temperature)
- 7 tablespoons unsalted butter (melted and slightly cooled)
- 1 teaspoon pure vanilla extract
- 168 g Bob's Red Mill tapioca flour
- 120 g Bob's Red Mill brown rice flour
- 154 g Bob's Red Mill super-fine blanched almond flour
- 86 g Bob’s Red Mill cornstarch
- 2 teaspoons Bob’s Red Mill xanthan gum
- 1 teaspoon kosher salt
- 1 teaspoon baking powder
- 3-4 cups vegetable oil (for frying)
- 3 cups powdered sugar (sifted (see note for sugar donut option))
- ½ cup whole milk
- ½ teaspoon pure vanilla extract
Instructions
- 1
Activate the yeast. In the bowl of your stand mixer fitted with the paddle attachment (see note), mix together the warm milk, sugar, and yeast. Let sit for 10 minutes while the yeast activates and foams. Note: If your yeast hasn't foamed up after 10 minutes, you may have bad yeast and you should try again with a new packet.
- 2
Mix dry ingredients. In a medium bowl, whisk together all of the dry ingredients. For the oat flour version: oat flour, millet flour, sweet rice flour, tapioca flour, xanthan gum, kosher salt, and baking powder. For the almond flour version: tapioca flour, brown rice flour, almond flour, corn starch, xanthan gum, kosher salt, and baking powder.
- 3
Make the dough. Once the yeast has foamed, add the eggs, melted butter, vanilla, and about 1 cup of the dry mixture to the stand mixer and mix until completely smooth, scraping down the sides as needed. With the mixer on low, slowly mix in the remaining dry ingredients, scraping down the sides as needed. Mix on high speed for 2 minutes. The dough will be very soft and sticky.
- 4
Toss in tapioca flour. Coat your work surface well with tapioca flour. Use a spatula to dump the dough onto your work surface. Sprinkle more tapioca flour on top of the dough and ensure your hands are coated in tapioca flour before touching the dough. This dough is much softer and sticker than gluten dough. Gently form the dough into a ball with the surface of the dough entirely dusted with tapioca flour so it is no longer sticky. NOTE: If you're doing a make-ahead overnight fridge proof, skip step 5 and immediately cut out your donuts.
- 5
Let the dough rise. Transfer the dough to an oiled glass bowl. Cover with plastic wrap and let rise in a warm place for 2 hours, until doubled in size. I use the proof setting in my oven.
- 6
Cut out your donuts. Dust your work surface well with tapioca flour before dumping the dough onto the surface. Again ensure your hands are coated in tapioca flour before touching the dough. Press the dough into 1/2 - 3/4 inch thickness and cut out your donuts and/or donut holes. Any size works - I use 3-3.5-inch cutters. Use a bench scraper to transfer each donut to a parchment-lined baking sheet. Knead the scraps back into a ball and repeat until you've made all the donuts.
- 7
Let the dough rise again. Cover with plastic wrap and let rise for another hour.
- 8
Prepare the glaze. Whisk together the glaze ingredients until smooth.
- 9
Fry the donuts. Heat at least 2 inches of oil to 360°F - this is a bit cooler than normal frying temperature because the gluten-free dough needs to cook just a little longer and you don't want the outside to get too dark in the process. Use a candy thermometer to keep the oil at a consistent temperature. Place a wire rack over a baking sheet. Carefully drop your donut face down into the oil. Fry 3-4 donuts at a time, 2 minutes on each side, until golden brown. Transfer to the prepared rack to cool slightly for 3-5 minutes. Repeat.
- 10
Glaze the donuts. When you finish frying the next batch, dunk the previous batch of slightly cooled donuts into the glaze on both sides. Place back on the wire rack. The glaze will set after about 20 minutes. If you've got sprinkle-loving kids, add sprinkles right after you glaze the donuts before it sets. For sugar donuts, see notes.
- 11
Enjoy! For best results, serve donuts the same day. If you have leftovers, you can store them lightly covered at room temperature for up to a day. Reheat for 8-10 seconds in the microwave before enjoying. Day-old donuts will be less fluffy inside and will lose their crispness.