Homemade Gluten-Free Oreos
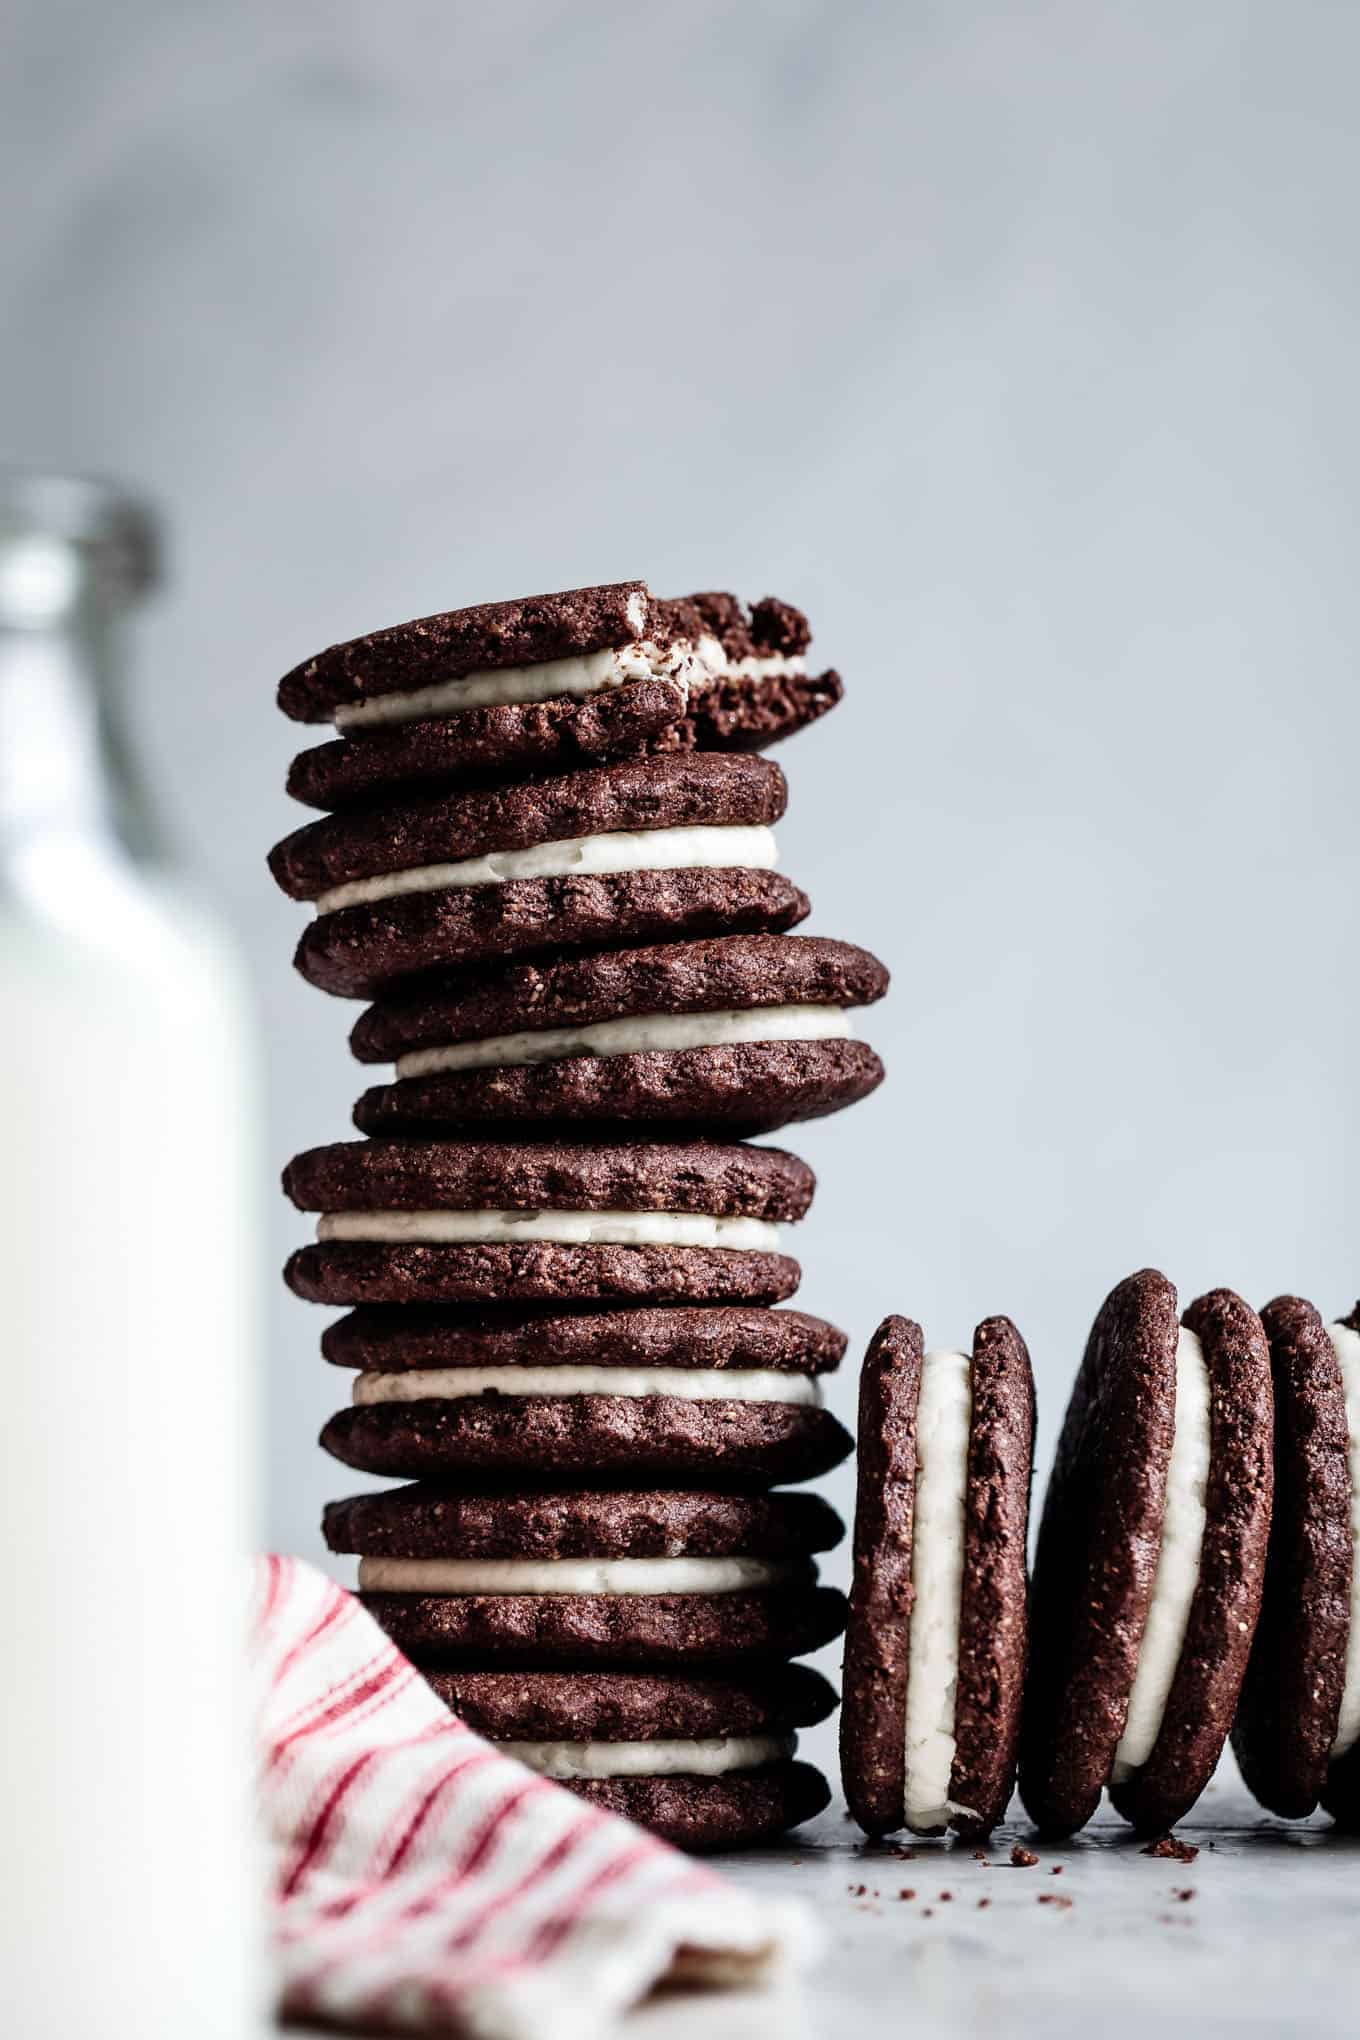
These homemade gluten-free Oreos have crisp and snappy chocolate cookie wafers. Sandwich them with traditional vanilla buttercream that smooth and creamy, so nostalgic!
- Prep time
- 45 min
- Cook time
- 11 min
- Yield
- 40 servings
- Difficulty
- HARD
Ingredients
Quantities are shown as originally provided.
- 1 cup + 3½ tablespoons super-fine blanched almond flour
- 1 cup + 3 tablespoons gluten-free oat flour
- ¼ cup + 3 tablespoons sweet rice flour
- ¼ cup + 3½ tablespoons cornstarch
- ¾ cup + 1½ tablespoons unsweetened Dutch-processed cocoa powder
- 3/4 teaspoon baking soda
- 3/4 teaspoon kosher salt
- 1¼ cup + 1 tablespoon unsalted butter (room temperature)
- 1 cup + 1 tablespoon ultrafine baker’s sugar
- ¾ cup + 1 tablespoon light brown sugar
- ¼ teaspoon chocolate extract
- ½ cup unsalted butter (room temperature)
- 1½ cups powdered sugar (sifted)
- 1 teaspoon pure vanilla extract
- Pinch kosher salt
Instructions
- 1
In a medium bowl, whisk together the almond flour, oat flour, sweet rice flour, corn starch, baking cocoa, baking soda, and salt. Set aside.
- 2
In the bowl of a stand mixer fitted with the paddle attachment or a mixing bowl with a hand mixer, beat the butter, baker’s sugar, and light brown sugar until light and fluffy, 3-5 minutes. Add the chocolate extract and mix until combined.
- 3
With the mixer on low, slowly add the dry ingredients to the butter beating until well incorporated but still crumbly.
- 4
Divide the dough in half and form into two discs. Roll out each disk between two pieces of parchment paper to 1/8-1/4 inch thickness or a 12x11-inch oval. Chill on a baking sheet for 15 minutes.
- 5
Working with one half at a time, use a 2-inch round or fluted cutter to cut each round into cookies. Roll the scraps up and cut out cookies again – try to get the cookies as close together as possible, so you only had to roll out the scraps 2 times or else the cookies will get more dense and tough.
- 6
Chill the cookies on a parchment-lined baking sheet in the fridge for 30 minutes or in the freezer for 15 minutes.
- 7
Meanwhile preheat the oven to 350°F. One sheet at a time, bake the cookies on a parchment-lined baking sheet 1.5-inches apart for 10-11 minutes. When the cookies come out of the oven, use the bottom of a glass cup to gently press them down so they’re flat and smooth on top. Let cool on the baking sheet for 5 minutes before using a thin metal spatula to transfer them to a wire rack to cool completely before filling. Repeat with remaining baking sheets.
- 8
While the cookies cool, make the buttercream. In the bowl of a stand mixer fitted with the paddle attachment or in a mixing bowl with a hand mixer, cream the butter over medium speed until light and fluffy, 3-5 minutes. With the mixer on low, slowly add the powdered sugar, vanilla extract and salt. Beat until combined. Taste and add more peppermint extract as desired. Fill a piping bag fitted with a ½-inch round pastry tip with the frosting.
- 9
Pair the cookies by similar size. Pipe a dollop of frosting onto half the cookies, then gently make a sandwich with the paired cookies. Chill cookies for 20 minutes to set the frosting before eating (or the frosting will ooze out when you bite down!).