Gluten-Free Danish
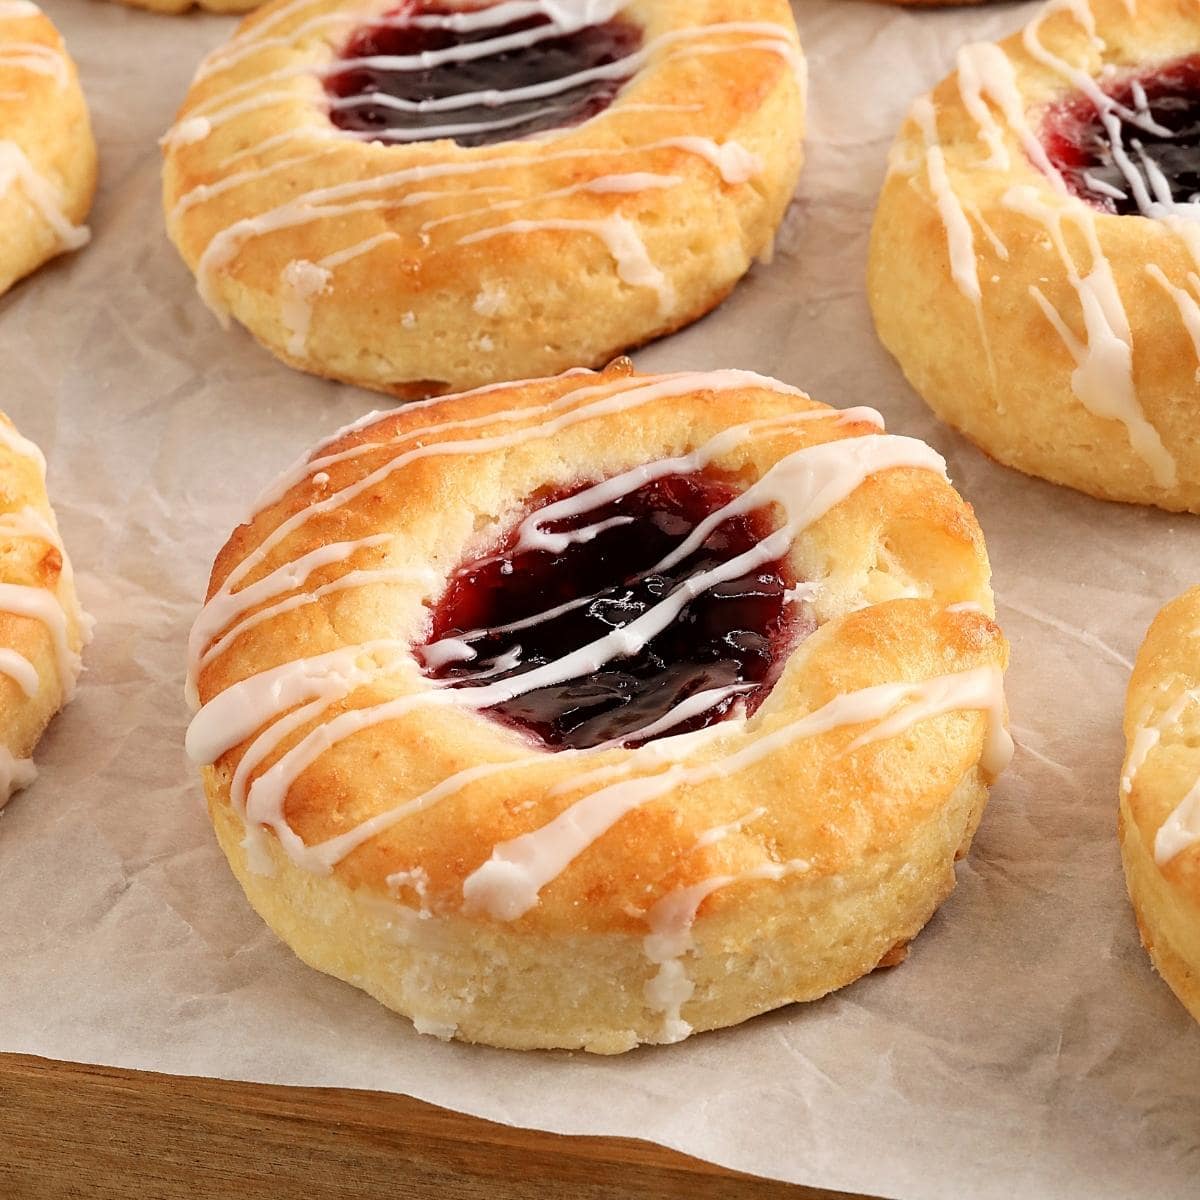
An easy recipe for gluten-free Danish. A soft and buttery gluten-free pastry filled with jam and topped with a sweet glaze. This gluten-free Danish recipe also has a dairy-free option.
- Prep time
- 15 min
- Cook time
- 18 min
- Yield
- 8 servings
- Difficulty
- HARD
Ingredients
Quantities are shown as originally provided.
- 2 cups all-purpose gluten-free flour with xanthan gum
- 1/2 cup granulated sugar
- 1 packet instant yeast ( Or 2 1/4 teaspoons of instant/rapid yeast.)
- 1/2 cup butter, softened and cubed
- 3/4 cup milk (For dairy-free use unsweetened almond milk.)
- 1/4 teaspoon pure vanilla extract
- 1/4 teaspoon pure almond extract
- 1 teaspoon salt
- 2 large egg yolks ()
- 1/3 cup seedless raspberry jam (2 teaspoons of jam per Danish)
- 2 large egg whites
- 1 tablespoon water
- 1/2 cup powdered sugar
- 2 teaspoons water
Instructions
- 1
In a large freezer-safe bowl, stir together the gluten-free flour, granulated sugar, and instant yeast.
- 2
Cut the softened butter into the flour mixture with a pastry cutter or fork until it looks like the size of small peas.
- 3
Separate the egg yolks and whites into two small bowls. Cover the egg whites with plastic wrap and place them in the refrigerator. The egg whites will be used as an egg wash for the Danish before baking.
- 4
In a medium-sized bowl, whisk together the milk, pure vanilla extract, pure almond extract, 2 egg yolks, and salt until fully combined.
- 5
Pour the milk mixture into the flour mixture and stir until fully combined and a sticky dough is formed. The dough will be very sticky.
- 6
Cover the dough with plastic wrap and place the freezer-safe bowl in the freezer for 30 minutes.
- 7
Add 1 tablespoon of flour to a large piece of parchment paper. Place the dough on top of the floured parchment paper.
- 8
Dust the top of the dough with 1 tablespoon of flour, and gently fold the dough over on itself 3 times. You do this by folding the dough in half on top of itself and then doing it a second time and third.
- 9
With your hands, form a dough round that is about 7-inches in diameter and 1-inch thick.
- 10
Cut out the dough using a greased 3-inch biscuit cutter, the mouth of a large glass, or the lid of a mason jar. Do not twist the cutter when cutting; this will crimp the edges of the dough causing it not to rise well.
- 11
Put the dough rounds on a parchment-lined baking sheet, cover with plastic wrap and then a kitchen towel and let the cut dough rounds rise in a warm place for 30 minutes. I use the proof setting on my oven. You can also pre-heat your oven to 200°F and then turn it off. Remove the dough before pre-heating the oven to 400°F for baking the Danish.
- 12
Pre-heat oven to 400°F.
- 13
Use the back of a greased rounded tablespoon to press down on the center of the dough rounds. I use gluten-free coconut oil spray to grease the back of the tablespoon.
- 14
Stir the jam in order to make it smooth. Place 2 teaspoons of jam in the center of each dough round.
- 15
Whisk together 1 tablespoon of water and the egg whites. Using a pastry brush, brush the tops of the dough with the egg white mixture.
- 16
Bake the Danish for 18-20 minutes until the tops start to turn golden brown. Please watch your oven because all ovens are different.
- 17
In a small bowl, whisk together the powdered sugar and 2 teaspoons of water.
- 18
Allow the Danish to cool for 20 minutes until the jam is no longer hot.
- 19
Drizzle the glaze on top of the Danish and enjoy.
- 20
Store the leftovers in an air-tight container.