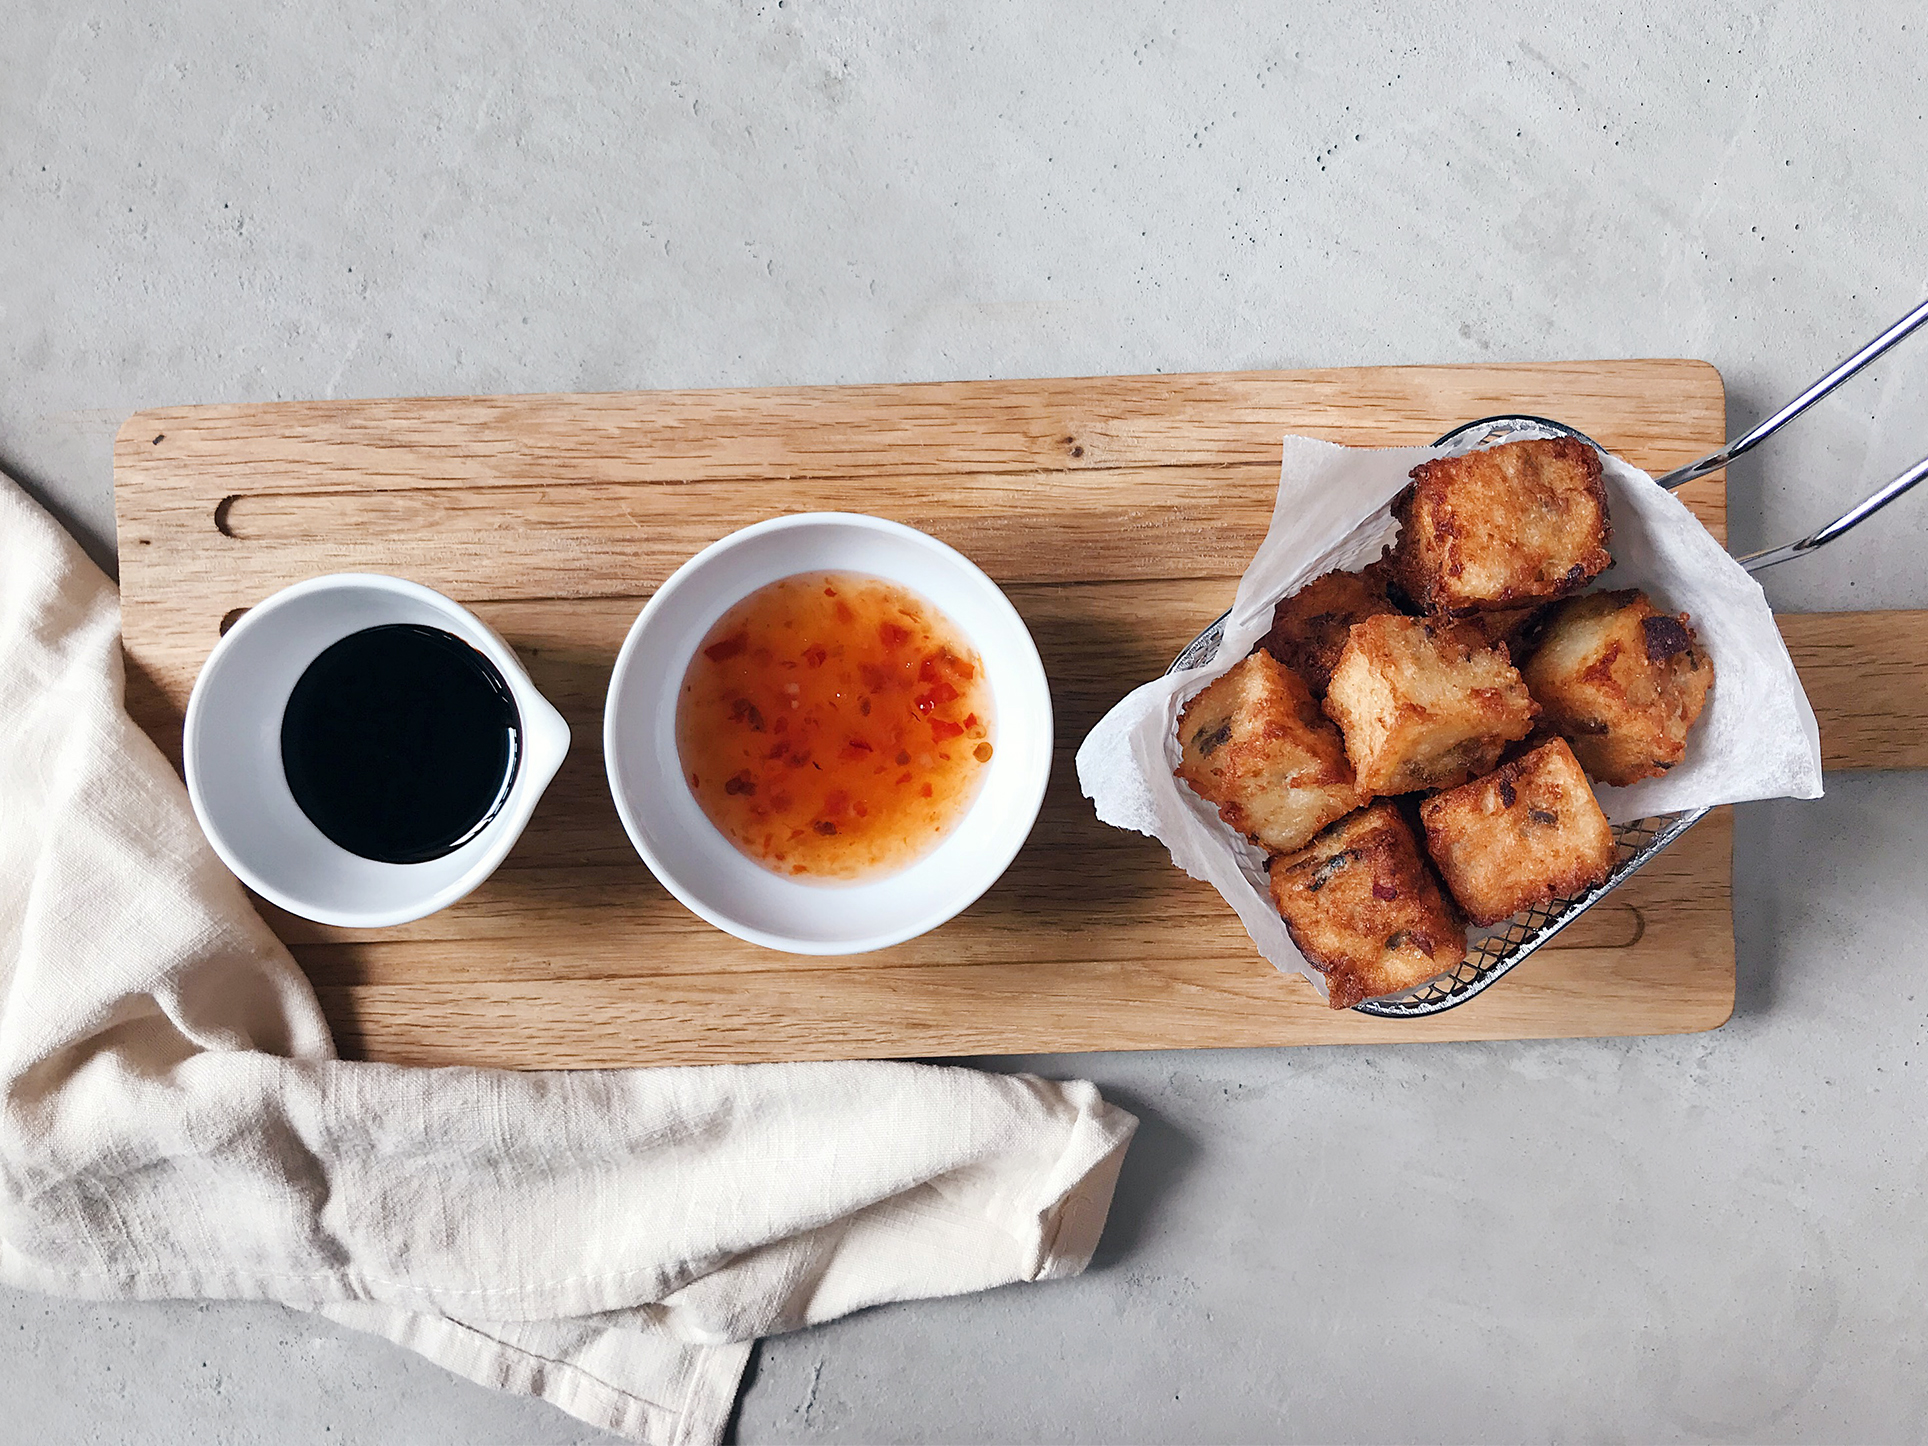
Radish Cake
DIY: ~$4.59* for 5 servingsDine out: ~$3 for 2 thick slices (1 serving)*I’ve no idea how much the Chinese sausages cost so I left out the cost in the recipe.
- Prep time
- 25 min
- Cook time
- 1 hr 10 min
- Yield
- 5 servings
- Difficulty
- MEDIUM
Ingredients
Quantities are shown as originally provided.
- 750 g radish ($2.50)
- 80 g Chinese sausage (diced) (?)
- 30 g dried mushrooms (soaked and diced) ($0.825)
- 18 g dried shrimps ($0.576)
- 200 g rice flour ($0.58)
- 330 ml water + soaking liquid
- 2 tbsp cornstarch ($0.042)
- 2 tsp salt ($0.056)
- 1 tsp sugar ($0.006)
- 1 pinch pepper ($0.011)
Instructions
- 1
PREPARATION
- 2
Soak the Chinese sausages in hot water for about 5 minutes, then remove the casing and dice the sausages
- 3
Soak the dried mushrooms and dried shrimps separately in hot water for about 10 minutes, then remove from soaking liquid. Pour the soaking liquid into a bowl and add more water, if needed, to make up 330ml of liquid
- 4
Dice the mushrooms and roughly chop the shrimps.
- 5
Grate the radish.
- 6
DIRECTIONS
- 7
Boil the radish in a pot of water for about 5-7 minutes, until radish turns translucent. Drain away water and squeeze radish to remove excess water.
- 8
In a frypan, stir fry the sausages, mushrooms and shrimps for about 5 minutes.
- 9
Add cooked radish into frypan and stir fry for a short while.
- 10
Mix the rice flour, cornstarch and soaking liquid together in a bowl to form a batter. Reduce the fire to the lowest setting, then add batter into frypan and mix all ingredients together until even.
- 11
Pour mixture into a well-oiled metal tin or glass pan and cover with aluminium foil, then steam over high heat for 40-50 minutes.
- 12
Once done steaming, rest for at least 30-60 minutes before eating. Or keep refrigerated overnight and pan fry or deep fry the next day until golden brown.