Home-made Udon Noodles
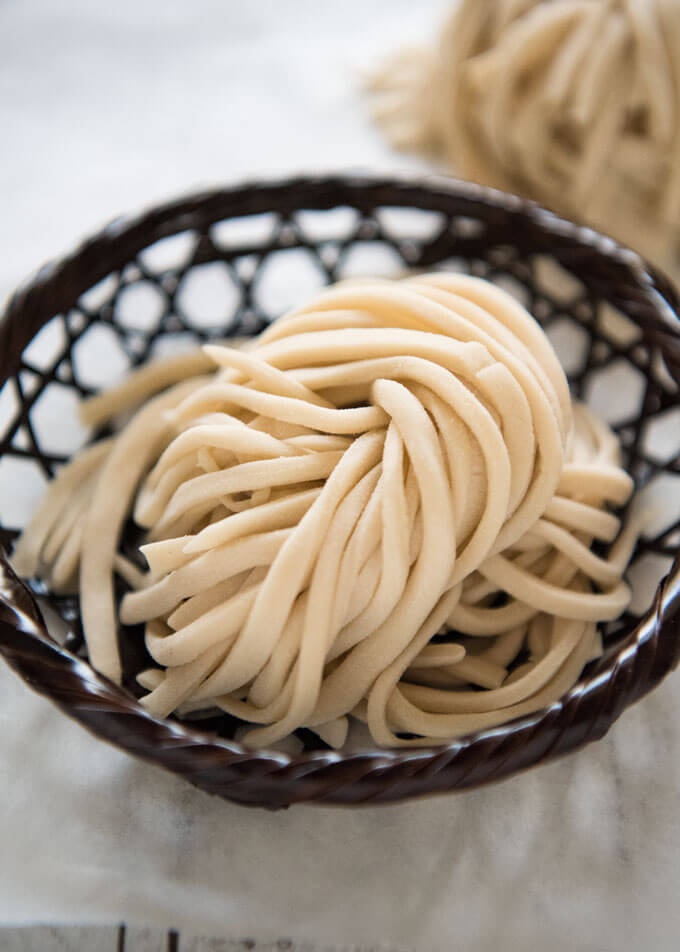
The texture of Home-made Udon Noodles is no comparison to those fresh noodles you buy from the shop. The noodles are chewy and springy, and they taste great! You need to use a bit of arm muscle to knead the dough but making Udon Noodles requires no special skills and it is so worth it.
- Prep time
- 20 min
- Cook time
- 56 min
- Yield
- 3 servings
- Difficulty
- MEDIUM
Ingredients
Quantities are shown as originally provided.
- 100g/3.5oz plain flour ((note 1))
- 100g/3.5oz strong flour/bread flour ((note 1))
- 8g/0.3oz salt ((note 2))
- 100ml/3.4oz water
- Flour or cornflour (to dust the work bench and noodles)
Instructions
- 1
Dissolve salt in the water.
- 2
Add flour to a bowl, then add ½ of the salt water. Using your hand mix vigorously, ensuring that there are only small lumps of flour.
- 3
Add the remaining salt water to the flour and mix well. There should be no large lumps in the flour (see the photo in post).
- 4
Collect the flour bits together and make a ball in the bowl while pressing the dough, by rolling the flour from outside to inside.
- 5
When you can form a ball of dough, transfer it to a flat cooking bench sprinkled with a small amount of flour.
- 6
Knead the dough using the base of your palm. Stretch the dough, fold it, then knead to stretch. Repeat for 5 minutes until the surface of the dough becomes smooth (note 3).
- 7
Make a ball with the dough and wrap it with cling wrap. Leave it at room temperature for 30-60minutes (note 4) until the dough bounces back ⅓ of the way when poked with a finger.
- 8
Dust the work bench with flour. Take out the dough and place it on the work bench.
- 9
Starting from the edge of the dough, drop a rolling pin onto the dough to flatten it by gradually shifting the position of the pin on the dough.
- 10
Shape the dough into a square shape with round corners. Stretch the dough with the rolling pin into a large square shape by rotating the dough 90 degrees. Dust the surface of the dough from time to time.
- 11
Stretch the dough with the rolling pin into squarish shape until it becomes 3mm thick (about 25-30cm square).
- 12
Sprinkle flour over the dough (note 5) and fold it a couple of times in the same direction so that the width of the dough becomes narrow in one direction.
- 13
Place the folded dough lengthwise on a cuting board. Starting from the right edge (for the right hander), cut it to a thickness of 3mm/⅛".
- 14
After several cuts pick up noodles and toss with some more flour to prevent noodles from sticking each other.
- 15
Boil sufficient amount of water in a large pot.
- 16
Drop the noodles into the boiling water and cook for 10-12 minutes. Do not mix immediately after the noodles are put into the boiling water as the noodles tend to break.
- 17
When the bubbles start rising and get close to overflowing, add a small amount of cold water to lower the bubbles, then reduce the heat slightly so that the water is boiling vigorously.
- 18
Drain and rinse in cold water until the noodles cool down completely and the stickiness of the noodles is removed. Put the noodles in a sieve and drain well. They are ready to use (note 6).
- 19
Home-made Udon Noodles can be refrigerated up to 1 week. Boiling time of the refrigerated noodles is only slightly longer than cooking them immediately.
- 20
You can freeze Home-made Udon Noodles as well. Divide the noodles into serving portions (100g/3.5oz each for standard serving) and store each portion individually in a zip lock bag (note 7). You can freeze them for about 1 month.
- 21
Frozen noodles can be cooked without thawoing. Boiling duration will be a few minutes longer than cooking the fresh udon noodles.