Gluten-Free Pumpkin Cake with Salted Caramel Frosting
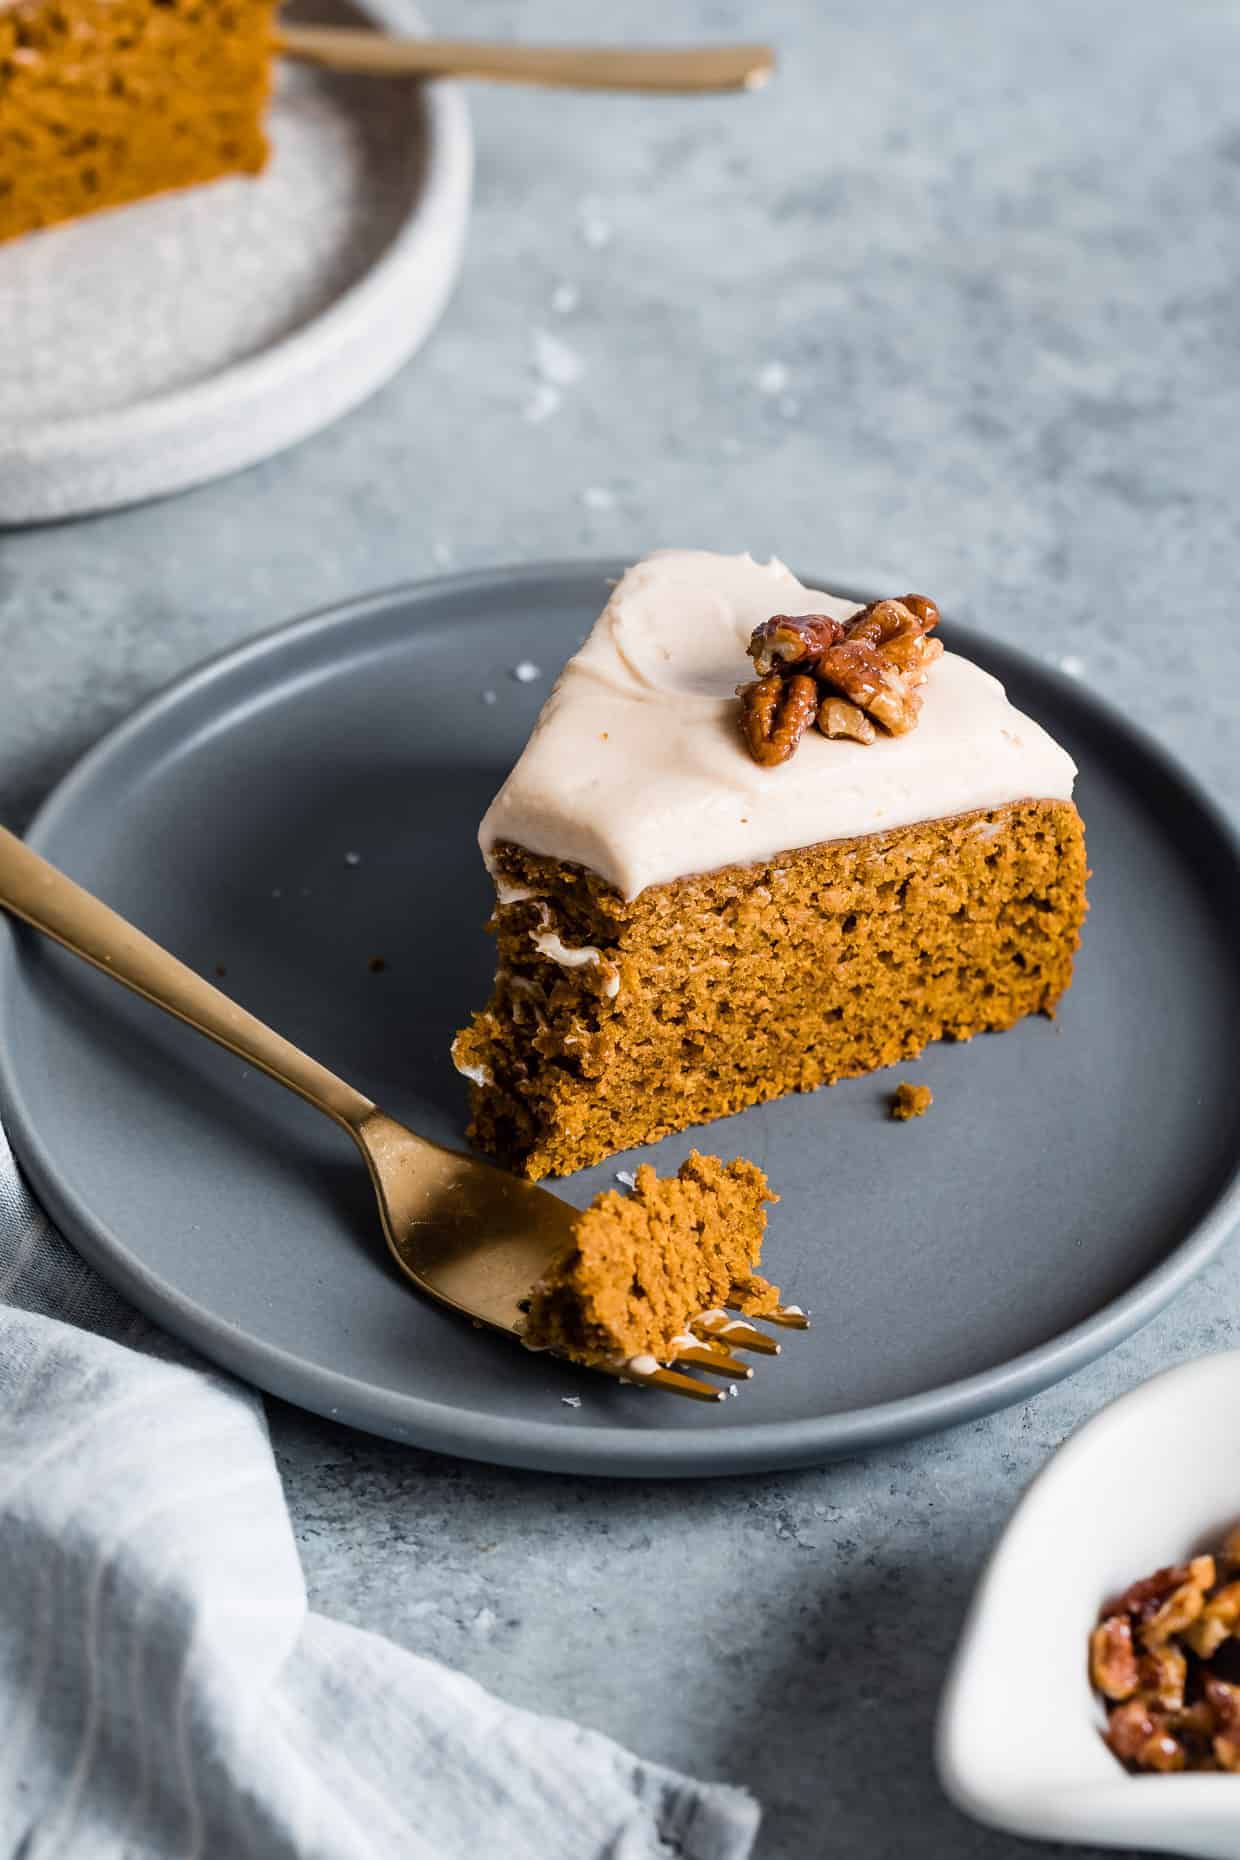
Soft and moist gluten-free pumpkin cake topped with salted caramel frosting. Filled with fall spices and a tender crumb, no one will believe it's a gluten-free cake!
- Prep time
- 20 min
- Cook time
- 38 min
- Yield
- 8 servings
- Difficulty
- HARD
Ingredients
Quantities are shown as originally provided.
- ½ cup + 2 tablespoons Bob's Red Mill millet flour
- ½ cup + 1 tablespoon Bob's Red Mill gluten-free oat flour
- ½ cup Bob's Red Mill sweet rice flour
- ½ teaspoon Bob's Red Mill xanthan gum
- 1½ teaspoons baking powder
- ½ teaspoon baking soda
- 1½ teaspoons ground cinnamon
- ½ teaspoon ground ginger
- ¼ teaspoon ground nutmeg
- ⅛ teaspoon ground cloves
- ½ teaspoon kosher salt
- 1 cup canned pumpkin puree (not pumpkin pie filling)
- ½ cup dark brown sugar
- ¼ cup granulated sugar
- 1/4 cup vegetable oil
- 2 large eggs (room temperature)
- 1 teaspoons pure vanilla extract
- ¼ cup milk
- 4 oz full-fat cream cheese (blocked) (room temperature)
- 1/4 cup unsalted butter (room temperature)
- 1/4 cup caramel sauce (store-bought or homemade recipe below)
- 1/2 teaspoon pure vanilla extract
- 1 cup powdered sugar
- 1/4 teaspoon kosher salt
- Optional: Candied pecans for topping
- ½ cup + 2 tablespoons granulated sugar
- 1/4 cup water
- 1/2 cup heavy cream
- 1 tablespoon unsalted butter
- ¼ teaspoon kosher salt
Instructions
- 1
Preheat the oven to 350ºF. Lightly grease the bottom and sides of an 8-inch round baking pan with oil. Line the bottom with a round of parchment paper.
- 2
In a medium bowl, whisk together the millet flour, oat flour, sweet rice flour, xanthan gum (if using), baking powder, baking soda, cinnamon, ginger, nutmeg, cloves, and salt. Set aside.
- 3
In the bowl of a stand mixer fitted with the paddle attachment or in a large bowl with a hand mixer or hand whisk, combine the pumpkin puree, sugars, vegetable oil until smooth. Add the eggs and vanilla extract and mix just until combined.
- 4
With the mixer on low, gradually add dry ingredients to the liquid ingredients in two batches alternatively with the milk. Mix until just thoroughly combined.
- 5
Pour the batter into the prepared pan and smooth out the top. Firmly tap the cake pan on the counter a few times to release any air bubbles.
- 6
Bake for 35-38 minutes, or until the center bounces back when pressed and a toothpick comes out clean or with just a few crumbs..
- 7
Transfer to a wire rack to cool for 5 minutes before removing the cake from the pan, using a plate or two wire racks, and continue cooling on the wire rack until completely cool.
- 8
While the cake bakes, prepare the caramel sauce for the frosting, if making homemade.
- 9
Combine the sugar and water in a small saucepan over medium high heat, stirring occasionally just until the sugar melts. Let cook until the sugar begins to turn amber colored and smell nutty.
- 10
Remove from heat and immediately pour in the cream, butter, and salt. Stir with a whisk until smooth.
- 11
Transfer to a bowl and let cool completely to room temperature before adding to the frosting (I put mine in the fridge to speed this process up!
- 12
Once the cake and the caramel sauce are cool, prepare the frosting.
- 13
In the bowl of a stand mixer fitted with the paddle attachment or in a mixing bowl with a hand mixer, cream the butter and cream cheese over medium speed for 1-2 minutes, scraping down the sides as you go.
- 14
Add 1/4 cup of caramel sauce and vanilla mix on medium speed until completely smooth.
- 15
In two parts, add the powdered sugar and salt, mixing on slow speed until completely smooth, scraping down the bottom and sides as you go.
- 16
Use an offset or rubber spatula to spread the frosting evenly over the top of the cake. Top with candied pecans and serve.