Salted Egg Yolk Custard Bun
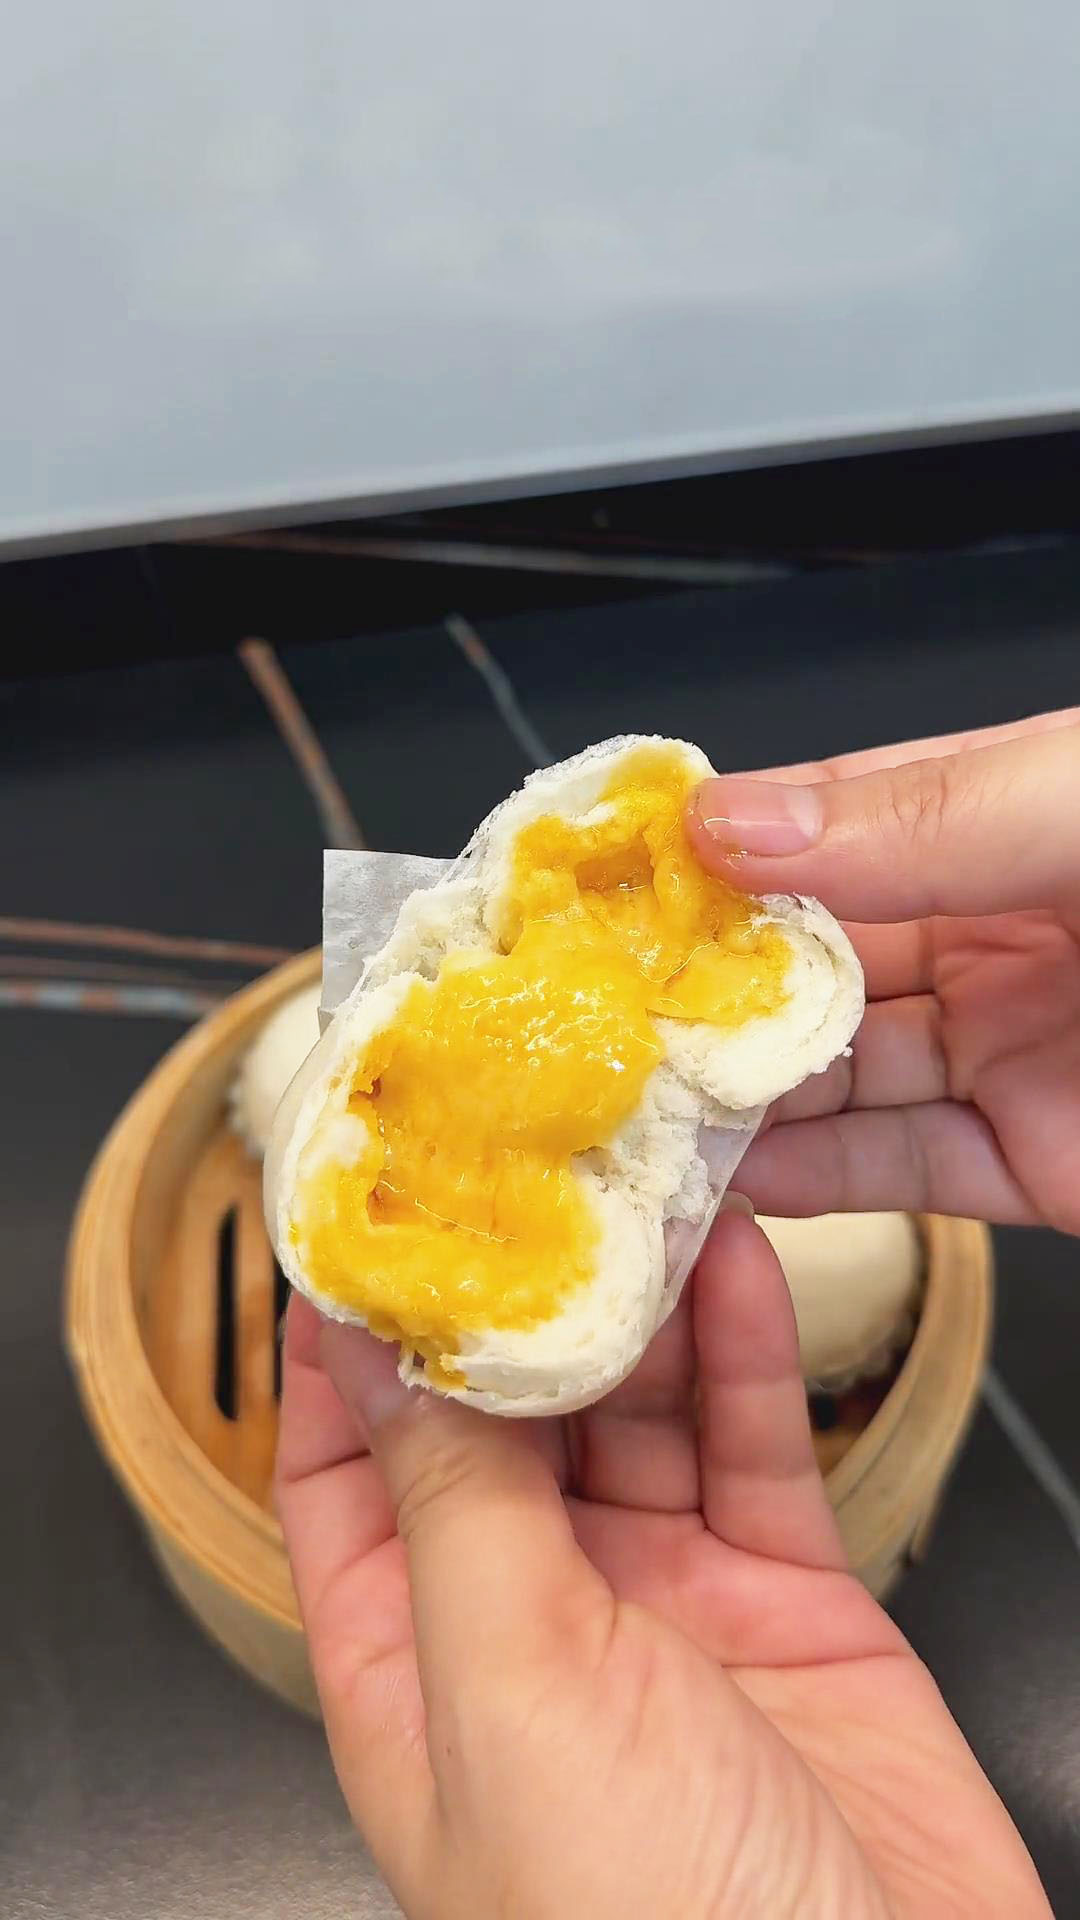
Salted egg yolk buns are creamy, soft, and melty. It is a beloved dim sum dish with a salty and milky filling made of salted egg yolks. This in-depth guide teaches you how to make these buns properly at home with my expert tips and tricks.
- Prep time
- 30 min
- Cook time
- 10 min
- Yield
- 4 servings
- Difficulty
- MEDIUM
Ingredients
Quantities are shown as originally provided.
- 6 Salted egg yolks (sprayed with your choice of liquor)
- 20 g corn starch
- 20 g milk powder
- 5 g gelatin
- 60 g warm water
- 40 g lard (melted)
- 40 g butter (melted)
- 40 g white sugar
- 250 g plain flour
- 10 g white sugar
- 125 g water
- 5 g lard
- 3 g yeast powder
Instructions
- 1
Make The Filling
- 2
Spray the salted egg yolks with liquor.
- 3
Place them on a heat-resistant plate and cook in the air fryer or microwave for 10 minutes. Afterward, the yolk becomes semi-solid and creamy like the center of a hard-boiled egg.
- 4
Use a food processor to blend the egg yolks with cornstarch and milk powder. Transfer to a bowl and set aside. This should give you a sandy or grainy blended texture.
- 5
In a bowl of water, soak the gelatin sheets until soft.
- 6
Then, stir in warm water with the soft gelatin until well combined.
- 7
Pour the gelatin mixture onto the egg yolk mixture and continue stirring until well combined. This should create a creamy and thick mixture.
- 8
Add melted lard and melted butter and stir thoroughly.
- 9
Add white sugar. Mix well and refrigerate the filling for an hour. After 1 hour, the creamy mixture should firm up.
- 10
After 1 hour, take out the filling and shape it into small balls, about 20g each.
- 11
Knead The Dough
- 12
Combine plain flour, sugar, and water. Mix until it forms clumps.
- 13
Add lard and knead until it becomes a smooth dough. This should take approximately five to ten minutes.
- 14
Dissolve the yeast with a small amount of water.
- 15
Mix the yeast mixture with the dough.
- 16
Knead again until the yeast is fully incorporated into the dough.
- 17
Roll the dough into a log and divide it into 30g portions using a dough cutter or knife.
- 18
Flatten each portion into a small circular wrapper with a thicker center and thinner edges using a rolling pin.
- 19
Assemble And Steam The Buns
- 20
Take a dough wrapper and place the filling in the center.
- 21
Seal the bun by pinching the edges together.
- 22
Place the buns on parchment paper.
- 23
Let the buns rise until they double in size.
- 24
Place the buns inside a cupcake paper cup. This can be optional.
- 25
Transfer the buns to your steaming equipment. Steam for 6 minutes.
- 26
After steaming, turn off the heat and refrain from opening the steamer lid. Allow the buns to rest undisturbed for another 3 minutes.
- 27
Serve the buns warm. You can keep it in the fridge in an airtight container for 3 to 5 days.