Pepper Beef (黑椒牛柳 Hei Jiao Miu Liu)
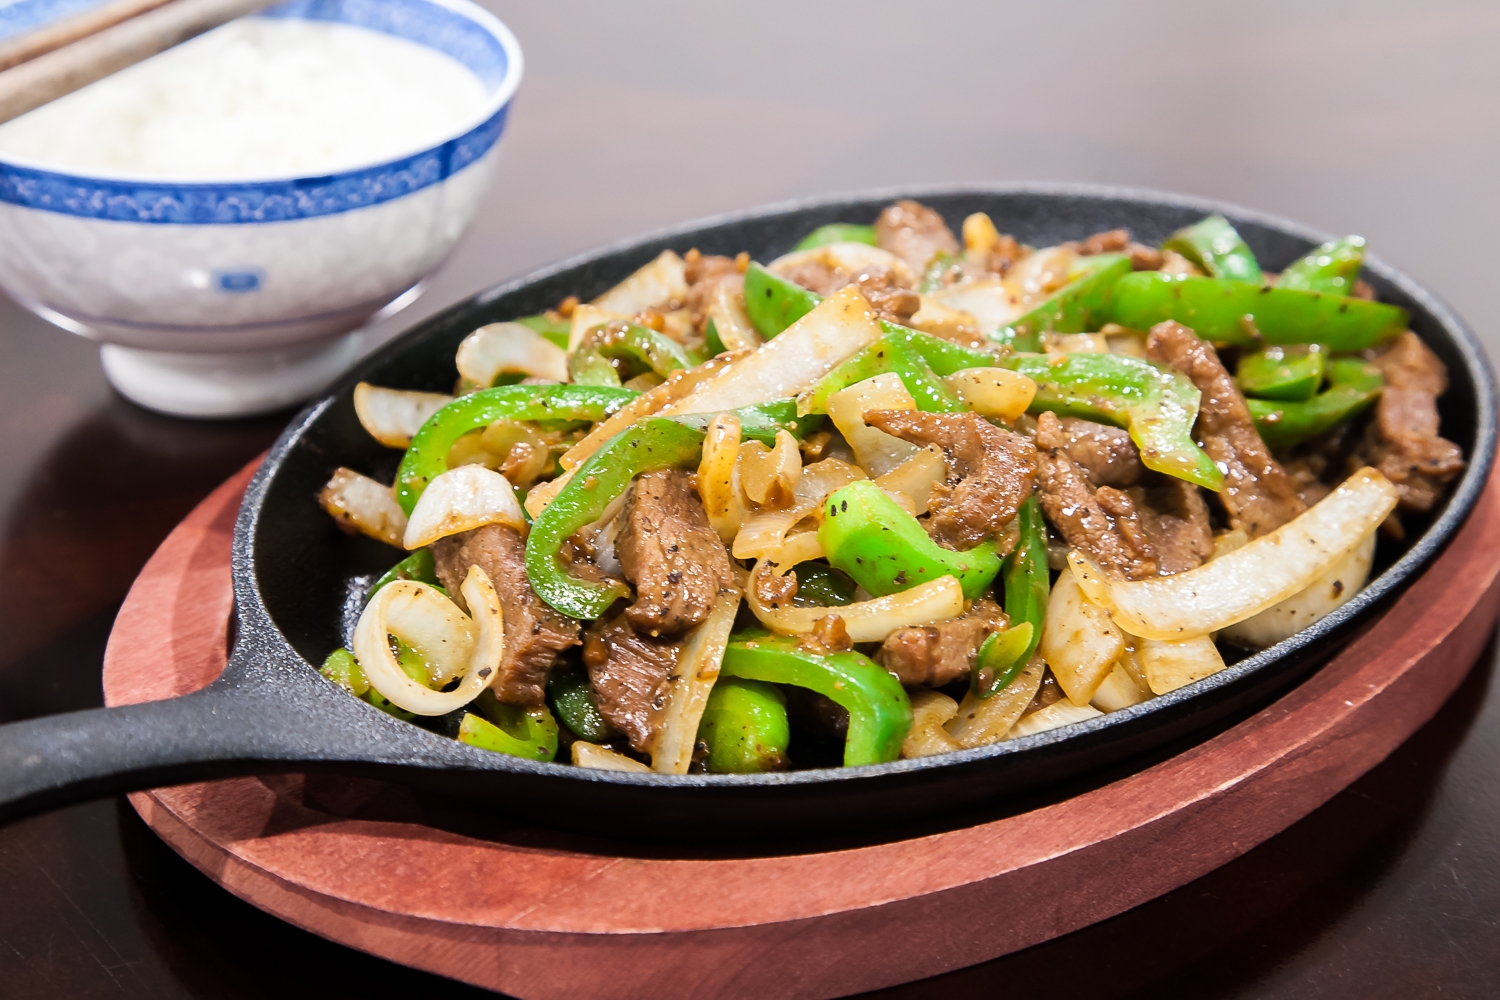
Pepper beef with homemade black pepper sauce! Here's my version after many trials and errors. Enjoy!
- Prep time
- 1 hr 10 min
- Cook time
- 20 min
- Yield
- 4 servings
- Difficulty
- HARD
Ingredients
Quantities are shown as originally provided.
- ~1/2 lb (225g) beef flank or skirt steak
- 1 medium onion
- 2 small green bell peppers or 1 medium green bell pepper
- 1/2 teaspoon baking soda
- 1 teaspoon freshly-ground black pepper
- 1/4 teaspoon kosher salt
- 1 teaspoon light soy sauce
- 1/2 teaspoon sugar
- 1 tablespoon water
- 1 tablespoon starch
- 2 tablespoons and 1 teaspoon vegetable oil (three total uses)
- 5 large garlic cloves
- 1 tablespoon vegetable oil
- 2 teaspoons freshly ground black pepper
- 2 tablespoons Worcestershire sauce
- 1 teaspoon light soy sauce
- 1/2 teaspoon oyster sauce
- 1/2 teaspoon dark soy sauce
Instructions
- 1
Cut the beef flank, against the grain, into ~2 inch (5 cm) long strips. If beef flank is thick, use a sharp chef's knife to slice the beef flank into two thinner pieces. Or use a meat pounder to pound the beef so that it thins out. Put the beef strips in a medium mixing bowl.
- 2
Add the 1/2 teaspoon of baking soda to the beef strips, mixing and massaging thoroughly with your hands for a few minutes until the baking soda is evenly applied. Cover the bowl. Let the beef rest in the refrigerator for 30 minutes.
- 3
After 30 minutes are up, rinse the beef several time under running water to completely remove the baking soda (this step is crucial because otherwise the beef will have a baking soda aftertaste). No need to pat dry. In the same bowl, add 1 teaspoon of freshly ground black pepper, 1/4 teaspoon of kosher salt, 1 teaspoon of light soy sauce, 1/2 teaspoon of sugar, and 1 tablespoon of water, and mix well. Then mix in 1 tablespoon of starch. Put the beef back into the refrigerator for another 30 minutes.
- 4
While the beef is marinating, prepare the other ingredients and make the black pepper sauce (you can also do these while the beef is tenderized during step 2). Wash and slice the onion and bell peppers. Set aside.
- 5
Black Pepper Sauce: Peel and mince the garlic cloves. Heat a small sauce pan under medium-low or low heat. Pour 1 tablespoon of vegetable oil into the sauce pan. When the oil is getting warm, add the minced garlic. Let the oil slowly cook the garlic until it becomes soft and slightly golden. Then add the 2 teaspoons of freshly-ground black pepper, 2 tablespoons of Worcestershire sauce, 1 teaspoon of light soy sauce, 1/2 teaspoon of oyster sauce, and 1/2 teaspoon of dark soy sauce, mixing thoroughly. Stir occasionally to prevent the sauce from sticking to the bottom of the pan. When the sauce becomes dark and has a thick, semi-liquid consistency, turn off the heat.
- 6
When the beef is done marinating, add 1 tablespoon vegetable oil to the beef strips, mixing well (this seals the moisture in the beef). Heat a well-seasoned skillet under medium-high heat. When the pan is getting hot, add 1 teaspoon of vegetable oil and the marinated beef strips, stirring for about half a minute. Then add the black pepper sauce from step 5 to the beef, stirring to mix. Toss and stir the beef strips for few more minutes until beef strips are 80% to 90% cooked. Turn off the heat.
- 7
Heat a separate skillet or nonstick pan under medium heat. When the pan is warm, add 1 tablespoon of vegetable oil. After the oil gets warm, add the sliced onion and bell peppers, stirring and tossing for a minute or two until the onions and peppers just begin to soften but still remain crisp. Add the mostly-cooked beef strips from step 6, mixing together with the onions and bell peppers for another half a minute. Turn off the heat. Transfer the Pepper Beef to a regular plate or to a small hot cast iron skillet (as depicted) to turn it into Pepper Beef on Iron Plate (铁板黑椒牛柳). Best enjoy while hot or warm.