Gluten-Free Parmesan Garlic Breadsticks
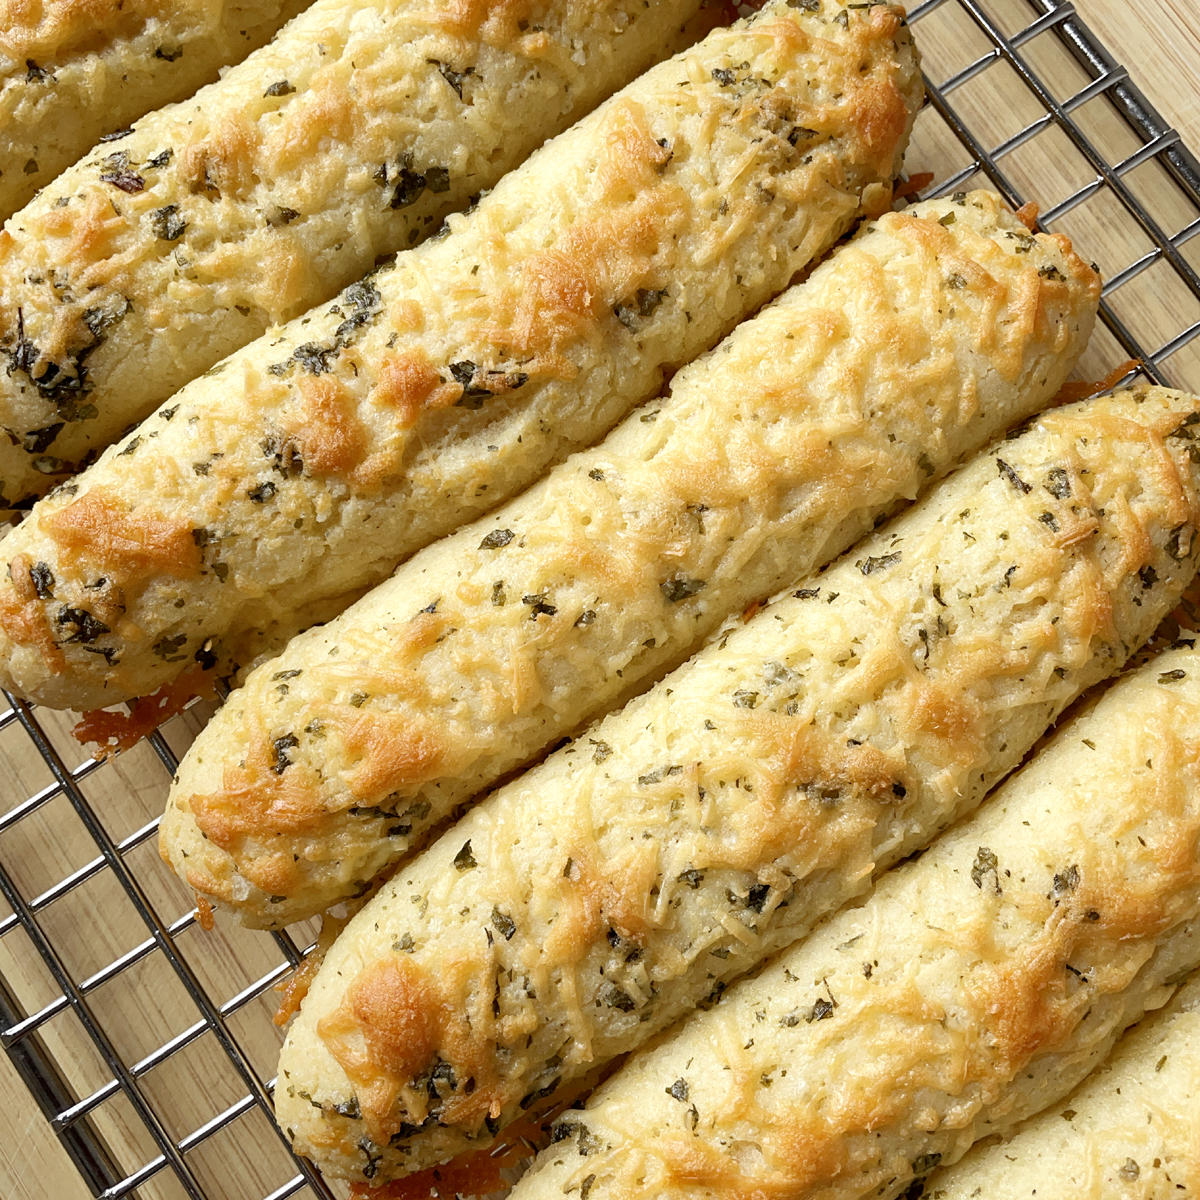
These parmesan garlic breadsticks are so deliciously soft and tasty, you would never guess they're gluten-free! They are perfect for serving with a salad, a hot bowl of soup, or with your favorite pasta dish. They are so easy to make, there is no excuse not to try them!
- Prep time
- 25 min
- Cook time
- 20 min
- Yield
- 6 servings
- Difficulty
- HARD
Ingredients
Quantities are shown as originally provided.
- 90 grams brown rice flour
- 50 grams tapioca starch
- 30 grams sorghum flour
- 4 teaspoons baking powder
- 1 1/2 teaspoons garlic powder
- 1/2 teaspoon xanthan gum
- 1/2 teaspoon sea salt
- 1 cup full-fat Greek yogurt
- 1/4 cup butter, melted
- 1 teaspoon dried parsley
- 1/2 teaspoon garlic powder
- 1/2 teaspoon sea salt
- Freshly grated parmesan cheese
Instructions
- 1
Preheat oven 375F/190C.
- 2
Combine the melted butter, garlic powder, sea salt, and dried parsley. Set aside.
- 3
Combine the brown rice flour, tapioca starch, sorghum flour, baking powder, garlic powder, xanthan gum, and sea salt in a mixing bowl and stir with a whisk to combine.
- 4
Add Greek yogurt to the dry ingredients in the bowl and mix well with a fork or spoon until you have a cohesive dough.
- 5
Transfer the dough to a work surface lightly dusted with tapioca starch.
- 6
Dust your hands with tapioca starch and gently shape the dough into a cohesive ball and gently press into a disc shape, continuing the dust the work surface as necessary so the dough does not stick.
- 7
Using a knife, cut the dough into 6 or 8 wedges.
- 8
Roll each portion into a log shape and transfer to a parchment lined baking pan. Repeat with the remaining pieces of dough.
- 9
Brush the breadsticks with the melted butter mixture. Top each breadstick with the freshly grated Parmesan.
- 10
Bake for 18-20 minutes.
- 11
Serve warm.