Honeycomb Crunchie Cake!
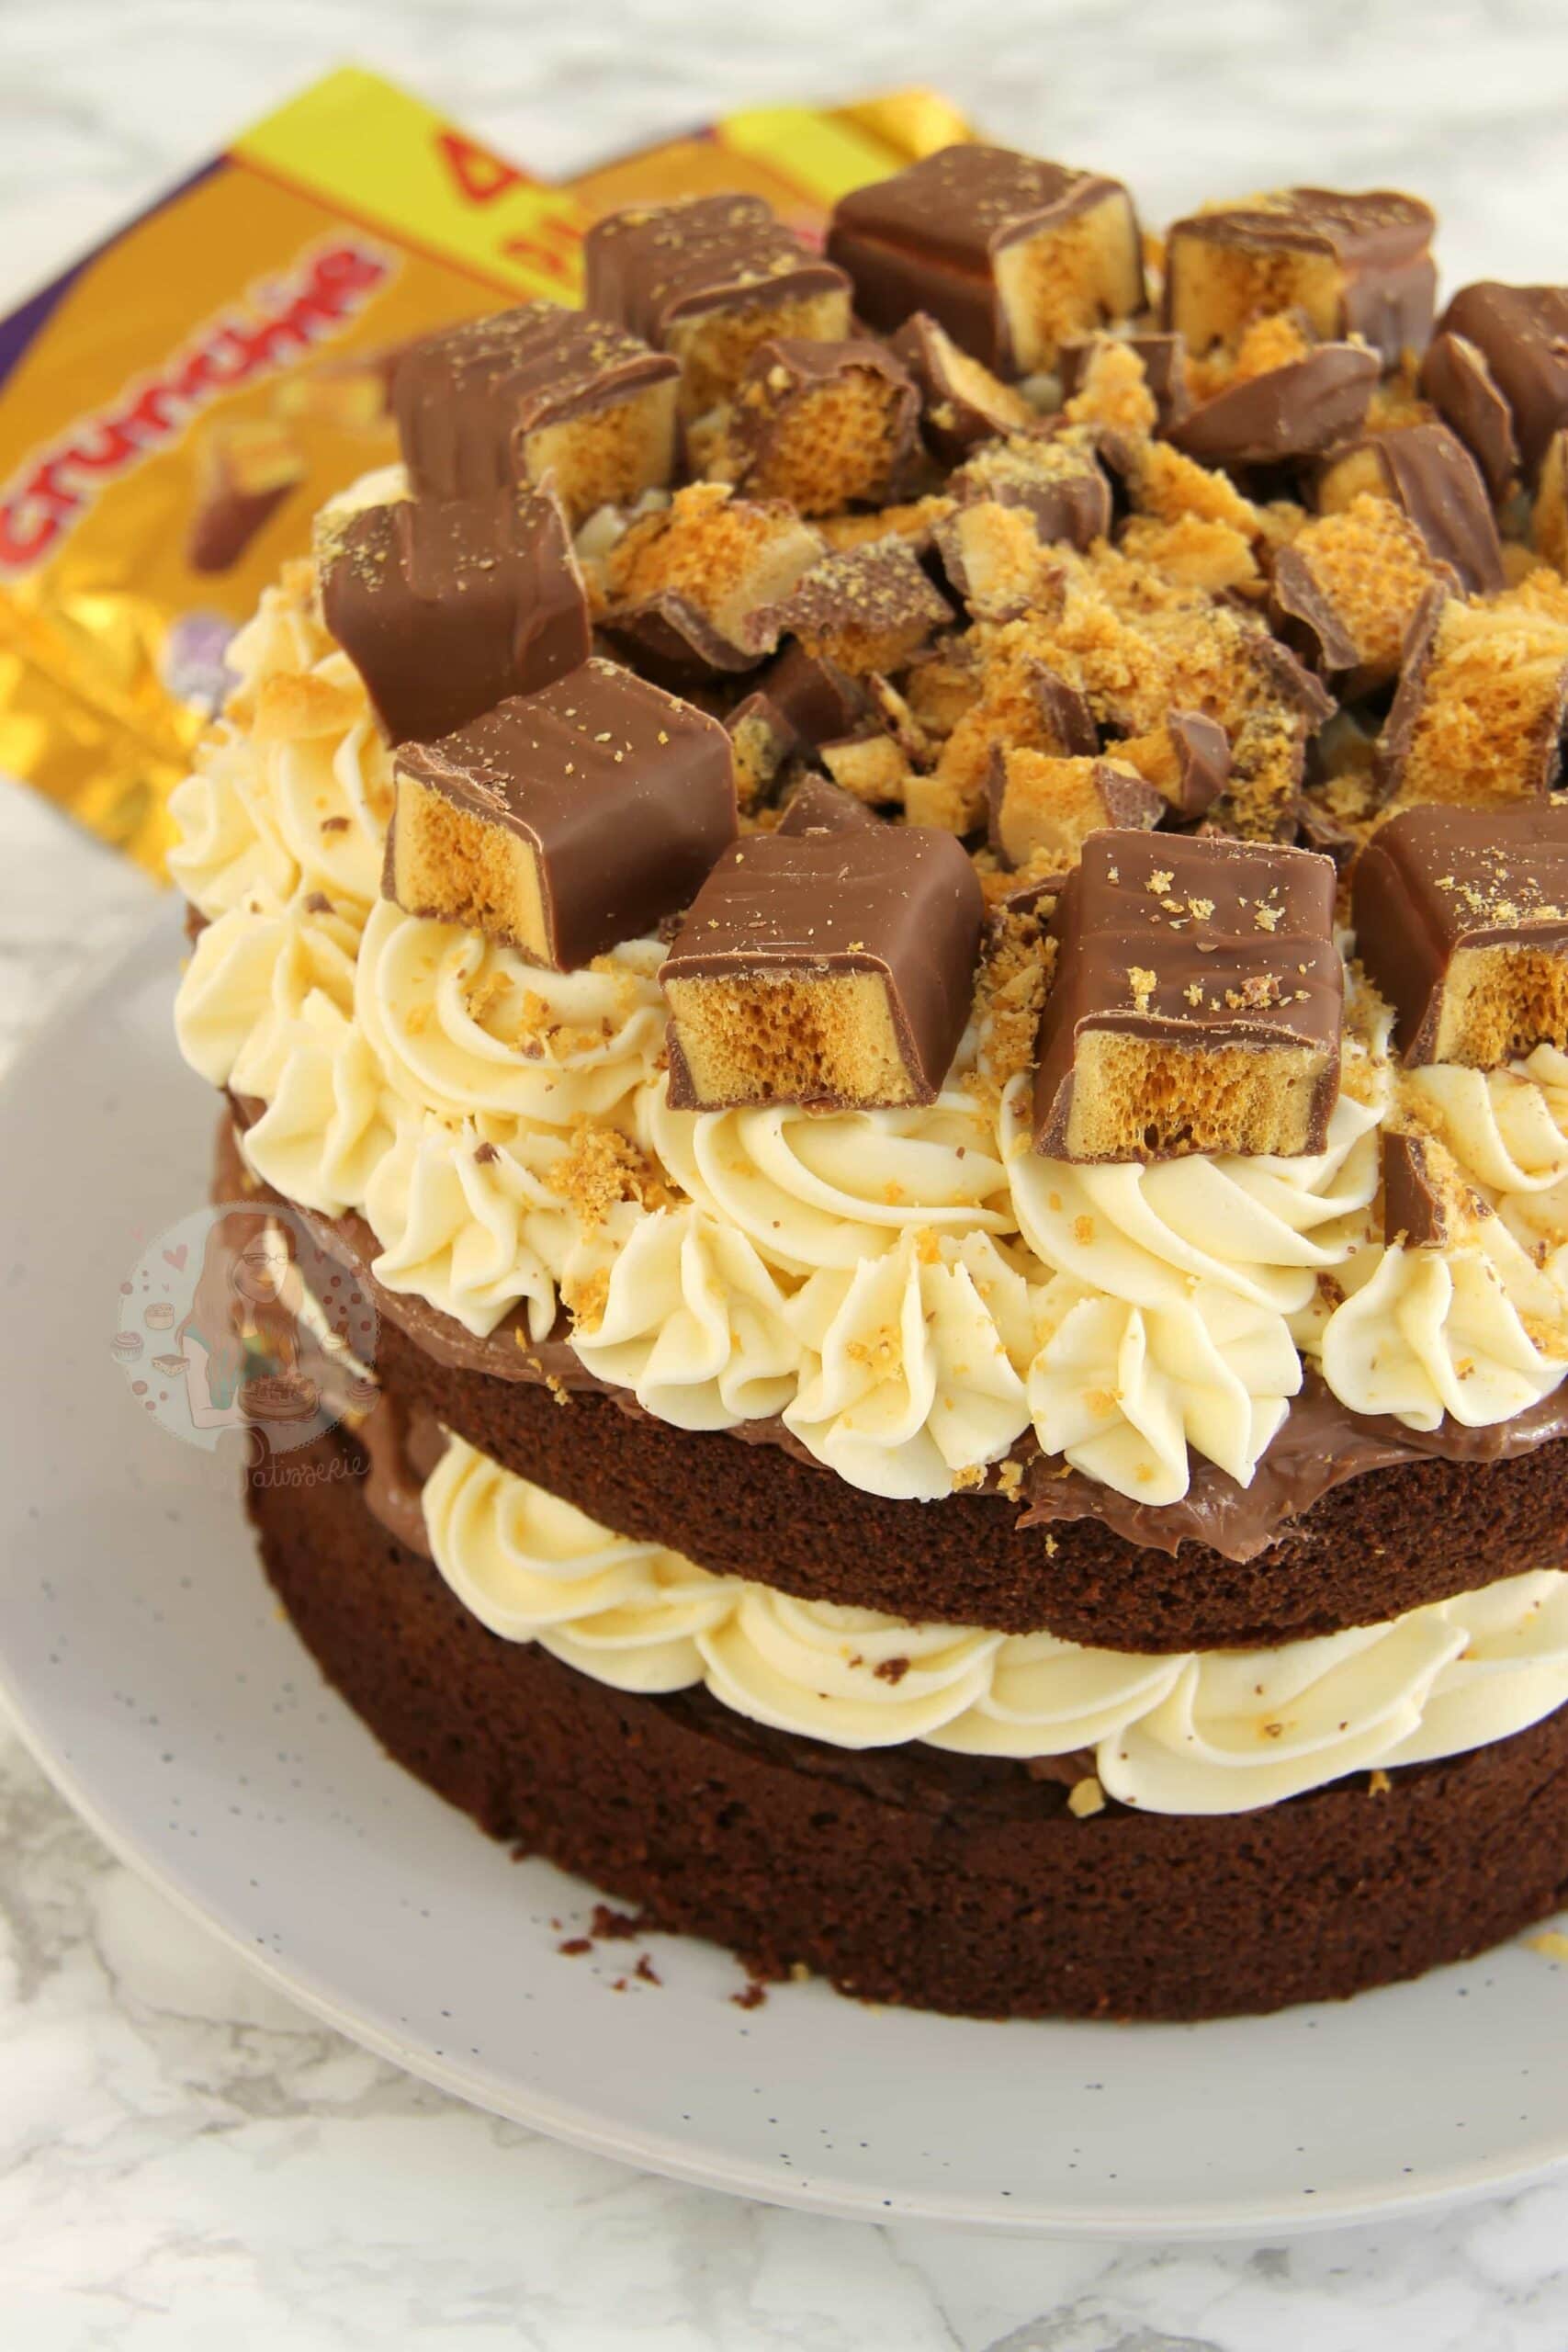
Chocolate Sponge, Crunchie Spread, Honey Buttercream Frosting & Crunchies.. the Perfect Honeycomb Crunchie Cake for all occasions!
- Prep time
- 20 min
- Cook time
- 45 min
- Yield
- 14 servings
- Difficulty
- MEDIUM
Ingredients
Quantities are shown as originally provided.
- 350 g Unsalted Butter/Stork
- 350 g Light Brown Sugar
- 7 Medium Eggs
- 300 g Self Raising Flour
- 1 tsp Baking Powder
- 50 g Cocoa Powder
- 250 g Unsalted Butter ((not stork))
- 500 g Icing Sugar
- 100 g Clear Honey
- 1 Jar Crunchie Spread
- 4 Crunchie Bars
Instructions
- 1
Heat the oven to 170C/150C Fan and line two deep 20cm/8inch sandwich cake tins with baking parchment – leave to the side.
- 2
In a stand mixer, beat together the butter and sugar until light and fluffy. Add in the Flour, Eggs, Baking Powder and the Cocoa Powder and beat again briefly till combined – try not to overbeat!
- 3
Divide the mixture between the two tins and smooth it over – bake for 45-55 minutes until the cake springs back and the skewer should also come out clean.
- 4
If you listen to your cake, and it sounds like its bubbling/crackling it isn’t quite done… bake for another few minutes until its quiet! (I bake at a lower temperature as it keeps the cake more moist, and bakes flatter. Can take longer/shorter time depending on the oven so check after 40 minutes!)
- 5
Once baked, leave the cake to cool in the tin for 10 minutes, and then remove and leave to cool fully on a wire rack.
- 6
In a stand mixer, beat the butter with an electric mixer (with a paddle attachment) until it is smooth and loose and then beat in the icing sugar 1/3 at a time until its fully combined.
- 7
Once in, add in the honey, and keep beating the buttercream for 3-4 minutes on a medium speed so it starts to get fluffier and lighter.
- 8
If the buttercream is a little stiff, add in one tablespoon or two of boiling water till you have your desired consistency.
- 9
With the first layer of the cake, spread some of the Crunchie Spread onto the cake and then pipe half of the buttercream on top!
- 10
Add the second cake on top, spread on some more of the Crunchie Spread, and then top with the rest of the buttercream. Sprinkle over some chopped Crunchies and add a larger chunk of Crunchie for each cake slice! Enjoy!