Taiwanese green onion pancake (Cong you bing)
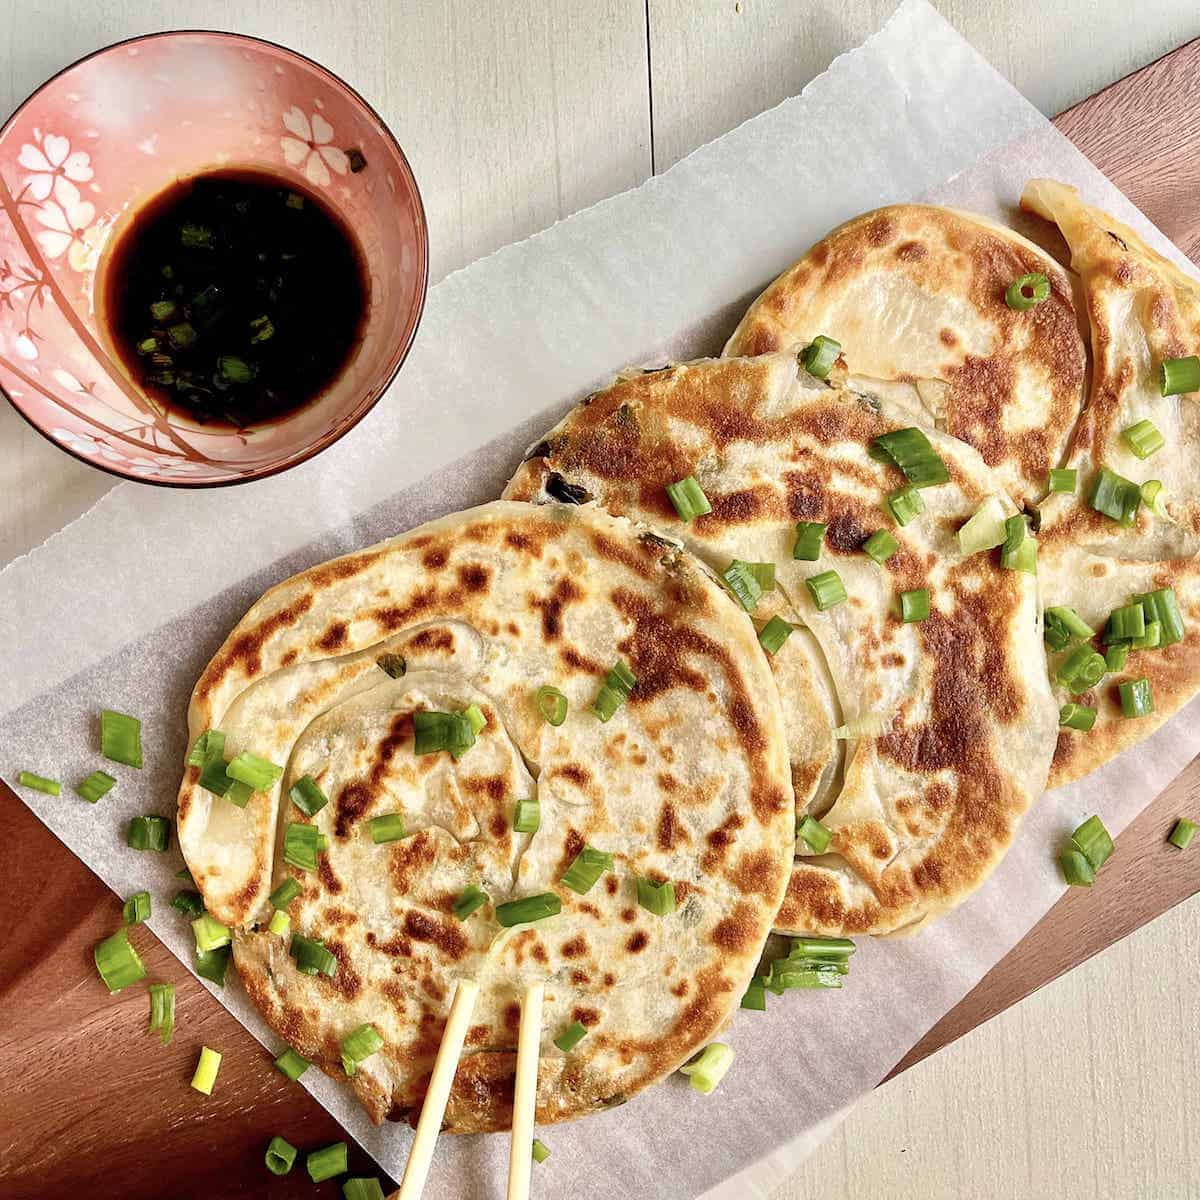
Taiwanese green onion pancake (Cong you bing), also known as Chinese scallion pancake, is a delicious savoury street snack that is easy to batch make and freeze.
- Prep time
- 14 min
- Cook time
- 31 min
- Yield
- 4 servings
- Difficulty
- HARD
Ingredients
Quantities are shown as originally provided.
- 4 Cups Chinese all-purpose flour (575g)
- ½ teaspoon kosher salt
- 1 Cup boiling water (237g)
- ½ Cup + 1 tablespoon room temperature water (132g) (It's OK if your room temperature water is cold.)
- 1-1½ Cups sliced spring onions
- ½ Cup Chinese all-purpose flour (Substitute: regular all-purpose flour, cake flour or a mix of both)
- ½ Cup pork lard (Substitute: shallot oil, neutral vegetable oil or butter)
- 1½ teaspoon kosher salt
- Ground sichuan peppercorn or 5 spice powder, optional
- 2 Tablespoons soy sauce
- 2 Tablespoons rice vinegar (Substitute: Chinkiang vinegar)
- white sugar, to taste
- 1 Tablespoon sesame oil, optional
- Sliced spring onions, optional (For visual effect)
- Dry toasted sesame seeds, optional (For visual effect)
Instructions
- 1
Mix the flour and salt, then make a hole in the middle and pour the hot water in.
- 2
Leave for a few minutes, then pour the room temperature/ cold water in.
- 3
Use a pair of wooden chopsticks or fork to mix the dough together- at this stage it will be clumpy and sticky.
- 4
Once the dough is cool enough to handle, use your hands to knead it for about 5 minutes. You know it's done once it's smooth and stops sticking.
- 5
Alternatively, you can process the dough in a mixer using a dough hook till it forms a nice smooth ball. (Use a medium speed for about 3-4 minutes.)
- 6
Either way, once the dough is done, roll into a ball and cover the bowl with a tea towel to prevent the dough from drying out.
- 7
Use the dough's resting time to make the filling. Slice the spring onions finely- if adding the white part to the mix, make sure you first cut it in half lengthwise or the bits will be very thick. Put the spring onions in a heatproof bowl
- 8
Heat the oil/ lard/ butter then carefully pour it over the spring onions (it may sizzle/ splatter if the spring onions are wet), add the flour, salt and Sichuan pepper/ 5-spice powder (if using) then mix well
- 9
Divide the rested dough into 6 equal pieces (To make sure the pieces are the same size, roll the entire ball into a log, then cut into 6 equal pieces- some people weigh each piece but I figure that's overkill)
- 10
Take out 1 piece and place on Silpat/ a floured or oiled surface. (Keep the other 5 pieces covered with a tea towel whilst working on this piece)
- 11
Using a floured/ oiled rolling pin, roll the dough into a thin rectangular piece. It's hard to make a nice rectangle so don't worry if your shape is wonky (having a rectangular piece gives you more equal, thin layers but isn't a must for the recipe to work) Pay attention to the edges of the dough as those tend to be thicker than the middle after rolling.
- 12
Tip: I like to flip the dough after every 1-2 roll, to make sure it doesn't stick to the surface.
- 13
Once you've rolled the dough as thinly as possible without breaking, brush on about 2 tablespoons of filling using a pastry brush or the back of a spoon. Make sure to leave a 1 cm clear border around the filling (so that the filling doesn't ooze out later)
- 14
Roll the brushed dough into a long log (see photos in post if this doesn't make sense) then pick up 1 end in 1 hand and gently tap the log on the surface, whilst simultaneously gently pulling the log. (This helps to stretch and relax the dough further, to make the layers even thinner.)
- 15
Pinch the ends together so that the spring onions stay inside, then coil the log into a pinwheel (like a seashell/ snail shell shape) and cover with a tea towel.
- 16
Repeat the process with the other 5 balls of dough.
- 17
The coiled pancakes need to rest before they can be further flattened/ rolled, so make sure you work in the same order that you filled them (as the first coiled pieces have had more time to rest.)
- 18
Place the pinwheel on the Silpat/ floured or oiled surface then use the back of your hand or the rolling pin to gently press it in to a flattened disc. Repeat the process for all the 6 pinwheels.
- 19
Add enough oil to coat the bottom of the frying pan and heat on medium high heat. (You can use more or less if you wish- less oil is healthier but more is tastier.)
- 20
When the oil is hot, gently place 1 pancake on the pan. (Lay it down in the direction away from you to avoid the hot oil splashing on you.)
- 21
Gently nudge it with the spatula to make sure it hasn't stuck to the pan then cover with the lid for 1 minute.
- 22
Uncover, flip the pancake, and cook covered for another minute.
- 23
Remove the cover, flip the pancake, press it down to make sure it browns evenly and continued cooking (uncovered) for another 3-4 minutes. You may want to flip the pancake 1-2x to make sure both surfaces brown evenly. The pancake will be nice and golden brown when cooked. Before removing from the pan, give each pancake a squeeze in between 2 spatulas to help loosen up the interior layers and make them more flaky.
- 24
Place on a paper towel to absorb the excess oil then repeat with the rest of the pancakes. 1-1.5 pancakes per person is usually enough, so if you don't need that many, wrap the remaining pieces individually with plastic wrap or parchment paper then refrigerate/ freeze.
- 25
Add all the ingredients together and stir well.
- 26
You can have the pancakes as a central dish or serve 1 pancake to each person. If placing them in the centre, you may want to cut them into smaller pieces (like we do with a pizza) to make them easier to serve.