Chocolate Pâte Sablée tart crust (VIDEO)
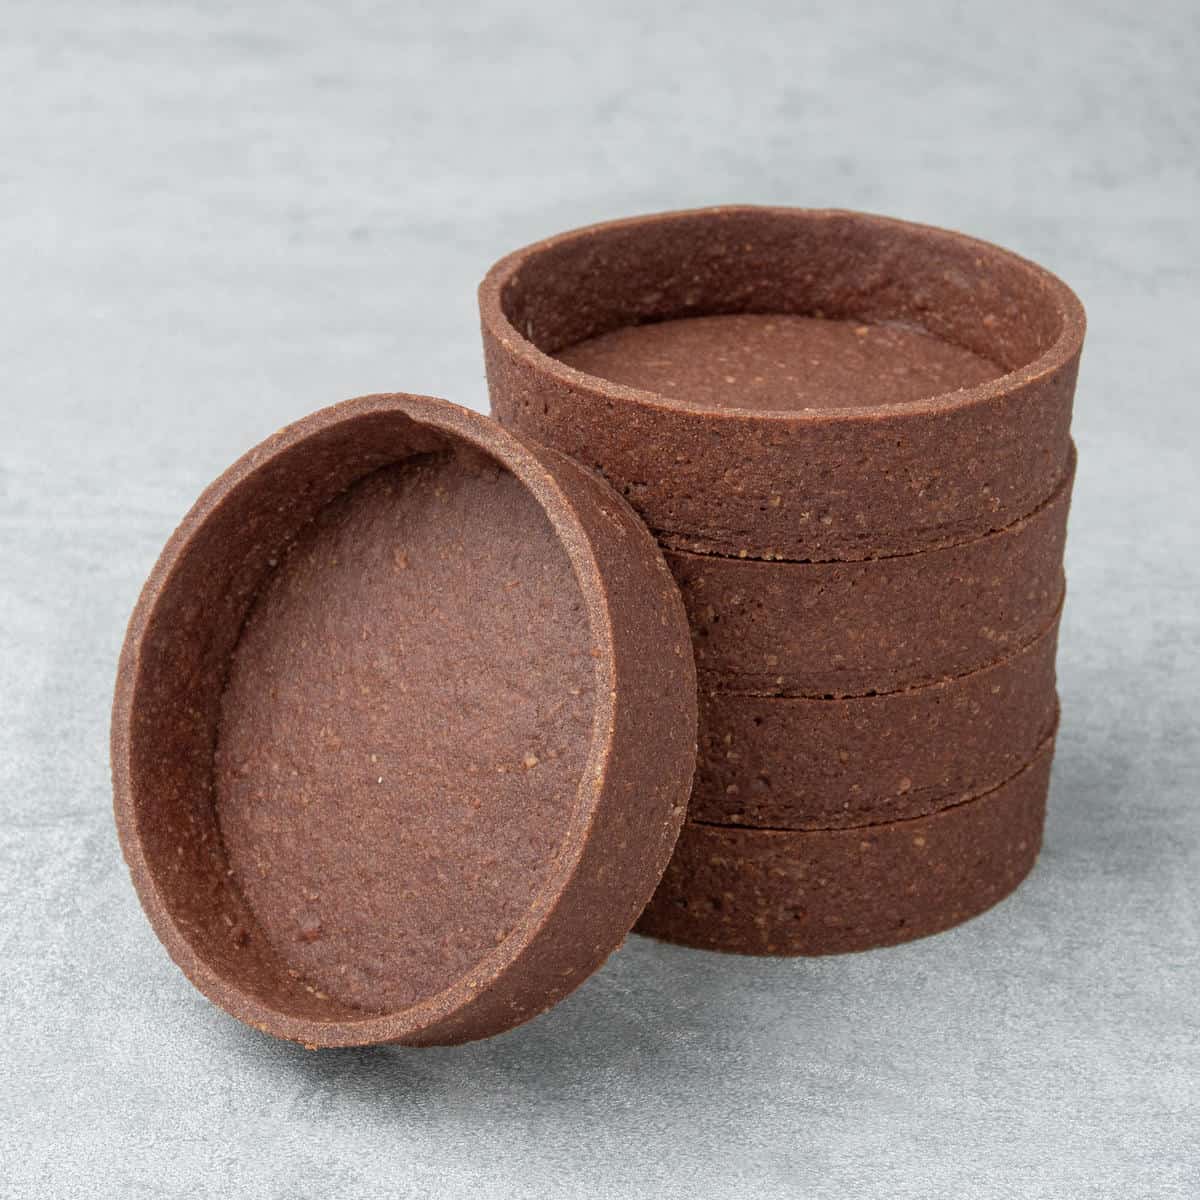
This Chocolate Pâte Sablée tart crust is a delicious, buttery shortcrust, melt-in-the-mouth pastry shell that turns desserts into fancy French patisserie-like tartlets. This chocolate tart case is the perfect base for a great variety of fillings! You might refer to this kind of pastry as shortcrust, sweet short pastry, sweet-tart crust, or simply a tart shell.
- Prep time
- 1 hr 3 min
- Cook time
- 1 hr
- Yield
- 8 servings
- Difficulty
- HARD
Ingredients
Quantities are shown as originally provided.
- 90 g Icing sugar
- 200 g Pastry flour
- 30 g Almond flour
- 30 g Unsweetened cocoa powder
- Pinch of salt
- 110 g Unsalted butter (very cold)
- 50 g Egg (approx. 1 egg)
Instructions
- 1
Measure and cut butter into chunks and place it into the freezer for a few minutes
- 2
Sift together dry ingredients; flour, cocoa powder, icing sugar, almond, salt
- 3
Add very cold butter chunks into the dry ingredients, and rub the mixture between your hands until it becomes a sand-like consistency
- 4
Add egg into the mixture and mix with your hands just until the dough comes together
- 5
Knead the dough with the palm of your hand for a minute or two, just until the dough becomes smooth. Do not over-knead the dough and do not use mixer, neither a food processor
- 6
If the dough is too warm and sticky, place it into the fridge for 10-15 minutes first. Otherwise, continue with rolling the dough out into 2mm thickness between two Silicone baking mat.
- 7
Place the dough into the freezer for 15 min in between the two Silicone baking mat. Do not remove the mat at this point
- 8
Prepare your oven rack with the Perforated "air" baking mat and Perforated tart rings on top
- 9
Take the dough out from the freezer, remove the top of the silicone mat and using one of the Perforated tart rings, cut out 8 circles - this will be the bottom of your tart. Carefully move the dough circles with the help of an Offset spatula and place them into the rings one by one
- 10
If at any point the dough gets too warm to work with, pop it back into the freezer for 5 minutes. You might need to take the dough in and out of the freezer many times depending on the temperature of your kitchen. It is extremely important to work with a dough that is cold enough to be able to handle (so not sticky) but not too cold which would result in breaking it
- 11
Cut 8 long strips out of the dough, this will be the side of the tart
- 12
Carefully place the strips into the ring one by one. Press each strip onto the ring so it sticks to it
- 13
Place the Perforated tart ring with the pastry dough in them into the freezer for 1 hour
- 14
Pre-heat oven to 160C / 320F
- 15
After 1 hour, trim the top of the pastry with a sharp knife
- 16
Bake for 20 min, then carefully remove the rings and bake for another 5 -10 min until golden brown. At the 20 min mark, the pastry should be already somewhat baked and therefore will contract within the ring. If the pastry feels stuck into the ring, bake it for further 1-2 minutes
- 17
Once tart rings are removed, you will need to place the tart cases back to the oven. Bake them for another approx. 10 minutes
- 18
Let the pastry cases cool on the Perforated "air" baking mat before filling