Soft & Fluffy Gluten-Free Hamburger Buns
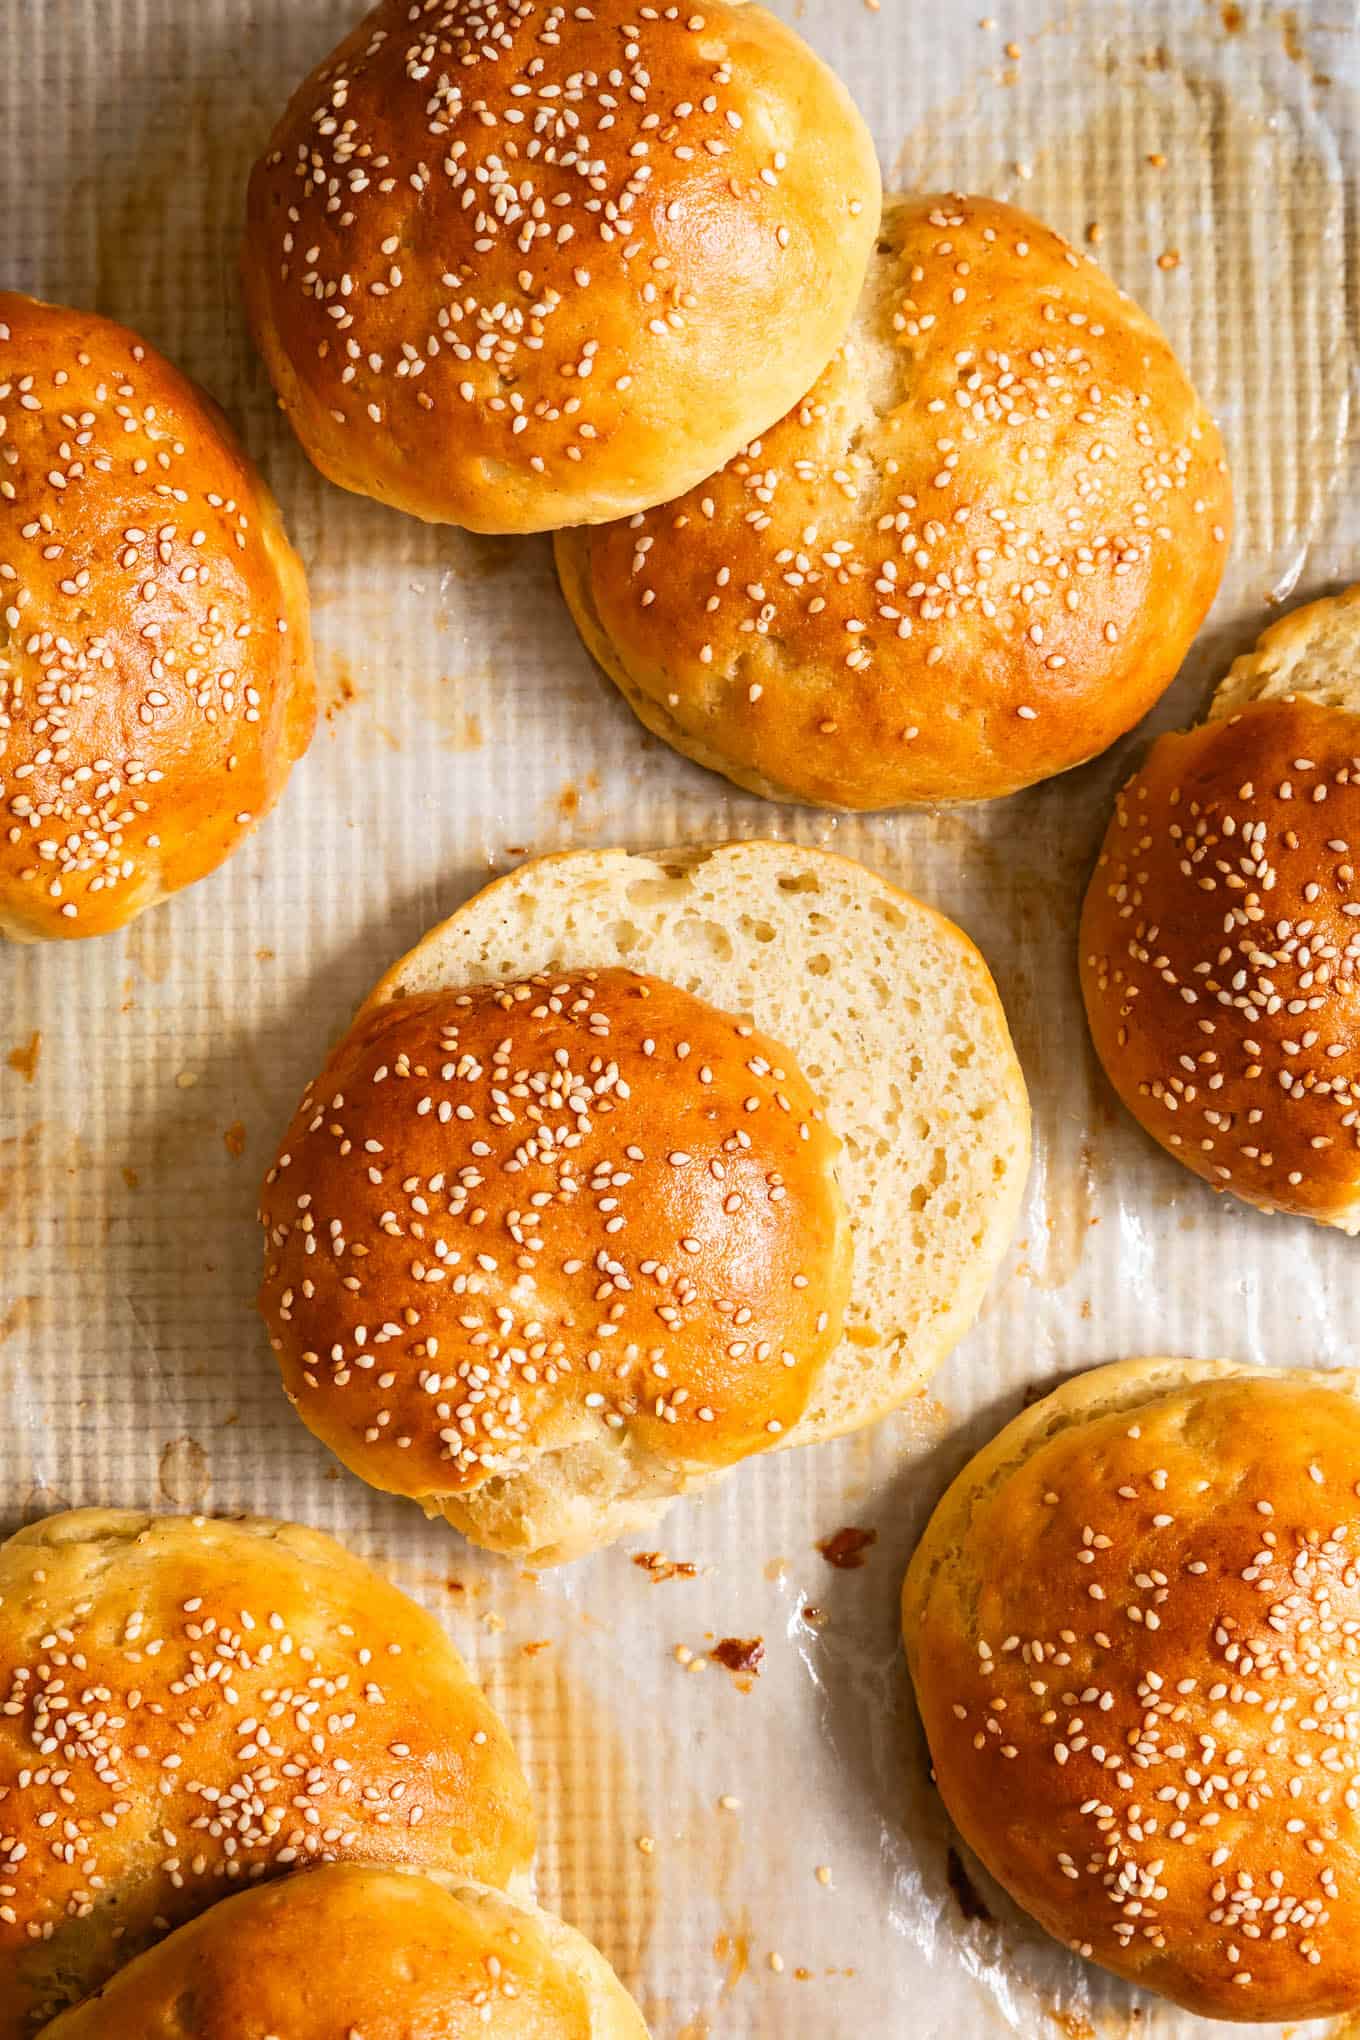
Soft and fluffy homemade gluten-free hamburger buns that come together in less than an hour! Now you'll never have to miss out on burger night with this hamburger bun recipe. Made with an enriched yeasted dough, you'll never want store-bought buns again!
- Prep time
- 12 min
- Cook time
- 18 min
- Yield
- 9 servings
- Difficulty
- HARD
Ingredients
Quantities are shown as originally provided.
- 1 cup whole milk (warmed to 105-115°F (or sub in 240g plant milk or 225g water))
- 1 tablespoons + 2 teaspoons active dry yeast
- ¼ cup granulated sugar (divided)
- 140 g Bob's Red Mill brown rice flour
- 119 g Bob’s Red Mill tapioca flour (plus more for rolling)
- 80 g Bob's Red Mill sorghum flour or Bob's Red Mill Gluten-Free Oat Flour
- 78 g Bob's Red Mill potato starch
- 60 g sweet rice flour
- 1½ teaspoons xanthan gum
- 1½ teaspoons kosher salt
- ½ teaspoon baking powder
- ¼ teaspoon cream of tartar
- 2 large eggs (room temperature)
- 2 large egg whites (room temperature)
- 6 tablespoons unsalted butter (melted (or sub plant butter))
- 1 tablespoon apple cider vinegar
- Cooking spray
- 1 large egg (room temperature)
- 1 tablespoon water
- 2 tablespoons raw sesame seeds
- 2 tablespoons unsalted butter (melted (or sub plant butter))
Instructions
- 1
Preheat oven to proof setting, if available, and line two light colored baking sheets with parchment paper.
- 2
Activate the yeast. In a medium bowl, mix together the warm milk (105°-115°F), 1 tablespoon of the sugar, and yeast. Let sit for 5-10 minutes while the yeast activates and foams. Note: If your yeast hasn't foamed up after 10 minutes, your yeast may have gone bad and you should try again with different yeast.
- 3
Mix dry ingredients. In the bowl of a stand mixer fitted with the paddle attachment, mix together all of the dry ingredients: remaining 3 tablespoons sugar, brown rice flour, tapioca flour, potato starch, sorghum flour, sweet rice flour, xanthan gum, salt, baking powder, and cream of tartar.
- 4
Make the dough. Once the yeast has foamed, add the yeast to the stand mixer followed by eggs, egg whites, melted butter, and apple cider vinegar. Mix on low-speed, increasing to medium-high for 4 minutes, scraping down the sides as needed. The dough will be very soft and sticky - much too sticky to handle without floured hands.
- 5
Shape the buns. Set a bowl of tapioca starch near your workstation and dust your work surface with tapioca starch. I recommend weighing your dough to make each bun the same size. To do so, place a small plate dusted with tapioca starch on top of your kitchen scale. Use a 1/3 cup measuring cup measure to scoop 105 - 115g of dough onto the tapioca-dusted plate. Dust the outside of the dough with additional tapioca flour, then, with tapioca-covered hands, pick up the bun and shape it. Gently flatten the dough, then fold and pinch each edge into the center. Flip the bun over so this pinch is on the bottom and use cupped hands to round the dough into a smooth ball (either rotating it against the floured table or against your other hand), adding more tapioca starch to your hands as needed. Place, seam-side down, on the parchment-lined baking sheet and repeat. Note: any seams or creases on top or on the sides of the bun may lead to a crack in the oven. If this happens, don't fear! This more rustic look won't affect the texture or flavor of the bun at all. You may find you need to wash and re-flour your hands after a couple of buns if the dough is sticking to them.
- 6
Rise. Spray buns lightly with cooking oil, then cover loosely with plastic wrap. Place in a warm place to proof for 30 minutes (I use the proof setting on my oven). The buns should puff up significantly. Note: if making the dough in advance, proof only for 10 minutes, then transfer to the fridge for up to 24 hours. Pull them out of the fridge to proof 25 minutes before baking. When the buns are nearly proofed, preheat the oven to 375*F.
- 7
Brush with egg wash. Whisk together 1 large egg and a tablespoon of water. Gently brush each bun with the egg wash on the entire surface, then sprinkle generously with raw sesame seeds.
- 8
Bake. Bake for 16-18 minutes, until the buns are deeply golden brown, rotating the pan after about 12 minutes to encourage even browning.
- 9
Brush with butter. Right when the buns come out of the oven, brush them with melted butter.
- 10
Let cool and slice. Let cool until just cool to the touch on the outside, about 15 minutes, then slice and serve (Note: if you try to slice the buns too soon out of the oven, the crumb won't set and the inside will seem gummy. Letting them cool for 15 minutes is essential). These buns are best served lightly warm, but you may store buns for later use. As the buns cool, they'll become denser, but lightly warming or toasting the buns will bring back their soft squishy texture! See additional storage tips below.