Kanom Gui Chai Tod (Thai Pan-fried Chive Cakes)
Learn how to make this popular Thai pan-fried chive cakes, kanom gui chai tod, with this easy and fool-proof recipe. It's crispy, flavorful, and can be made ahead.
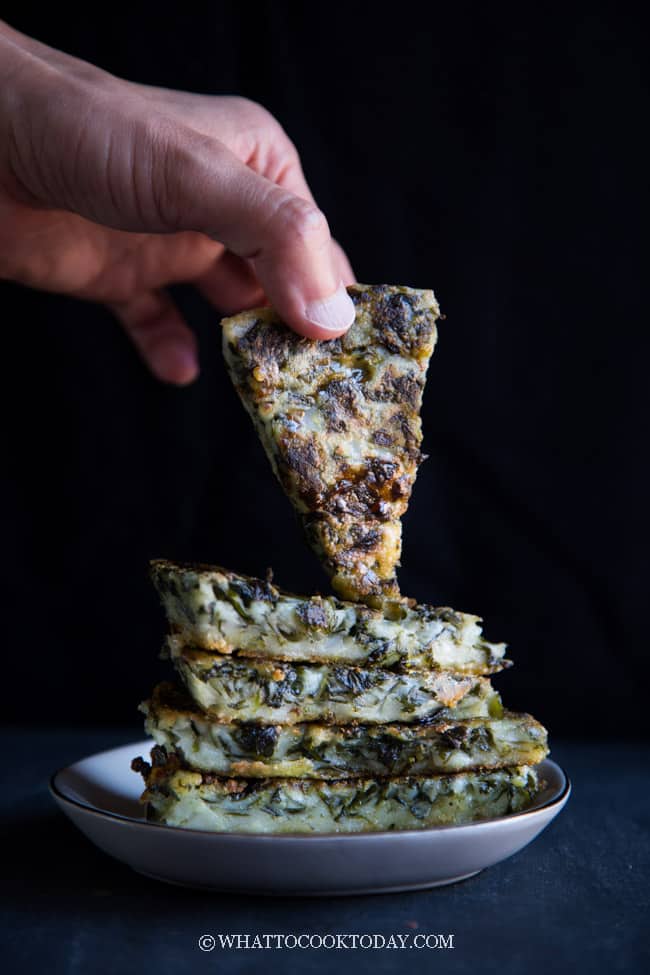
- Prep time
- 15 min
- Cook time
- 40 min
- Yield
- 4 servings
- Difficulty
- HARD
Ingredients
Quantities are shown as originally provided.
- 250 gr Chinese chives (about 1/2 lbs)
- 3 large cloves garlic (finely grated)
- 1 Tbsp Cooking oil (plus more to grease the pan)
- 1/2 tsp salt
- 120 gr rice flour (1 cup)
- 30 gr glutinous rice flour (1/4 cup)
- 30 gr tapioca flour (1/4 cup)
- 1 1/4 cups water (room temperature)
- 1 tsp salt
- 1/4 cup kecap manis
- 2 Tbsp soy sauce
- 2 Tbsp rice vinegar (or regular white vinegar)
- 1/4 tsp sugar
- 2 Thai red chili (finely chopped)
- Cooking oil
- An 8×8-inch square or round pan
Instructions
- 1
Wash the chives in clean water. Trim off about 2-inch off the bottom of the chives
- 2
Cut the green parts into about 1/2-inch pieces
- 3
Preheat a large skillet with 1 Tbsp cooking oil. Add garlic and saute for about 30 seconds
- 4
Add the chives and 1/2 tsp of salt and cook over medium heat until the chives are soft and wilted.
- 5
You will see lots of juice oozing out. Discard that extra liquid. Let the chives cooled down while you prepare other things
- 6
Once the chives have cooled down, squeeze out more liquid from the chives. This is important as too much liquid will affect the final consistency and texture of the cake
- 7
Bring the water in the steamer to a rolling boil and ready to steam
- 8
Combine all the flours with water and salt
- 9
Stir to mix to get a smooth batter
- 10
Add the chives in and stir to combine
- 11
Brush some cooking oil on your pan
- 12
Pour the chives batter into the pan
- 13
Place the pan in the steamer and steam over high heat for 25-30 minutes or until the cake turns slightly translucent and a toothpick inserted into the middle of the cake comes out clean
- 14
Remove from the steamer and let the cake cool down completely before cutting and pan frying the cake
- 15
Place all ingredients for dipping sauce in a small saucepan and cook until sugar dissolves
- 16
Cut the cake into small squares (if you use square pan)or wedges like mine (since I use round pan)
- 17
Pour cooking oil into a skillet to come up to about 1/4-inch in height. Preheat the oil over medium heat. Place the chives cake pieces on the oil and pan fry until golden brown on both sides, about 3 minutes or so on each side
- 18
Remove and place on an absorbent paper towel while you are pan frying the rest
- 19
Serve the pan-fried chive cake with the dipping sauce
- 20
Steamed chives cake can be kept frozen for up to one month. Simply cut them into squares or wedges and then place on a baking sheet lined with parchment paper and then place in the freezer for one hour. Transfer to a freezer bag and they won't stick to each other anymore. Simply thaw them before pan frying. This is a great way to make ahead and pan fry the amount you want to serve
- 21
I suggest to pan fry only the amount you want to eat for the best result. Pan-fried chives cake can be kept in the refrigerator for 3 days max. You can reheat them in the air fryer or an oven at 375 F for 5 minutes or so or until crispy