Pandan Coconut Jelly
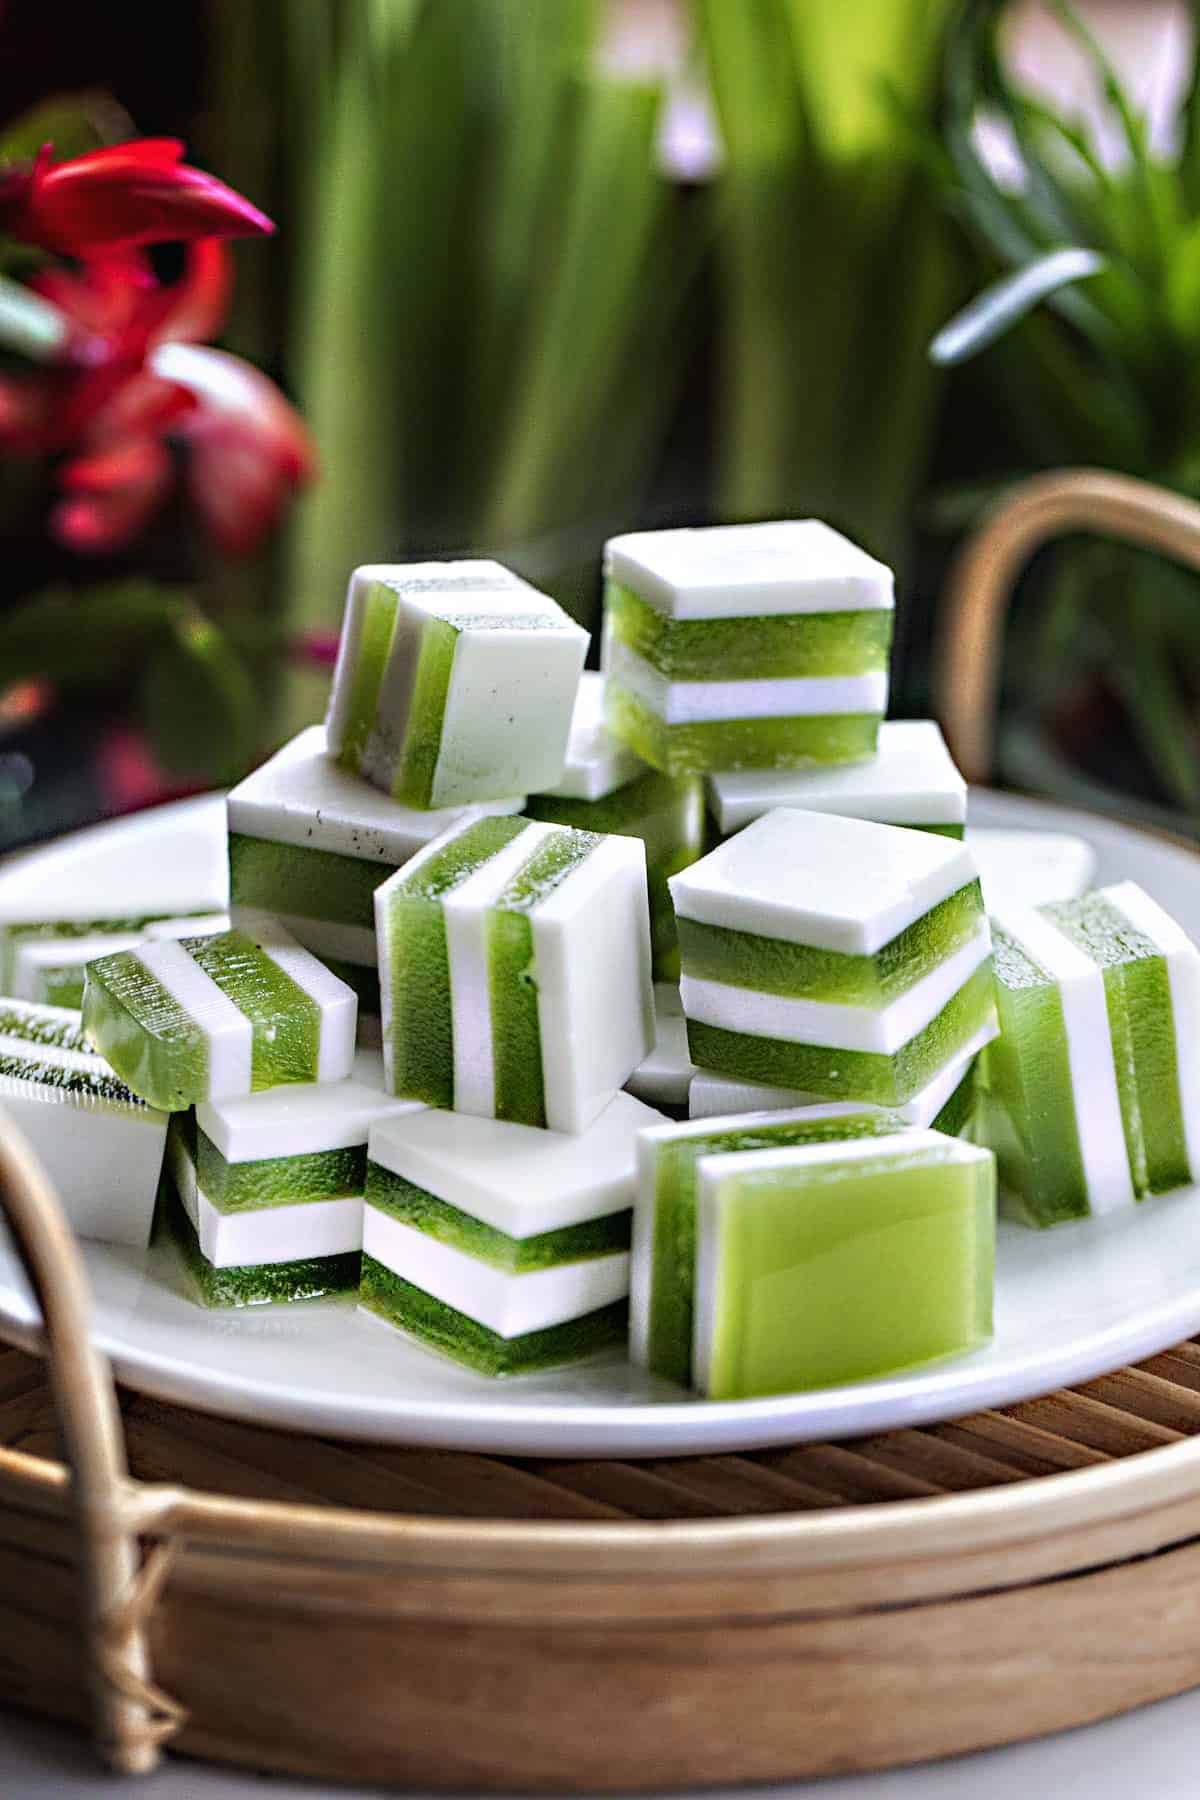
This pandan coconut jelly dessert with agar agar is a delightful and refreshing treat that combines layers of pandan flavors with a creamy coconut texture. It's a sweet and creamy delight you'll love with every bite!
- Prep time
- 10 min
- Cook time
- 50 min
- Yield
- 10 servings
- Difficulty
- MEDIUM
Ingredients
- 6 pandan leaves + 1 1/4 cup water to make 1 cup of green pandan water in the food processor.
- 1 can coconut milk. (13.5 ounces can)
- 4 tsp Agar agar powder. Divided, 2 teaspoons per color.
- 2 cup water, divided. Use one cup each to mix with agar powder for pandan layer and one cup for the coconut layer.
- 1/2 cup white sugar
- 1 tsp salt
Instructions
- 1
The pandan layer:
- 2
This is the green layer of pandan gelatin we will be working on. The layers can be in any order of color you want, so have fun here! I chose to have green as the bottom layer.
- 3
Make the pandan juice by chopping the pandan leaves into small pieces. Put in the food processor, add water, and blitz until you have a green pandan mixture. Strain, and we will use this green goodness for our pandan layer.
- 4
Add the agar agar powder to 1 cup of warm or hot water. Stir well until the tiny agar agar flakes are dissolved. For best results, allow it to sit for 10-15 minutes before adding it to the coconut and pandan layer.
- 5
on medium heat, combine the pandan water, 1 cup of water, sugar, and salt in a gently boiled saucepan.
- 6
Make sure to do a quick whisk of the agar water to ensure all the deposits are stirred up.
- 7
Turn the heat low and stir until all the agar completely dissolves. Now, it's very important to keep the heat on very low. Find the balance between keeping the syrupy water from boiling and letting it harden. The agar powder will set. If the heat is not on, it will be hardened into a firm jelly texture. We want liquid, not jelly, at this stage.
- 8
Slowly pour the sweet pandan layer into a heat-safe pan and allow it to cool and set. Use 1/3 of the liquid only and save the rest for different layers. Put it in the fridge to speed up the cooling process. Now let's move on to our coconut layer next.
- 9
The Coconut Layer:
- 10
This is the creamy white layer we will be working on. Use coconut milk for this part, and it's a little quicker than the pandan layer because we won't need to make the pandan juice first. See notes below for other options to use instead.
- 11
. The same as the step above. Add the agar powder to 1 cup of hot water, whisk well, and allow it to dissolve for 10-15 minutes.
- 12
Add coconut milk, 1 cup of water, sugar, and salt, and bring it to a gentle boil in a small saucepan. Do not use high heat, or the coconut milk will curdle and can overcook it.
- 13
Quickly whisk the agar solution to stir the deposit, then add it to the saucepan with the coconut mixture.
- 14
4. Turn the heat to low and stir until all the agar is completely dissolved. Then turn the heat down to the lowest setting possible. Don't let it boil, nor allow it to set into a jelly.
- 15
Make sure the pandan layer has hardened but not too hard, or the layers will not stick together. Carefully and gently pour a thin layer of the coconut syrup mixture over the pandan jelly. Use only 1/3 of the amount of coconut. Save the rest for making more layers.
- 16
Repeat the cooling process as the pandan layer above, and keep going until you are out of your liquid! The tricky part is the waiting time between setting and keeping the coconut and pandan syrup from setting or boiling.
- 17
After you finish making all the layers, put the container in the fridge. If you leave it at room temperature, it will still set but take a bit longer. Once it's set, your coconut-pandan jelly will be firm and ready to eat! Cut it into cubes and serve it cold.
- 18
Have fun cutting it into any shape or size you want, especially if you have jelly molds. It's a fun activity to do with kids too. Enjoy!